
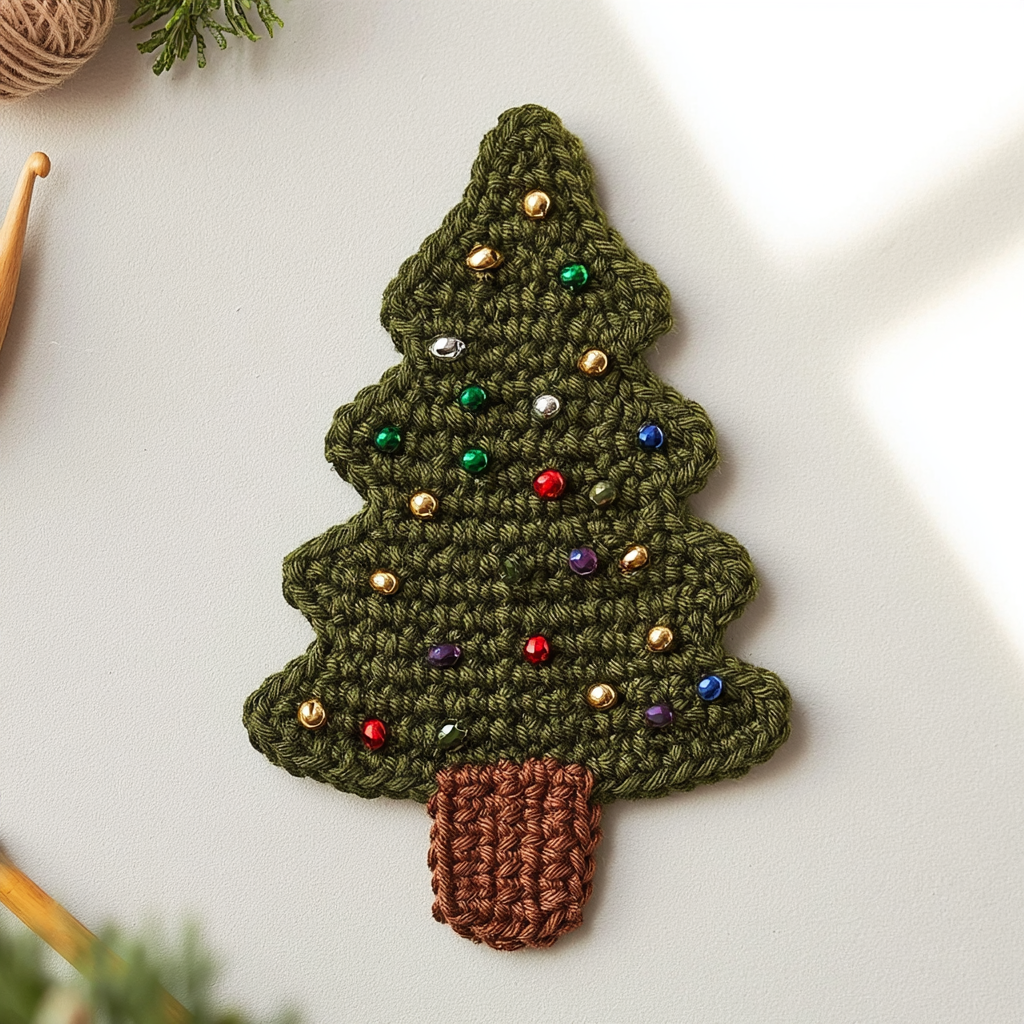
Hi, fellow crocheters! Emma here, and I’m so excited to share a truly delightful and super quick project that’s perfect for the holiday season: the Crochet Gingerbread Tree Ornament. What I love most about this pattern is its simplicity and versatility. It’s worked in a continuous spiral, amigurumi-style, and best of all, there’s absolutely no sewing involved!
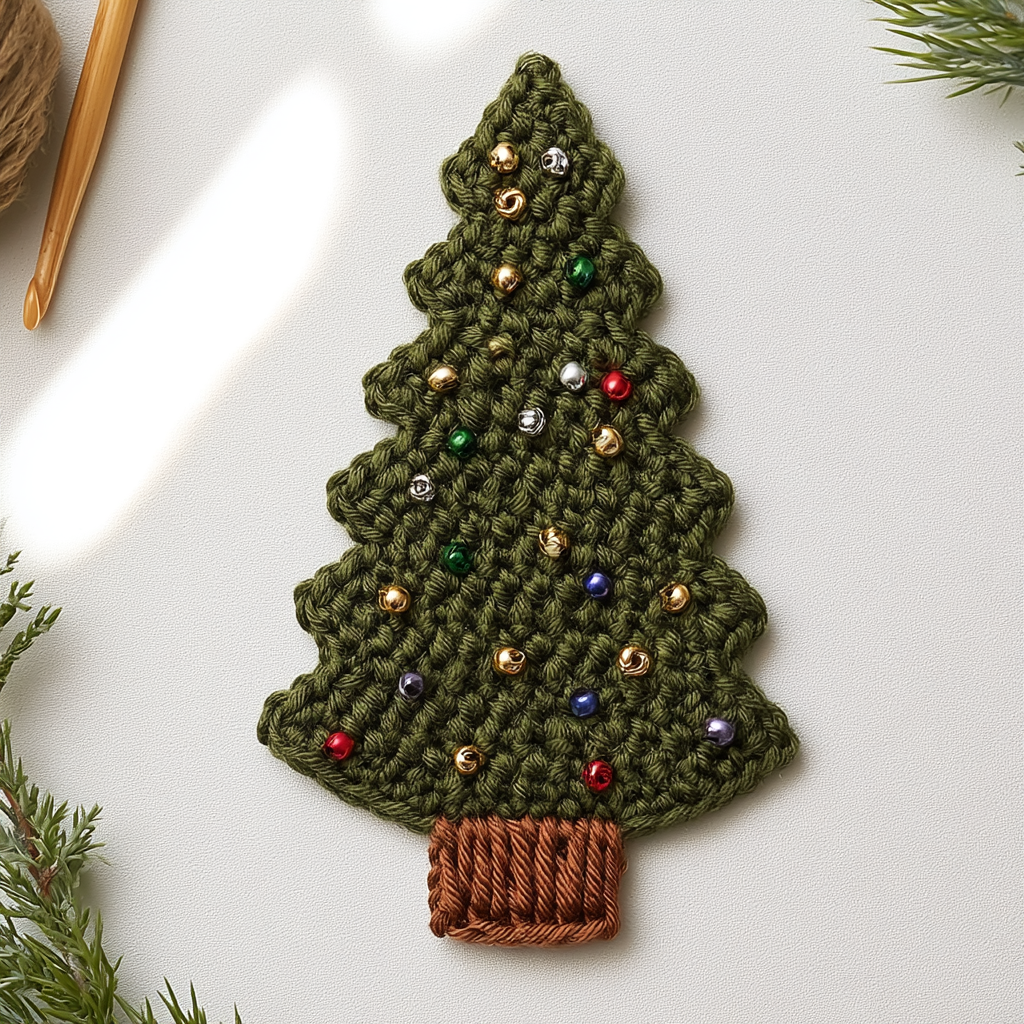
Whether you want to craft a classic gingerbread-colored tree, ready for your own creative “icing” with beads and embroidery, or a festive green or white Christmas tree with a brown trunk, this pattern has you covered. It uses only about 10 yards of yarn, making it a fantastic stash-buster and a project you can whip up in no time. Imagine a whole forest of these little trees adorning your home or given as thoughtful, handmade gifts. Let’s get hooking!
Gingerbread Tree Ornament Crochet Pattern
Materials
- E US/3.5mm crochet hook
- Small quantity of worsted weight yarn in a gingerbread shade, or green (or white) and brown
- Yarn needle to weave in ends
- Stitch marker
Finished Size
Approximately 3.5 inches (9 cm) tall. (Your gauge and yarn choice will affect the finished size slightly.)
Hook and Tools
- E US/3.5mm crochet hook
- Yarn needle
- Stitch marker
Abbreviations
- ch – chain
- sc – single crochet
- st(s) – stitch(es)
- sl st – slip stitch
Pattern Notes
- Do not join at the end of each round; rounds are worked in continuous spirals.
- Use a stitch marker to mark the beginning of each round. Move the marker up as you start each new round.
- This no-sew tree is worked in three sections (Upper, Lower and Trunk).
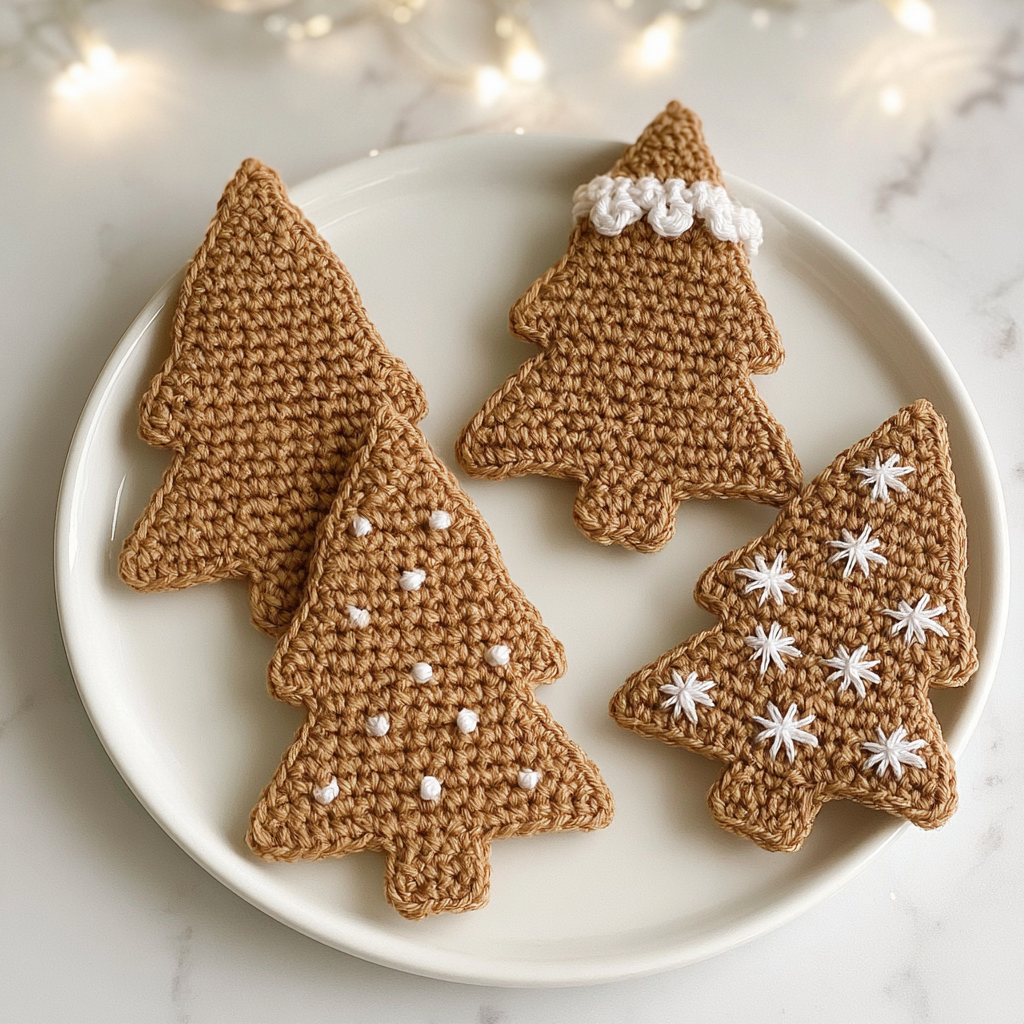
- Gingerbread cookie tree: Work all three sections in brown.
- Christmas tree: Work the Upper and Lower sections in green (or white) and the Trunk section in dark brown.
Instructions
Upper Section
Make a magic ring, ch 1.
Round 1: 4 sc in magic ring. (4 sts)
Round 2: (sc in next st, 2 sc in next st) twice. (6 sts)
Round 3: (sc in next 2 st, 2 sc in next st) twice. (8 sts)
Round 4: (sc in next 3 st, 2 sc in next st) twice. (10 sts)
Round 5: (sc in next 4 st, 2 sc in next st) twice. (12 sts)
Round 6: (sc in next 5 st, 2 sc in next st) twice. (14 sts)
Round 7: (sc in next 6 st, 2 sc in next st) twice. (16 sts)
Edge Row (Upper Section)
- Flatten your work so the last stitch you worked is at one edge.
- Skipping that edge stitch, sc through both layers of next stitch then mark the stitch you just completed.
- Sc in the front layer only of the next 5 stitches.
- Skipping the next 5 stitches of the back layer, sc through both layers of next st, sl st in front loop of last st (the edge st).
Fasten off, and pull on the remaining loop on the hook until the cut end is drawn through to the top.
Lower Section
Turn your work so you’re looking at the back of the edge row. You will see the 5 skipped stitches along the front layer. Identify the stitch before the first of these stitches – this is where you made the stitch that joined both layers together. Fasten on by drawing up a loop in that stitch. Do not ch 1.
Tip: Right-handers: this stitch will be to the right of the row of 5 stitches. Left-handers: this stitch will be to the left of the row of 5 stitches.
Tips: Work over the starting tail for the first couple of stitches of Round 1. Then, if the first loop you drew up looks too large, pull on the starting tail to draw the V down to the normal size. Mark this V if you need to – this will be the first stitch you work into in the next round.
Round 1: sc in next 4 st, 2 sc in next st, turn your work so you can work into the other layer; starting from the stitch after the marked stitch, sc in next 4 st, 2 sc in next st. (12 sts)
Note: From now you’ll be working in a spiral again, starting by working into the first stitch of Round 1.
Round 2: (sc in next 5 st, 2 sc in next st) twice. (14 sts)
Round 3: (sc in next 6 st, 2 sc in next st) twice. (16 sts)
Round 4: (sc in next 7 st, 2 sc in next st) twice. (18 sts)
Round 5: (sc in next 7 st, 2 sc in next st, sc in next st) twice. (20 sts)
Round 6: sc in next 8 st. (8 sts, plus 12 unworked). Continue to Edge Row (below).
Edge Row (Lower Section)
- The last stitch you worked should be at one edge so you can work the edge row in the same way as you did for the Upper Section. If your hook isn’t at the edge of your flattened tree, sc an extra stitch (or unravel one stitch as needed) to bring your hook to the edge.
- Skipping that edge stitch, sc through both layers of next 3 stitches then mark the stitch you just completed.
- Sc in the front layer only of the next 3 stitches.
- Skipping the next 3 stitches of the back layer, sc through both layers of next 3 st, sl st in front loop of last st (the edge st).
Fasten off, and pull on the remaining loop on the hook until the cut end is drawn through to the top.
Trunk Section
Note: For a gingerbread tree, continue with the same color of yarn. For a Christmas tree, change to brown for this section.
Turn your work so you’re looking at the back of the edge row and can see the 3 skipped stitches along the front layer. Identify the stitch before the first of these stitches.
Fasten on by drawing up a loop in that stitch. Do not ch 1.
Round 1: sc in next 3 st, turn so you can work into the other layer; starting from the stitch after the marked stitch, sc in next 3 st. (6 sts)
Round 2: sc in next 6 st. (6 sts)
Round 3: sc in next 3 st. (3 sts, plus 3 unworked). Continue to Edge Row (below).
Edge Row (Trunk Section)
- Flatten your work so the last stitch you worked is at one edge.
- Skipping that edge stitch, sc through both layers of next 2 stitches, sl st in front loop of last st.
Fasten off, and pull on the remaining loop on the hook until the cut end is drawn through to the top.
Finishing
Weave in all three yarn ends. For each end, make sure not to pull the yarn through too tightly, which will pull in the point of the tree outline so it loses the pointed shaping. If you have accidentally pulled the yarn too tight, you can pull back on the squashed corner to pull it back out into shape.
Embellishments
Now you have a ‘blank canvas’ gingerbread tree, ready to decorate however you wish, just as you would with an edible gingerbread cookie! You can leave your trees plain, keep your embellishments simple, or use your imagination to create all sorts of designs. Keep the embellishments in classic white, or match the colors to your seasonal décor. You might even find inspiration from other festive patterns like my Crochet Gingerbread Man Ornaments or the Gingerbread Gnome Ornament for ideas!
Emma’s Tips
These little trees are such a joy to make! Because they’re worked in a continuous spiral, using a stitch marker is absolutely essential to keep track of your rounds – don’t skip this step! When choosing your yarn, a worsted weight will give you a nice sturdy ornament, perfect for hanging. If you’re making a batch for gifts, try varying the colors or adding small beads or embroidery floss for different “icing” effects. They also make wonderful additions to gift wrapping!
1 thought on “Crochet a No-Sew Gingerbread or Christmas Tree Ornament”