
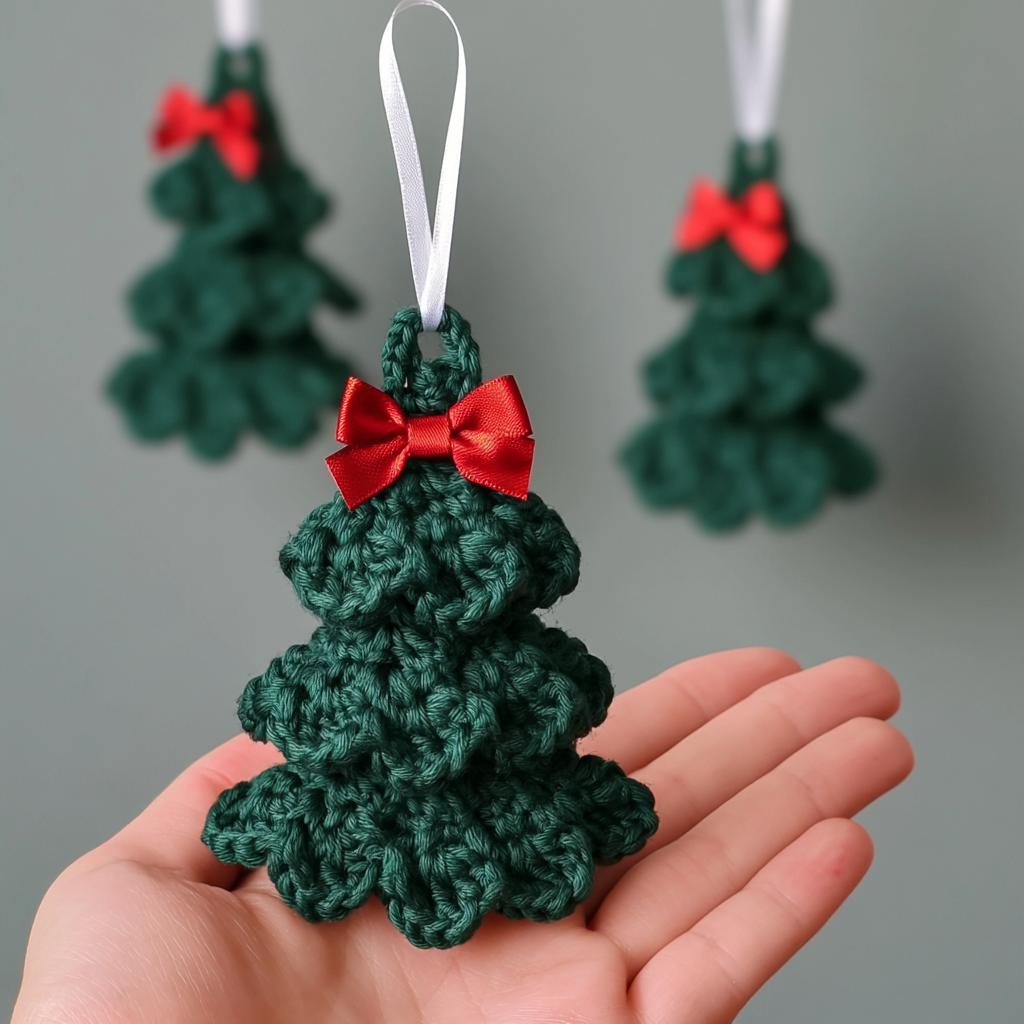
There’s something truly special about crafting handmade decorations for the holidays, and this Crochet Christmas Tree Doily is one of my favorites! It brings such a cozy, nostalgic charm to any space. I just love how the delicate fan motifs come together to form a charming Christmas tree shape, making it both a relaxing and rewarding project.
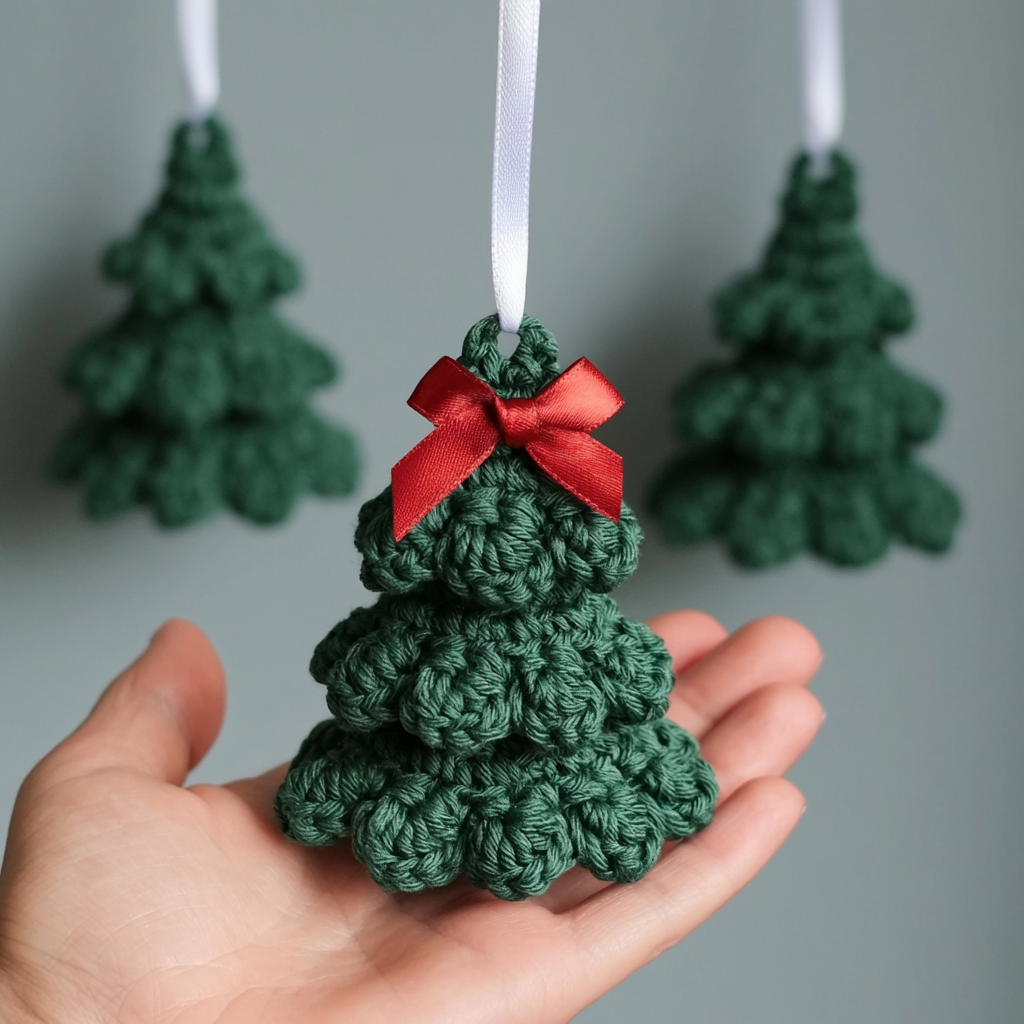
Whether you’re looking to adorn your holiday table, create heartfelt gifts, or simply add to your festive collection, this doily is a wonderful choice. It’s designed with clear, beginner-friendly instructions, so you can enjoy the process of watching your tree take shape, one fan at a time. Let’s get our hooks ready and crochet something festive together!
Crochet Christmas Tree Doily Pattern
Materials
- Cotton or acrylic yarn (light or medium weight — your choice)
- Crochet hook suitable for your yarn (typically 3.0 mm – 4.0 mm)
- Scissors
- Yarn needle for weaving ends
Abbreviations (US Terms)
- MR — Magic Ring
- CH — Chain
- SL ST — Slip Stitch
- SC — Single Crochet
- DC — Double Crochet
- SP — Space
- ST — Stitch
- REP — Repeat
Pattern Notes
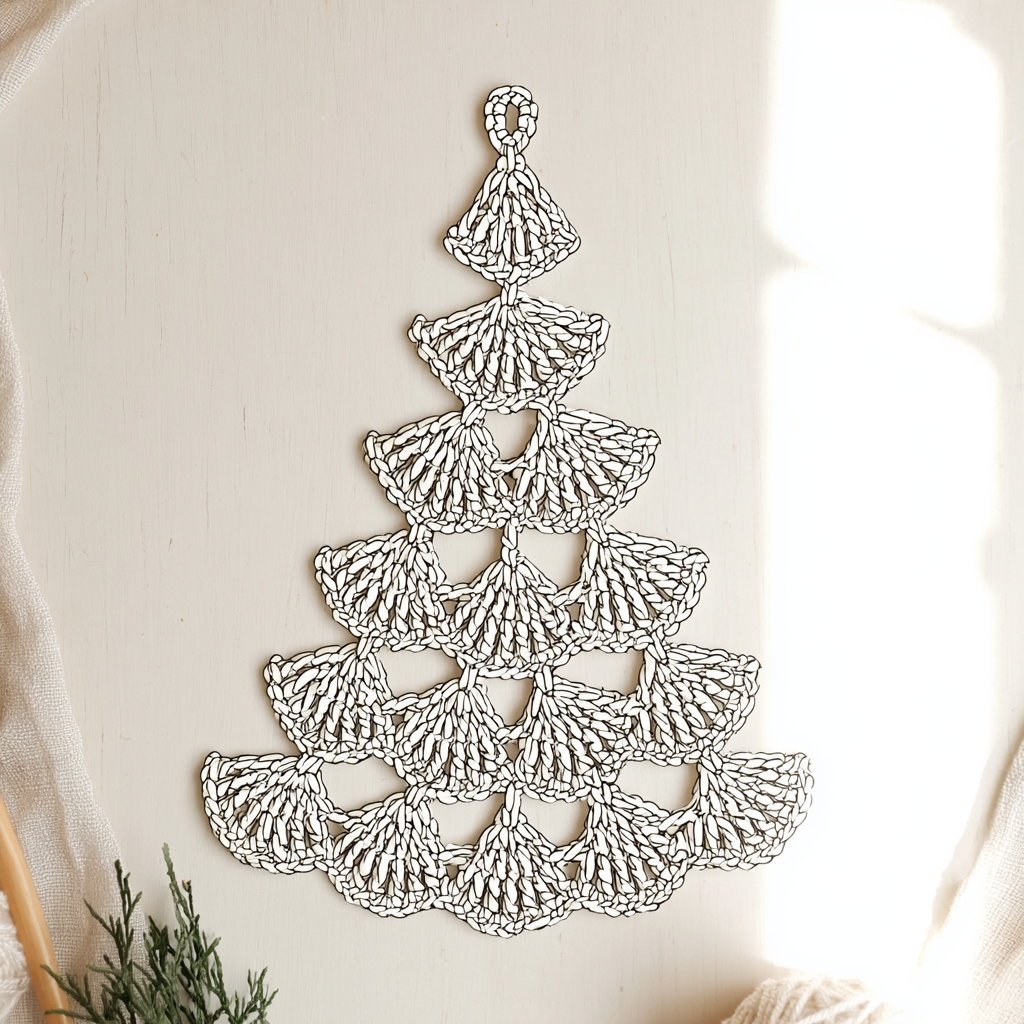
- The entire tree is created using fan motifs that gracefully join together as you crochet.
- Follow the sequence: start at the top motif, then work downward row by row.
- Each fan begins with a magic ring and expands with beautiful DC shells.
- This pattern is suitable for adventurous beginners and experienced crocheters alike.
- You can customize the size of your doily by adjusting yarn thickness and hook size.
- Using cotton will give your doily a crisp, structured look; acrylic will offer a softer, cozier finish.
Instructions
TOP MOTIF (1 fan)
Fan 1
Start: Make a Magic Ring (MR).
Round 1: CH 3 (counts as 1 DC). Work 11 DC inside the MR. Pull the ring closed. Join with a SL ST to the top of CH 3. (12 DC total)
Round 2: CH 5 (counts as CH 3 + CH 2). Skip 1 ST, DC in next ST, CH 2. REP around. You will form 12 DC separated by CH-2 spaces. Join with SL ST to the 3rd CH of the beginning CH 5. (12 DC, 12 CH-2 SP)
Fasten off (do NOT cut the yarn if you want to continue the next motif directly).
SECOND ROW OF MOTIFS (2 fans)
These fans attach to the top motif.
Fan 2 (left side)
Repeat Round 1 and Round 2 from the top motif.
When finishing Round 2, join to one CH-2 space of Fan 1:
- After each CH-2 space, replace one CH with a SL ST into the matching CH-2 space of Fan 1, then CH 1 (counts as the second chain).
- Continue the round normally.
Fan 3 (right side)
Make exactly like Fan 2, attaching on the right side of Fan 1.
THIRD ROW OF MOTIFS (3 fans)
Fan 4 (left)
Work Round 1 & 2 as before. Join this fan to Fan 2 (above it) following the same method:
- Replace the first chain of the CH-2 with SL ST into the CH-2 space of Fan 2.
Fan 5 (center)
Work Round 1 & 2. Attach this motif to both Fan 2 and Fan 3:
- Whenever the chart shows an “x” between motifs, it means join with SL ST into the corresponding CH-2 space.
- Continue around until fully connected.
Fan 6 (right)
Work and attach to Fan 3.
FOURTH ROW OF MOTIFS (4 fans)
Fan 7 (far left)
Work Round 1 & 2. Attach to the fan directly above (Fan 4).
Fan 8 (left-center)
Work Round 1 & 2. Attach to Fan 4 and Fan 5.
Fan 9 (right-center)
Work Round 1 & 2. Attach to Fan 5 and Fan 6.
Fan 10 (far right)
Work Round 1 & 2. Attach to Fan 6.
FINAL BORDER (Optional)
At the end of each fan, the diagram shows small ovals = CH stitches forming a scalloped edge.
For each fan:
- After completing Round 2, CH 6.
- SL ST into the next CH-2 space.
- Repeat around the entire last row of fans to form the decorative edge.
Finishing
- Weave in all yarn ends securely.
- Block the piece gently to open up each fan motif and give your doily that crisp, elegant shape that makes motifs truly shine. This simple finishing step makes an enormous difference — your tree will lay beautifully flat and show off every detail.
Emma’s Tips
I find that choosing the right yarn can really make this doily special. For a classic look, a crisp cotton works wonders, but if you want something a bit softer and cozier, acrylic is a great choice. Don’t be afraid to experiment with colors too! While classic green is always festive, imagine a snowy white doily or even one made with variegated yarn for a whimsical touch.
You can also easily add a bit of sparkle by incorporating metallic thread or glitter yarn. It can truly make your Crochet Christmas Tree Doily shine as a centerpiece! And a fun bonus: each individual fan motif can also be used as a standalone mini decoration or even a small ornament. This pattern offers so much versatility, allowing you to explore different styles while working from the same foundational design.
FAQ
- What kind of yarn should I use for this doily? You can use either cotton or acrylic yarn in a light or medium weight. Cotton will give a crisp, structured look, while acrylic will result in a softer finish.
- Can I make this doily larger or smaller? The pattern suggests customizing the size by adjusting your yarn thickness and hook size. You can also explore making more rows of fan motifs to increase the overall size of the tree.
- How do I join the motifs together? The motifs are joined by replacing one chain of a CH-2 space with a slip stitch into the corresponding CH-2 space of the adjacent motif, then chaining 1 to complete the CH-2 space.
- Is blocking necessary for this project? Yes, blocking is highly recommended! It helps to open up each fan motif, define the shape of your doily, and ensures it lays beautifully flat, showcasing all the intricate details.