
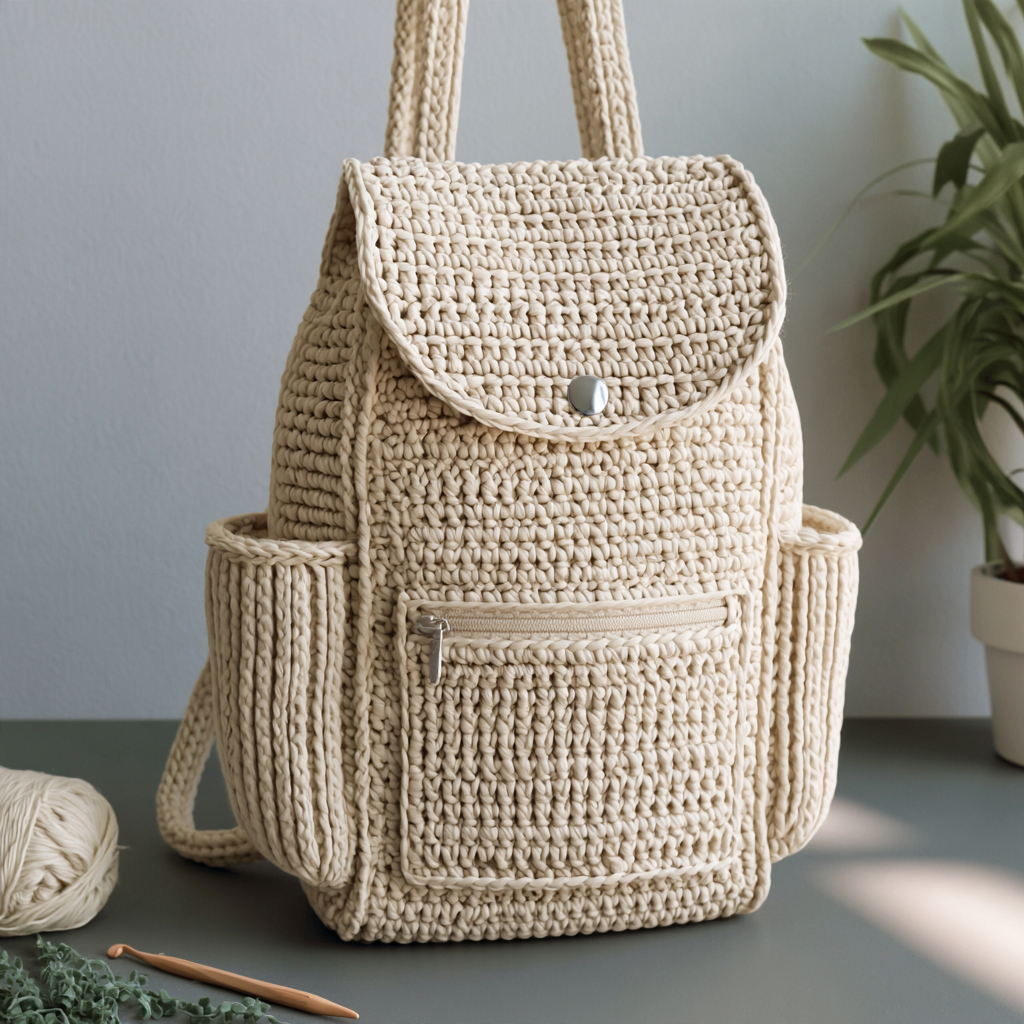
Hello fellow crafters! Have you been dreaming of a sturdy, stylish backpack that you made with your own two hands? Well, you’re in luck! Today, we’re diving into a project that’s not only incredibly rewarding but also surprisingly beginner-friendly: a beautiful crocheted backpack. I absolutely love making functional items, and a backpack is one of those projects that truly brings a sense of accomplishment. Imagine carrying your essentials in a bag you crafted yourself – it’s such a unique and personal statement!
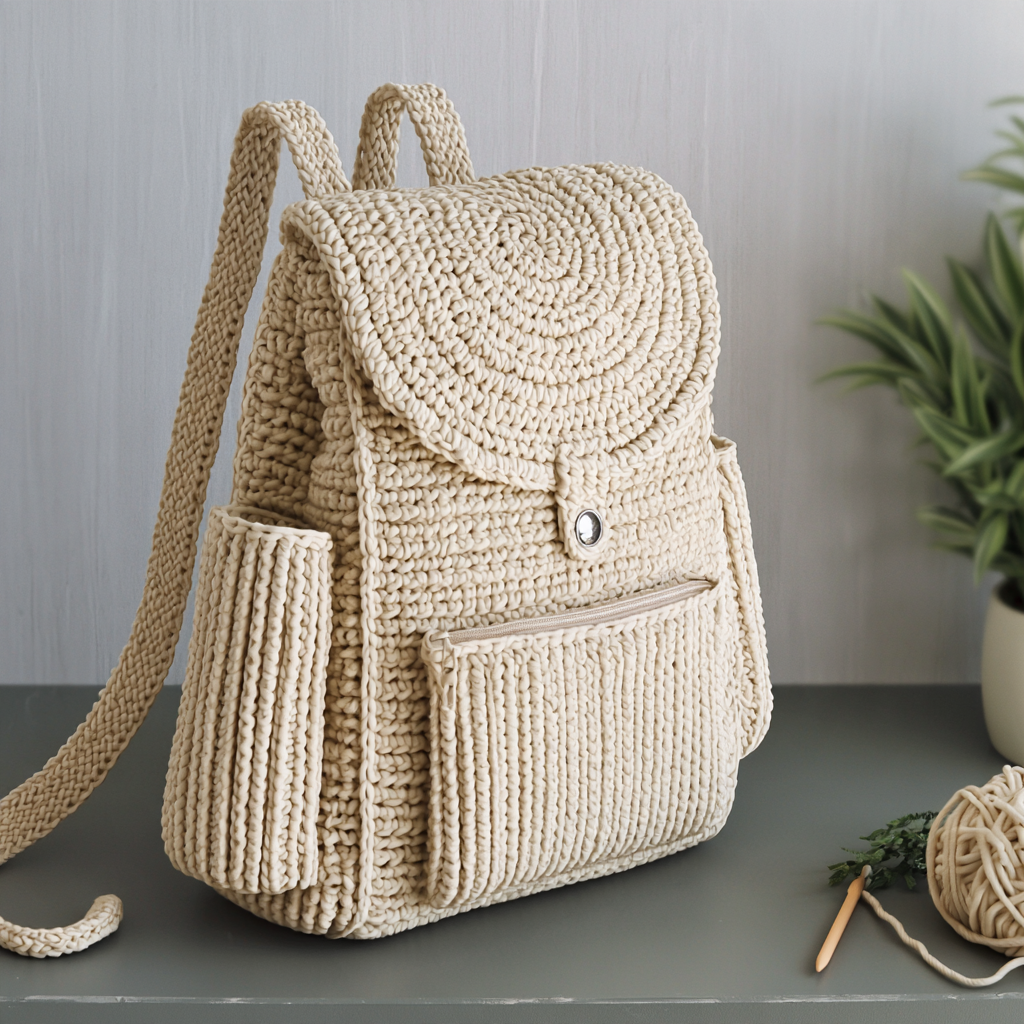
This pattern walks you through creating a durable backpack, perfect for everyday adventures or as a thoughtful handmade gift. We’ll start with a solid rectangular base, build up the main body in continuous rounds for a seamless look, and then add a functional flap, handy pockets, and comfortable straps. Even if you’re new to crochet, I’ll guide you through each step, making sure you feel confident and supported. So, grab your hook and yarn, and let’s create something amazing together!
Crochet Backpack Pattern
Materials
- Chunky Yarn (like cotton or acrylic): approximately 500-600 grams. Choose a soft, sturdy yarn in your favorite color.
- Crochet Hook: 8mm (or size needed to obtain a dense fabric)
- Scissors
- Stitch Markers
- Measuring Tape
- Button or Magnetic Snap: for closing the flap
- Sewing Needle and Thread: to attach button/snap and zipper (if using)
- Zipper (Optional): slightly shorter than the width of the pocket opening, if adding to the front pocket.
Finished Size
Base: approximately 10 inches wide and 4 inches deep.
Body Height: approximately 12-14 inches.
Strap Length: approximately 24-30 inches.
Handle Length: approximately 6-8 inches.
Hook and Tools
- 8mm crochet hook
- Scissors
- Stitch Markers
- Measuring Tape
- Sewing Needle and Thread
Abbreviations (US Terms)
- ch — chain
- sc — single crochet
- sl st — slip stitch
- st(s) — stitch(es)
- BLO — back loop only
- sc2tog — single crochet 2 together (decrease)
Pattern Notes
- The initial chain 1 at the beginning of rows/rounds does NOT count as a stitch unless otherwise specified.
- The base is worked in rounds, joining with a slip stitch at the end of each round.
- The body is worked in continuous rounds (spirals) without joining, which creates a seamless look. Use a stitch marker to keep track of the beginning of each round.
- The flap, pockets, and straps are worked in rows.
Special Stitches
- Single Crochet 2 Together (sc2tog): Insert hook into first stitch, yarn over, pull up a loop (2 loops on hook). Insert hook into next stitch, yarn over, pull up a loop (3 loops on hook). Yarn over, pull through all 3 loops on hook.
Instructions
To Begin: The Base
Round 1: Make a slip knot on your hook. Chain 20. Single crochet in the 2nd chain from the hook and in each chain across. (19 sc)
Round 2: Ch 1, turn. Sc in each st across. In the last st, work 3 sc. Continue working down the other side of the foundation chain (into the unworked loops). Work 3 sc in the last st (which is also the first st of the round). Join with a sl st to the first sc of the round.
Repeat Round 2 until your base is approximately 10 inches wide and 4 inches deep. Remember to always work 3 sc in each corner stitch to maintain the rectangular shape.
Building the Body
We will now work in continuous rounds. Place a stitch marker at the beginning of each round.
Round 1 (Body): Ch 1. Working in the back loop only (BLO) of each stitch, sc in each st around. Do NOT join with a sl st.
Rounds 2 onwards (Body): Sc in each stitch around (working through both loops now) in continuous rounds. Continue until the backpack body reaches your desired height (approximately 12-14 inches).
Fashioning the Flap
Position your backpack body so the back is facing you. Count approximately one-third of the way around from one side of the back. Join your yarn here with a sl st.
Row 1 (Flap): Ch 1, sc across the top edge for about two-thirds of the backpack opening width. Turn.
Rows 2 onwards (Flap): Ch 1, sc across. Turn. Repeat this row, decreasing by one stitch at the beginning and end of every other row to create the tapered shape of the flap. To decrease, use the sc2tog stitch. Continue until the flap is the desired length and tapered shape. For a rounded bottom, you can decrease more rapidly in the last few rows.
Crafting the Pockets
Make two identical pocket panels.
Making the Pocket Panels: Ch 15 (or adjust for desired pocket width). Sc in the 2nd ch from the hook and in each ch across. (14 sc)
Ch 1, turn, sc in each st across. Repeat this until your pocket panel is square or rectangular, depending on your preference.
Attaching the Pockets and Optional Zipper
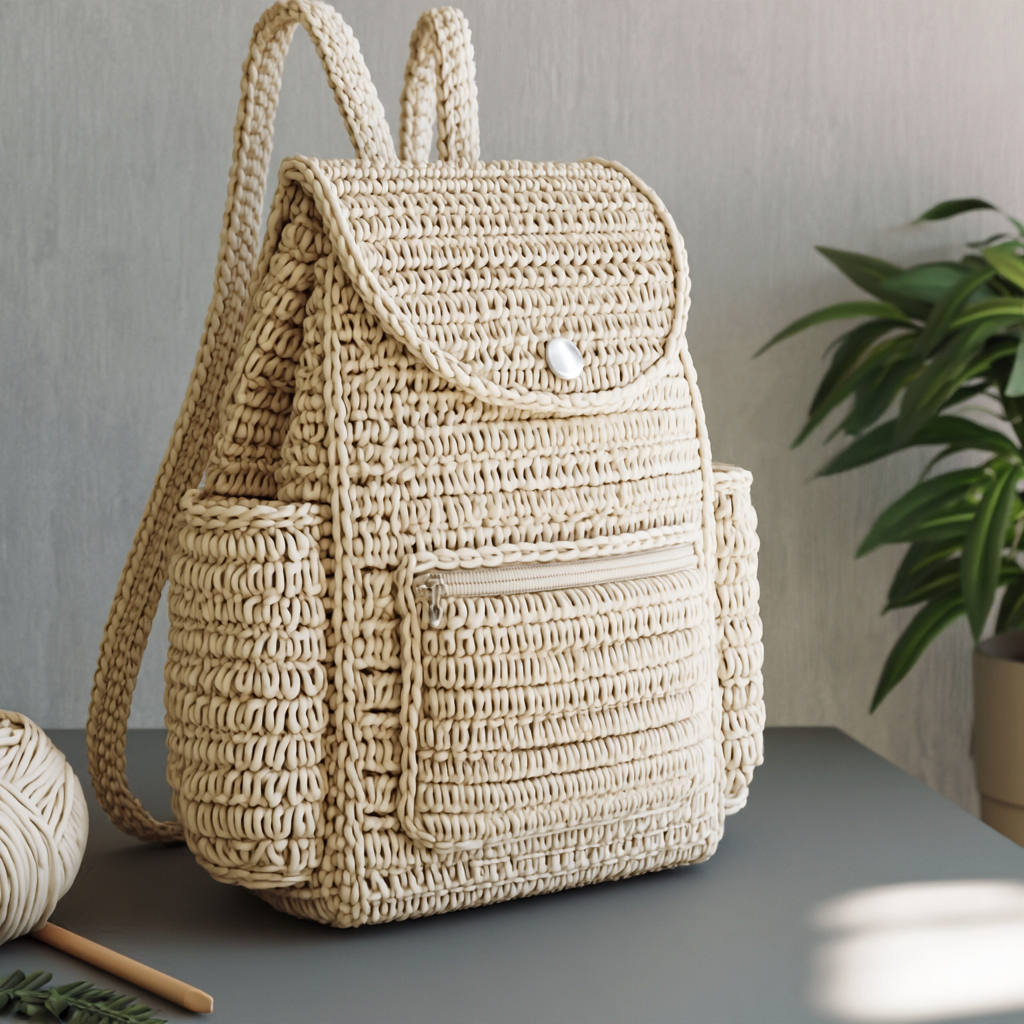
Position the pocket panels on the front of your backpack body, evenly spaced and at your preferred height. Pin them in place.
Using your crochet hook and yarn, sc around three sides of each pocket panel, attaching it to the backpack body as you go. Leave the top edge of the pocket open.
If adding a zipper to the lower pocket: Carefully sew the zipper along the top edge of the lower pocket opening using your sewing needle and thread.
Assembling the Straps and Handle
Making the Straps: For each strap, ch 6. Sc in the 2nd ch from the hook and in each ch across. (5 sc)
Ch 1, turn, sc in each st across. Repeat this until each strap is approximately 24-30 inches long, or your desired length. Make two straps.
Making the Handle: Ch 6. Sc in the 2nd ch from the hook and in each ch across. (5 sc)
Ch 1, turn, sc in each st across. Repeat this until the handle is approximately 6-8 inches long.
Attaching Straps and Handle: Position the straps on the back of the backpack. Attach one strap on each side of the base at the bottom, and then attach the other end to the upper back of the backpack. Pin them in place. Securely sew them to the backpack using your sewing needle and thread, or by slip stitching them on with your crochet hook and yarn.
Attach the handle to the top center back of the backpack, between the strap attachments. Sew it securely in place.
Finishing
Attaching the Button/Magnetic Snap: Sew the button or magnetic snap to the center front of the backpack body, where the flap will close. Then, sew the corresponding part of the button or magnetic snap to the underside of the flap, ensuring it lines up correctly for closure.
Weaving in Ends: Use your crochet hook or tapestry needle to weave in all loose yarn ends on the inside of your backpack. This creates a neat finish and prevents unraveling.
Emma’s Tips
Congratulations on making your very own crocheted backpack! I know you’ll love showing off this unique creation. Here are a few extra tips to make your crocheting journey even smoother:
Stitch Markers are Your Best Friend: Especially when working in continuous rounds for the body, a stitch marker will save you from constantly counting and recounting. Place it in the first stitch of each round to easily identify where your round begins and ends.
Check Your Gauge: While a precise gauge isn’t as critical for a backpack as it might be for a garment, paying attention to your fabric density is important. You want a sturdy, firm fabric that will hold its shape. If your stitches feel too loose, try a smaller hook size. If they’re too stiff, go up a hook size.
Yarn Choice Matters: For a durable item like a backpack, a chunky cotton or acrylic yarn is a fantastic choice. They offer good structure and are usually easy to wash. Don’t be afraid to experiment with colors and textures to truly personalize your bag!
Practice Makes Perfect: If you’re new to techniques like decreasing or working in the back loop only, don’t get discouraged! Take your time, watch a quick video if needed, and remember that every stitch is a step towards improving your skills. Soon, these techniques will feel like second nature.
Blocking (Optional but Recommended): Once your backpack is complete, you can lightly block it to help it hold its shape even better. Gently dampen the backpack, shape it to your desired dimensions, and let it air dry. This can help even out any slight imperfections and give it a polished look.
1 thought on “Crochet Your Own Stylish Backpack: A Step-by-Step Guide”