
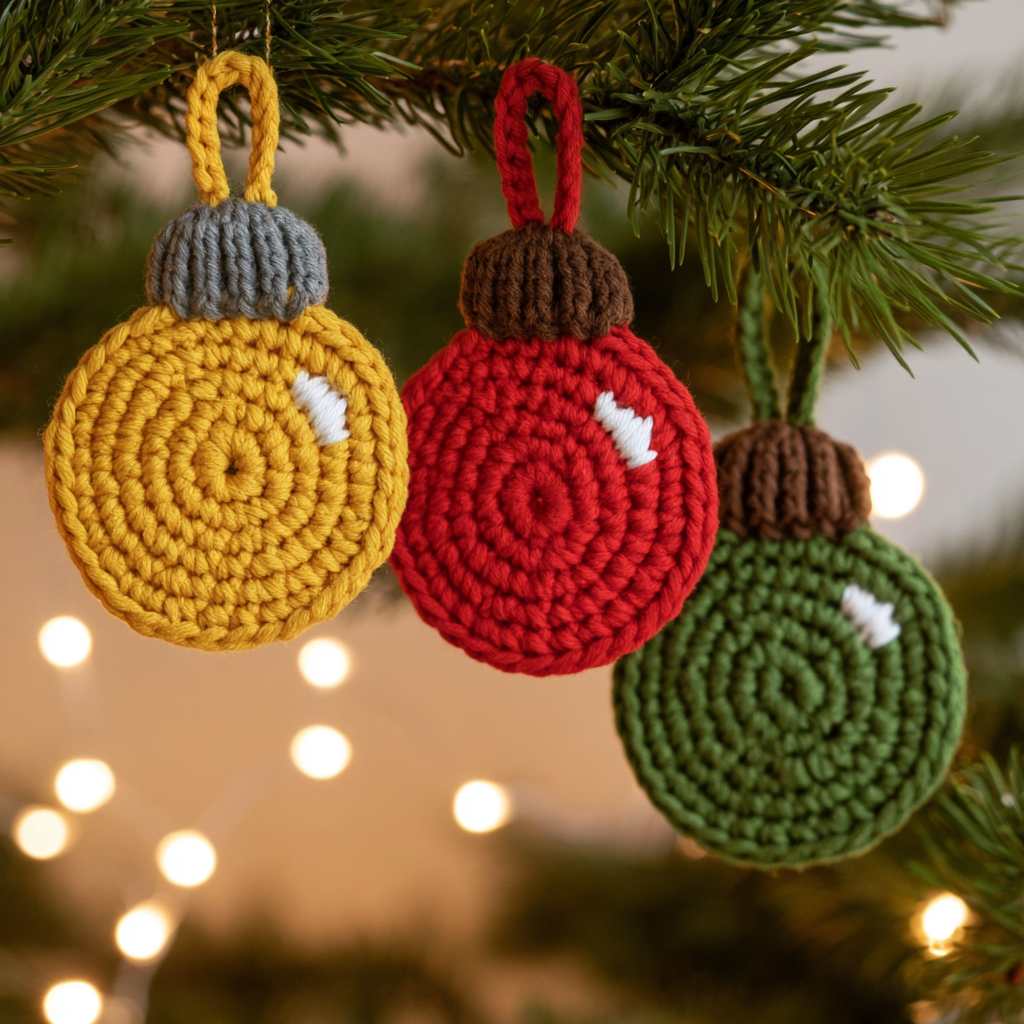
There’s something truly special about handmade decorations during the holidays, and these crochet Christmas baubles are no exception! As the festive season approaches, I love finding simple projects that bring a personal touch to my home, and these baubles are absolutely perfect. They’re quick to whip up, use minimal yarn, and are wonderfully beginner-friendly, making them ideal for anyone looking to add a bit of cozy, homemade magic to their Christmas tree.
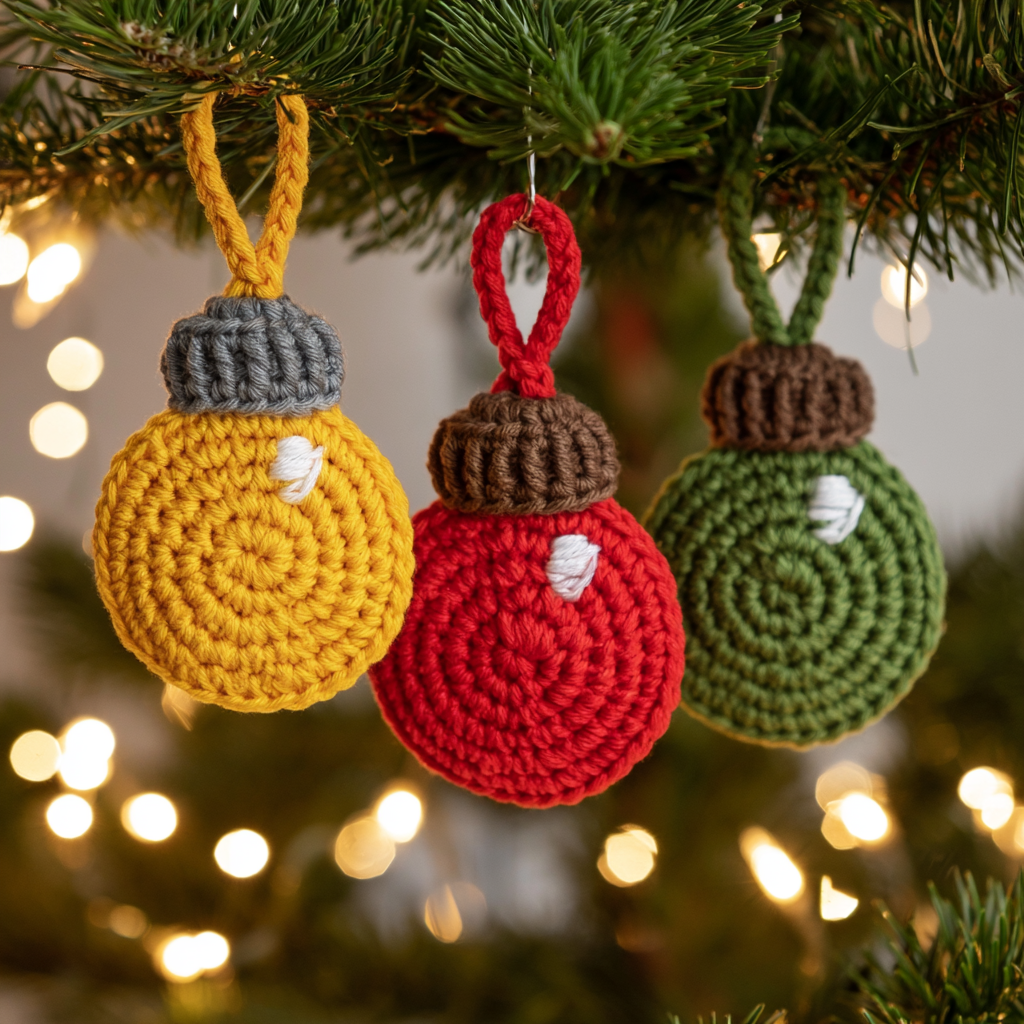
What I especially adore about this pattern is its versatility. You can make a whole set in coordinating colors, use up your scrap yarn for a vibrant, eclectic look, or even personalize them as thoughtful gifts. Imagine them adorning your tree, topping off a beautifully wrapped present, or hanging in a window catching the light. They bring such a warm, personal feel to any holiday display. Plus, it’s a fantastic way to practice your double crochet stitches in the round!
This pattern guides you through creating a charming, round bauble, starting with a magic ring and building up with simple double crochet stitches. It’s worked in continuous rounds, making it a satisfying project you can complete in an evening. Ready to spread some holiday cheer with your hook and yarn? Let’s get started!
Crochet Christmas Bauble Pattern
Materials
- Yarn (milk cotton recommended for a soft, fluffy look)
- Crochet hook (2.5mm)
- Scissors
- Tapestry needle
Abbreviations
- CH — Chain
- MR — Magic Ring
- DC — Double Crochet
- SL St — Slip Stitch
- SC — Single Crochet
Pattern Notes
- The magic ring counts as the first round of this pattern.
- The initial chain 3 at the beginning of rounds counts as a DC stitch.
- If you find the magic ring tricky, you can substitute with 4 chain stitches joined with a slip stitch to form a ring.
- Tension is important for an even bauble shape. Try to keep your stitches consistent.
- Use a different colored yarn for the cap part of the bauble for a decorative touch.
Instructions
To Begin:
Choose your yarn and hold the open end in your fingers. Start by making a magic ring, and then work 3 chain stitches on your hook.
Round 1: Into the magic ring, work 14 double crochet (DC) stitches. Then, slip stitch into the 3rd chain of the original chain 3 to close the round. (15 sts, counting initial Ch 3 as a DC)
Round 2: Chain 3 to begin. Work 2 DC into each stitch around the circle. Make a slip stitch into the top chain stitch of this round’s initial 3 chain stitches. (30 sts)
Round 3: Work 3 chains on the hook. Work 1 DC in the next stitch, then 2 DC in the stitch after that (both in the same stitch). Repeat this pattern of (1 DC, 2 DC) all the way around until the end of the round. Now make a slip stitch into the top chain of the initial chain 3 stitches. (45 sts)
Round 4: Work 3 chains to start. Work 1 DC into the next two spaces (1 DC in each space), then 2 DC into the next space. Repeat this pattern (1 DC, 1 DC, 2 DC) around. Now make a slip stitch. (60 sts)
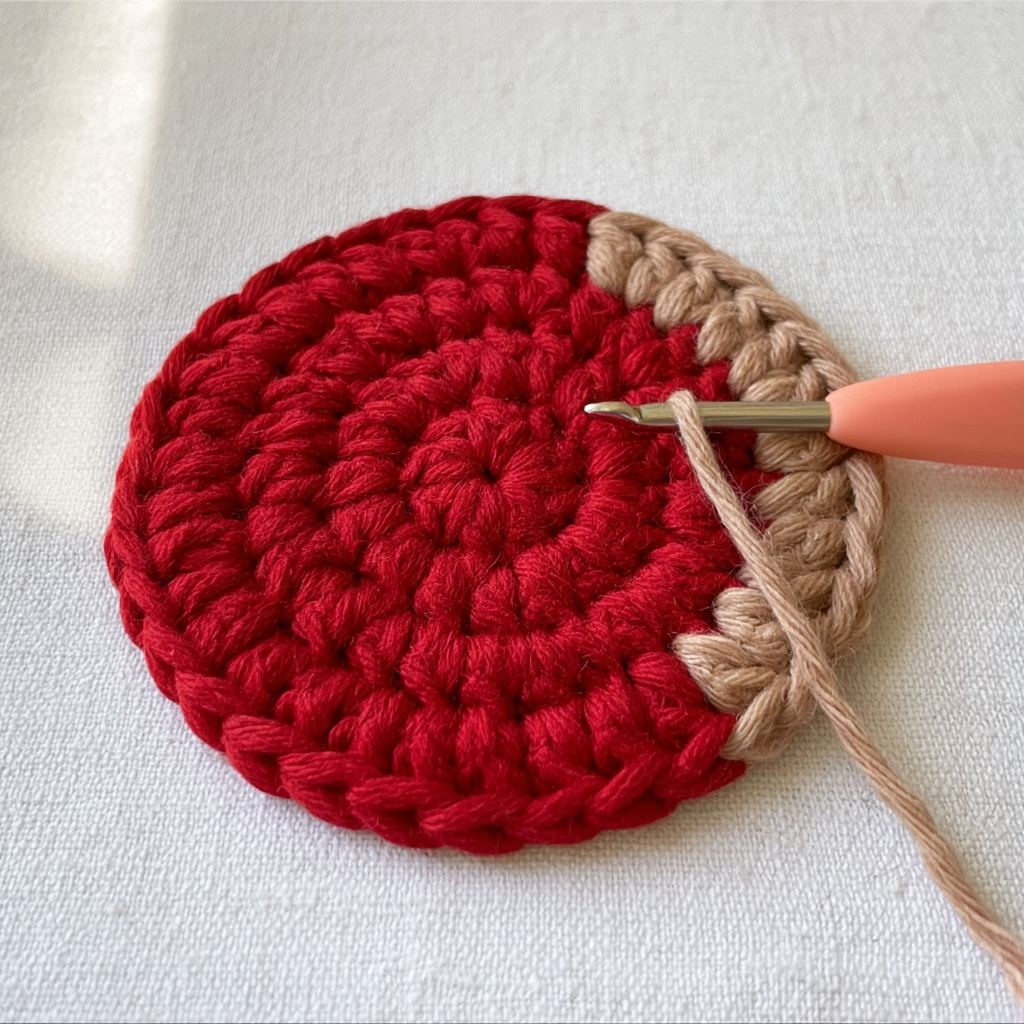
Finishing
Leave a yarn tail and cut the yarn from the bundle. Use a tapestry needle to sew the remaining yarn tail on the back of the pattern to secure.
Bauble Cap
Insert new yarn (consider a contrasting color for the cap) through any outer stitch of the bauble.
Row 1: Work 5 SC into the next 5 stitches. (5 sts)
Row 2: Work 2 chains and 1 DC into each stitch of this row. Repeat this pattern one more time. When you finish the row, make a slip stitch and leave a long tail. Cut off the yarn and draw the tail to the backside of the pattern.
Hanger Loop
Use the same yarn as the bauble cap to start a stitch with a slip knot. Chain 15 and then leave a long tail. Cut off yarn from the bundle.
Make a loop with the 15 chain stitches and sew the open ends to the cap part of the crochet ornament. Sew at the backside, and the ornament should be complete.
Emma’s Tips
These little baubles are such a joy to make, and they really do add a lovely handcrafted touch to your holiday decor. Here are a few thoughts from my own experience:
- Yarn Choice Makes a Difference: While any yarn works, the pattern suggests milk cotton, and I agree it gives a wonderfully soft, fluffy look. Experiment with different textures too! A sparkly yarn could be really festive.
- Don’t Fear the Magic Ring: It can feel a bit fiddly at first, but it creates a beautiful, tight center. If it’s really not clicking, the alternative of chaining 4 and slip stitching to join is a perfect substitute. Just make sure your first round stitches are worked into the center of that chain ring.
- Blocking for Shape: For a perfectly round bauble, a gentle block can work wonders. Simply dampen your finished bauble, gently shape it, and let it dry. It helps define the stitches and gives a professional finish.
- Personalize Them: Think about adding small beads, embroidery, or even a tiny bow to your finished baubles. They’re a blank canvas for your creativity!
- Practice Your Stitches: This pattern is excellent for practicing your double crochet and working in the round. If you’re new to these techniques, don’t worry, you’ll get the hang of it quickly! For more practice with basic stitches, you might enjoy trying a simple project like my beginner-friendly flower coaster.
FAQ
Q: What kind of yarn is best for these crochet baubles?
A: The pattern suggests milk cotton yarns for a soft and fluffy look, but you can use any yarn you prefer. Different yarn types will give your baubles unique textures and appearances.
Q: What if I have trouble with the magic ring?
A: If the magic ring is too tricky, you can start by chaining 4 and then slip stitching into the first chain to form a ring. Work your first round of stitches into the center of this ring.
Q: How can I make my crochet baubles more sturdy?
A: To give your crochet baubles a sturdier structure, you can apply fabric stiffener once they are complete and dry. This will help them hold their shape better.
Q: Can I use different hook sizes?
A: While the pattern specifies a 2.5mm hook, you can experiment with different hook sizes. A larger hook will result in a looser fabric and a slightly larger bauble, while a smaller hook will create a tighter fabric and a smaller bauble.