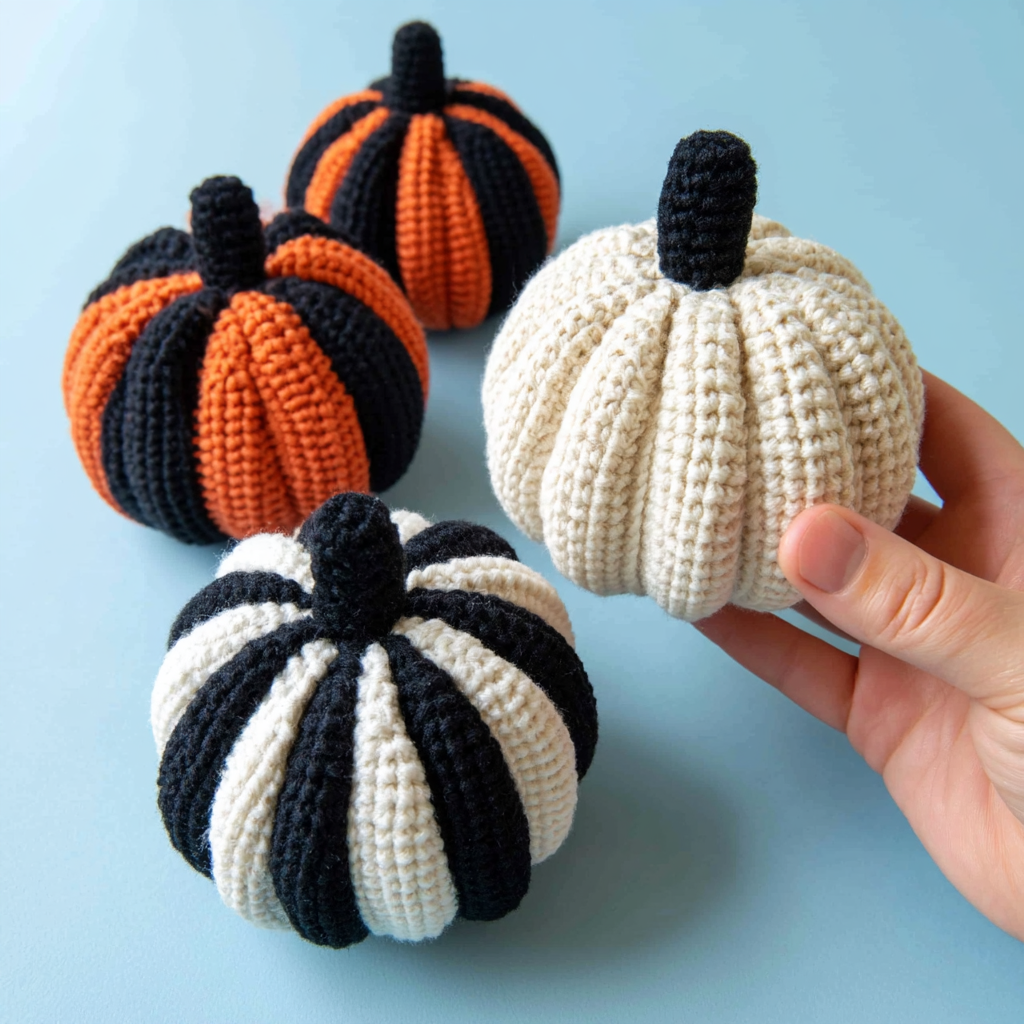
Hello, fellow crocheters! As the leaves begin to change and a crispness fills the air, my thoughts turn to cozy autumn decorations. There’s something so wonderfully satisfying about adding handmade touches to your home for the season. That’s why I’m thrilled to share this super easy and absolutely adorable crochet pumpkin amigurumi pattern with you today!
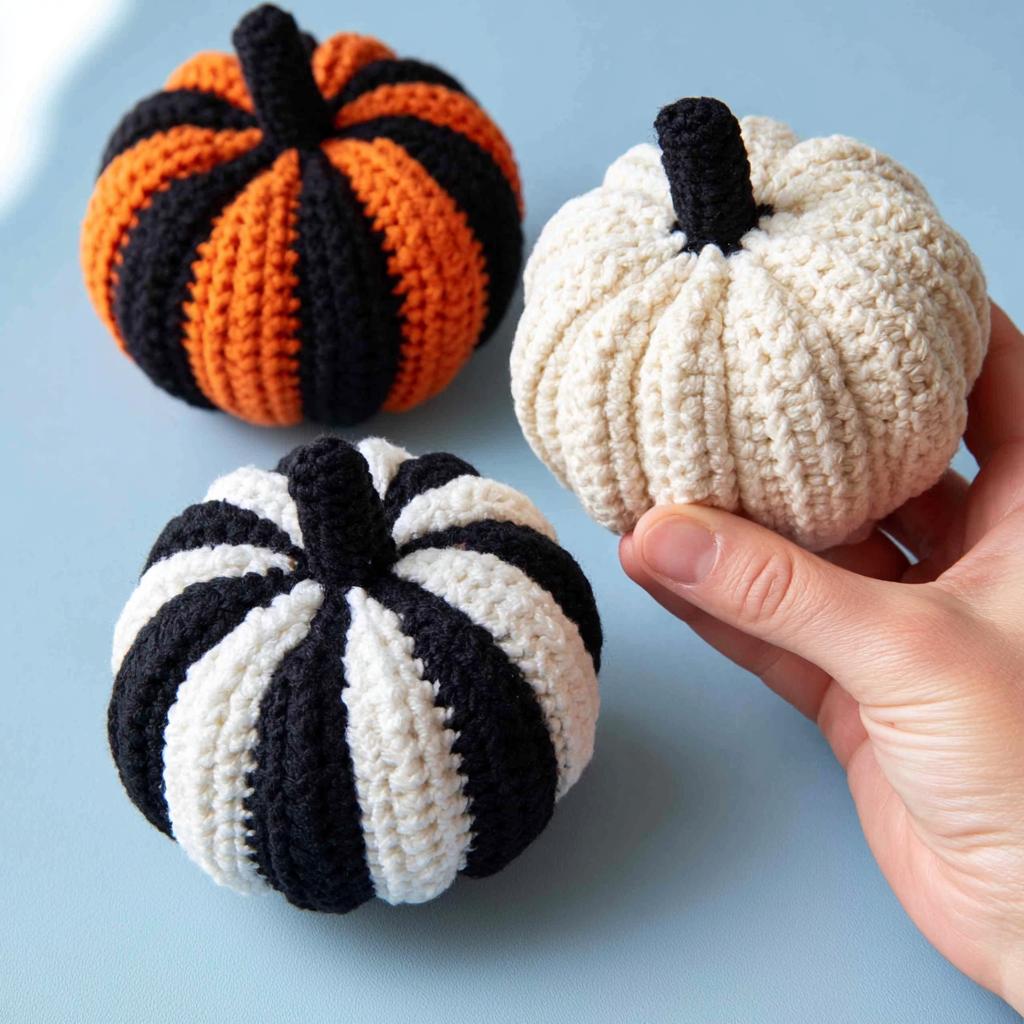
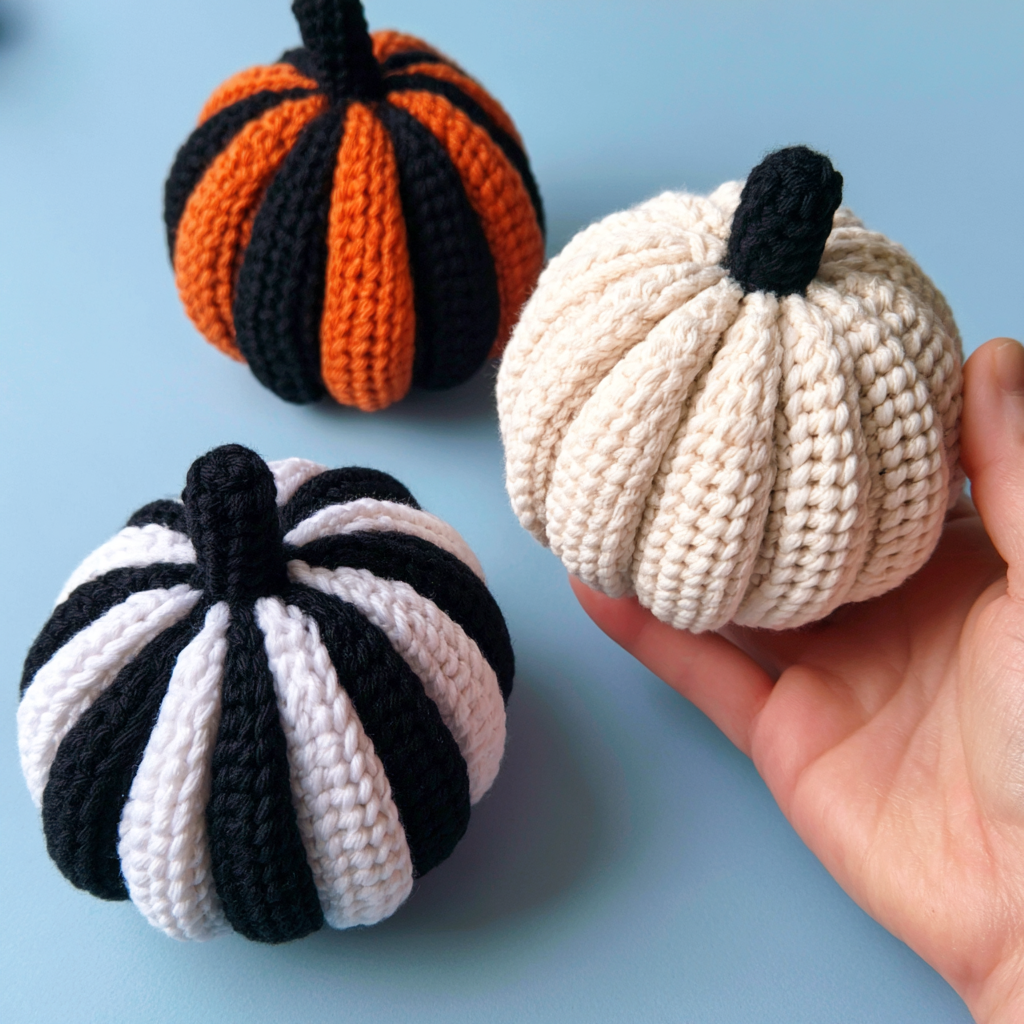
These little pumpkins are perfect for adding a touch of fall charm to any room. Whether you prefer classic solid colors or playful stripes, this pattern is designed to be beginner-friendly, making it a fantastic project for anyone looking to try their hand at amigurumi. I love how quickly they work up, making them ideal for last-minute decorating or even a thoughtful, handmade gift. You can create a whole patch of them in an afternoon!
Crochet Pumpkin Amigurumi Pattern
Materials
- Yarn Art Jeans, 55% cotton, 45% acryl, 50g/160m
- Colors: White No 01, Black No 53, Orange No 85
- Crochet hook 2.25 mm (US: B, UK:14)
- Fiberfill
- Thick sewing needle
- Pins
Finished Size
Not specified in the pattern.
Yarn Information
- Yarn: Yarn Art Jeans
- Fiber Content: 55% cotton, 45% acrylic
- Weight: 50g/160m
- Colors Used: White No 01, Black No 53, Orange No 85
Hook and Tools
- Crochet hook 2.25 mm (US: B, UK:14)
- Fiberfill
- Thick sewing needle
- Pins
Abbreviations
- ch – chain stitch
- SC – single crochet
- sl st – slip stitch
- inc – increase (work 2 sc in the next sc)
- dec – decrease (single crochet 2 stitches together)
- (16) – number of stitches in a round
- (inc, sc)*N – repeat N times
- BLO – back loop only
Pattern Notes
- The pattern is worked in separate parts (body and stem) and then joined.
- For the striped pumpkin, change yarn color every 2 rounds for the body.
- The body is worked in turning rows.
- The stem is worked in continuous rounds.
Instructions
Body
With white yarn. For the striped pumpkin, change the color of the yarn every 2 rounds. Work in turning rows.
To Begin: Chain 21.
Rnd 2-36: BLO 20 sc. (20 sts)
Stem
With black yarn.
Rnd 1: Work 6 sc in the MR (Magic Ring). (6 sts)
Rnd 2: (inc, 1 sc)*3. (9 sts)
Rnd 3: Sc in each stitch around. (9 sts)
Rnd 4: (dec, 1 sc)*3. (6 sts)
Rnd 5-6: Sc in each stitch around for 2 rounds. (6 sts)
Finishing
Body
Fold the body so that its edges are placed against each other, forming a ring. Join the edges of the base with a round of 20 sl st, inserting the hook into the back loop of the last row and into the corresponding loop from the foundation chain at once. Cut off the yarn and leave a long tail for sewing. Pull off the hole, add fiberfill into the detail and pull off the second hole.
Stem
Do not stuff the stem. Cut off the yarn, leave a long tail, and sew the stem to the top of the pumpkin body.
Emma’s Tips
Creating these little pumpkins is such a joy! Here are a few tips to help you along the way:
- Yarn Choice: While the pattern specifies Yarn Art Jeans, feel free to experiment with other cotton-acrylic blends or even 100% cotton in similar weights. Just be aware that different yarns might slightly alter the finished size and texture.
- Stitch Markers are Your Friend: Especially when working in rounds for the stem, a stitch marker can save you from losing your place. Place it in the first stitch of each round.
- Stuffing Just Right: Don’t overstuff your pumpkin body, as this can distort its shape. Aim for a firm but still squishy feel. The fiberfill helps give it that classic plump pumpkin look.
- Weaving in Ends: Take your time to weave in all your yarn ends securely. A thick sewing needle is perfect for this, ensuring your finished pumpkins look neat and tidy.
- Personalize Your Patch: Mix and match colors! Use different shades of orange, white, or even green for a varied pumpkin patch. You can find more inspiration for fall decorations, like this Beginner-Friendly Pumpkin, on the blog!
FAQ
- What is amigurumi? Amigurumi is the Japanese art of crocheting or knitting small, stuffed yarn creatures. It typically involves working in continuous rounds and using single crochet stitches to create a dense fabric.
- Can I make the pumpkin bigger or smaller? This pattern is written for a specific size. To make a significantly different size, you would need to adjust the initial chain count and subsequent row counts, which would also affect the amount of yarn needed.
- How do I change colors for the striped pumpkin? To change colors, work the last yarn over of the final stitch of the old color with the new color. Then, continue crocheting with the new color.
- What is BLO? BLO stands for “back loop only.” When you work into the back loop only, you insert your hook only under the loop furthest away from you, creating a ribbed texture.