
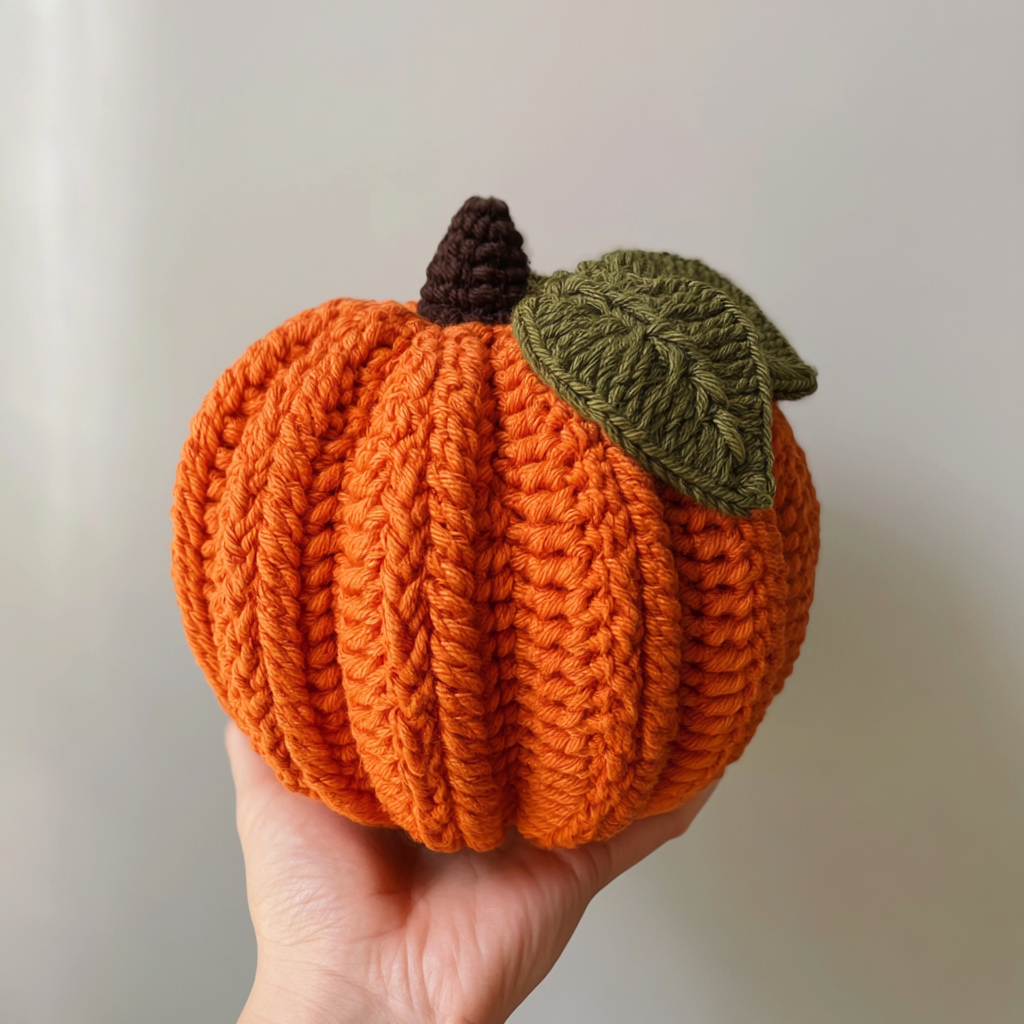
There’s something so wonderfully cozy about fall, isn’t there? And what better way to welcome the season than with handmade decor? Today, I’m thrilled to share a super simple yet incredibly satisfying crochet pumpkin pattern that’s perfect for adding a touch of autumn charm to your home.
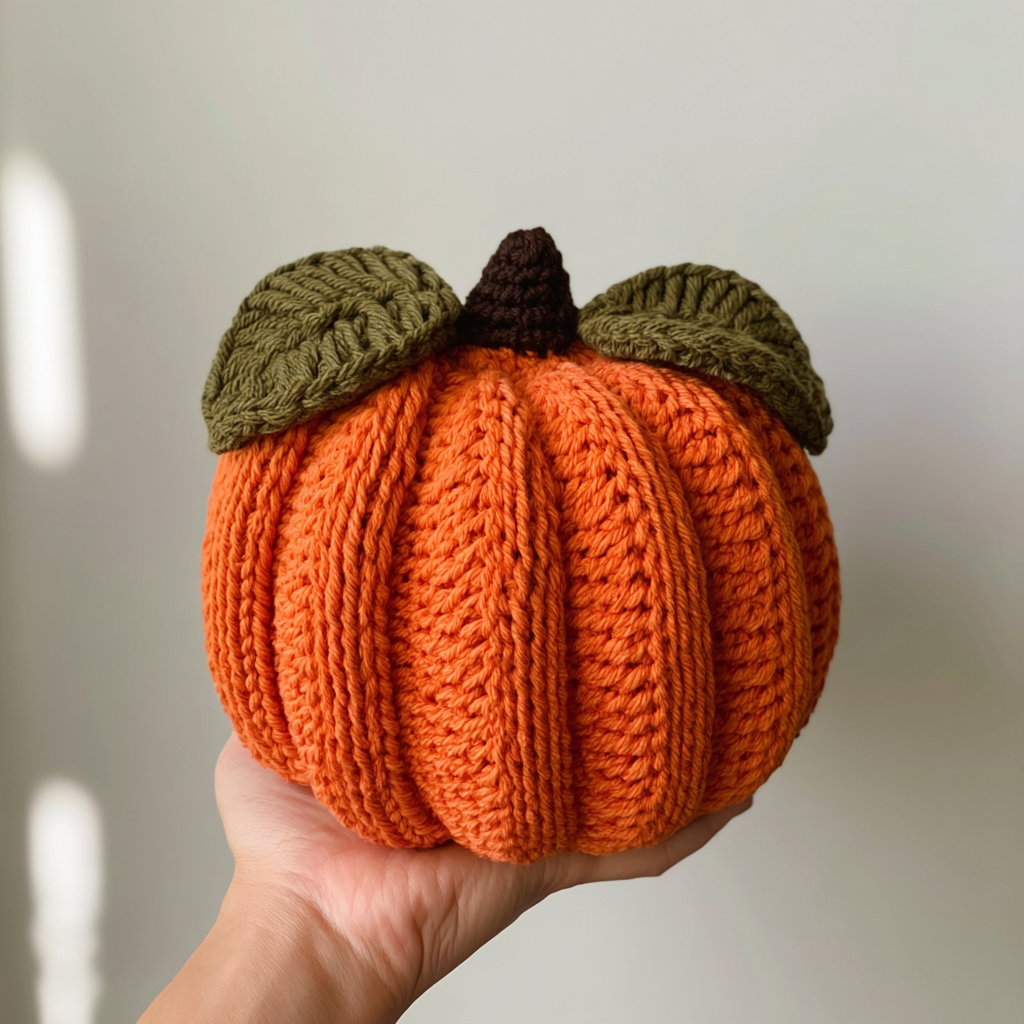
I absolutely adore how quickly these pumpkins work up, making them a fantastic project for a relaxing afternoon or evening. Whether you’re decorating for Halloween, Thanksgiving, or just want to embrace those autumnal vibes, these little beauties are sure to bring a smile to your face. Plus, they make fantastic gifts or even popular items for craft markets!
This pattern is designed to be beginner-friendly, using basic stitches and clear instructions. You’ll create a lovely pumpkin that measures about 15 cm (5.9 inches) tall and wide, complete with a cute stem and a delicate leaf. The construction is straightforward, primarily worked in rows to create the pumpkin body, with separate pieces for the stem and leaf that are then attached. You can even adjust the size by simply changing your yarn weight and hook size – imagine a giant squishy pumpkin pillow or tiny decorative mini pumpkins!
Crochet Pumpkin Pattern
Materials
- Fine weight yarn – Lea: green (for the leaf)
- Fine weight yarn: brown (for the stem)
- Medium weight yarn: orange (for the pumpkin body)
- Crochet hook: 3 mm
- Crochet hook: 5 mm
- Stitch markers
- Tapestry needle
- Scissors
- Stuffing
Finished Size
- Height: 15 cm / 5.9” with stem, 12 cm / 4.72” without the stem
- Width: 15 cm / 5.9”
Hook and Tools
- 3 mm crochet hook
- 5 mm crochet hook
- Stitch markers
- Tapestry needle
- Scissors
- Stuffing
Abbreviations (US Terms)
- ch – chain(s)
- st(s) – stitch(es)
- sc – single crochet
- hdc – half double crochet
- dc – double crochet
- slst – slip stitch
- inc – increase
- MR – magic ring
- TLO – third loop only
- BLO – back loop only
- rnd – round
Pattern Notes
- This pattern uses US crochet terms.
- The pumpkin body is worked in rows, while the stem is worked in rounds. The leaf is worked in rows.
- The size of the pumpkin can be adjusted by changing yarn weight and hook size.
- Pay close attention to crocheting into the last stitch of each row for the pumpkin body.
Instructions
Pumpkin Body (Orange Yarn, 5mm Hook)
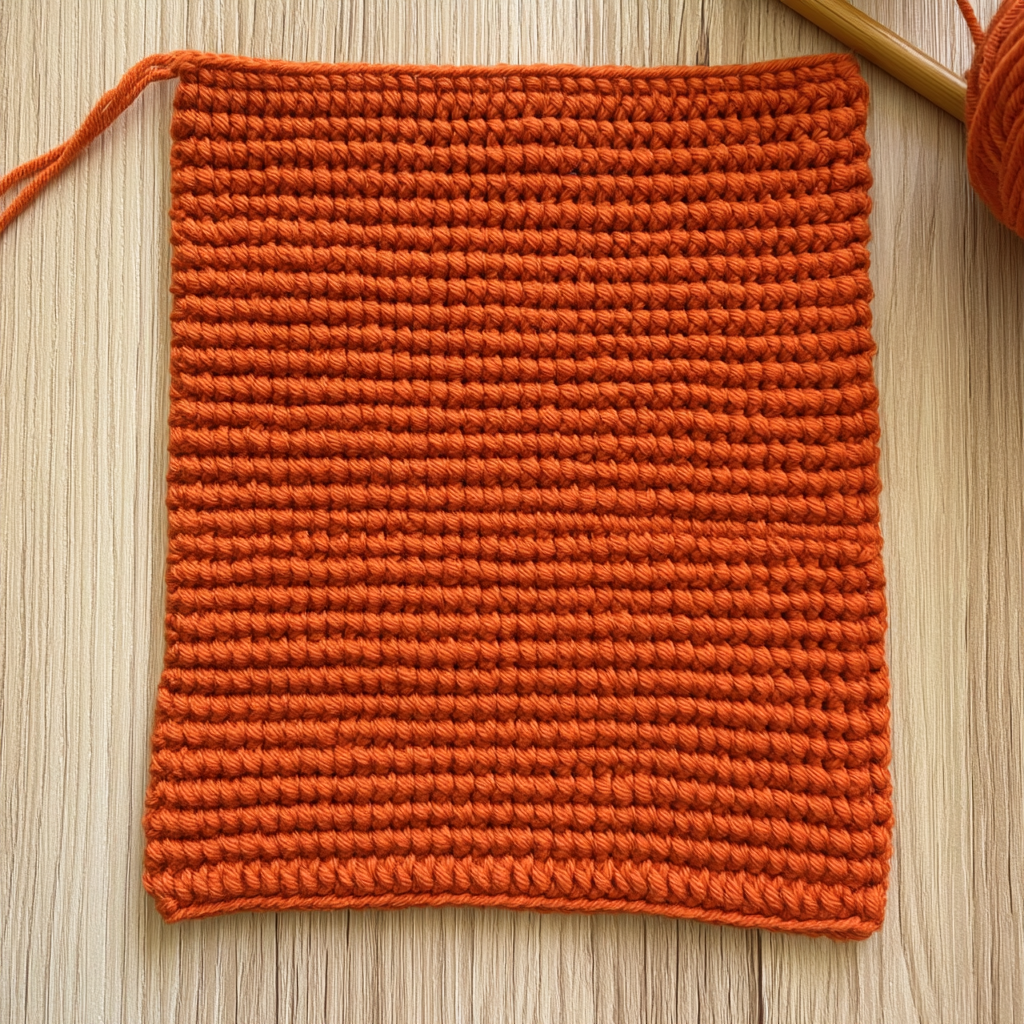
To Begin: Using orange yarn and 5mm hook, make a slip knot, then chain 36.
Row 1: Starting from the 2nd ch from the hook, hdc 35 in the back bumps. Ch 2, turn. (35 sts)
Row 2–50: hdc in TLO 35. Ch 2, turn. (35 sts)
Fasten off, but DO NOT cut off the yarn. You will use it for assembly.
Stem (Brown Yarn, 3mm Hook)
To Begin: Using brown yarn and 3mm hook, make a magic ring.
Rnd 1: Work 6 sc in MR. (6 sts) Leave the string you pulled the MR with outside; you will need it later.
Rnd 2–11: sc in each of the 6 sts around. (6 sts)
Rnd 12: *(sc in next st, inc in next st)* Repeat from * to * 3 times. (9 sts)
Rnd 13–14: sc in each of the 9 sts around. (9 sts)
Rnd 15: *(sc in next 2 sts, inc in next st)* Repeat from * to * 3 times. (12 sts)
Rnd 16: sc in each of the 12 sts around. (12 sts)
Rnd 17: scBLO in each of the 12 sts around. (12 sts)
Rnd 18: inc in each of the 12 sts around. (24 sts)
Rnd 19: sc, hdc 2, sc, hdc 2, sc 2, hdc, dc, hdc, sc 2, hdc 2, sc, hdc 2, sc 2, hdc, dc, hdc, slst.
Fasten off, cut off the yarn leaving a longer piece for sewing later.
Leaf (Green Yarn, 3mm Hook)
To Begin: Using green yarn and 3mm hook, make a slip knot, then chain 16.
Row 1: Starting in the 3rd ch from the hook, sc 14. Ch 4. Sc 14 (on the other side of the starting chain). Ch 1, turn.
Row 2: Skip 1 st. scBLO 13. (sc 2, ch 4, sc 2) in the ch space. scBLO 11. Ch 1, turn.
Row 3: Skip 1 st. scBLO 12. (sc 2, ch 4, sc 2) in the ch space. scBLO 12. Ch 1, turn.
Row 4: Skip 1 st. scBLO 13. (sc 2, ch 4, sc 2) in the ch space. scBLO 11. Ch 1, turn.
Row 5: Skip 1 st. scBLO 12. (sc 2, ch 4, sc 2) in the ch space. scBLO 12. Ch 1, turn.
Row 6–8: Skip 1 st. scBLO 13. (sc 2, ch 4, sc 2) in the ch space. scBLO 12. Ch 1, turn.
Row 9: Skip 1 st. scBLO 13. (sc 5) in the ch space. scBLO 12. Ch 5, turn.
Row 10: Skip 2 sts. sc 3. scBLO 5. Ch 1. Skip 1 st. sc. Ch 1, turn.
Row 11: sc in the ch space. scBLO 9. Ch 5, turn.
Row 12: Skip 2 sts. sc 3. scBLO 11. Ch 1. Skip 1 st. sc. Ch 1, turn.
Row 13: sc in the ch space. scBLO 15. Ch 4, turn.
Row 14: Skip 2 sts. sc 2. scBLO 17. Ch 1. Skip 1 st. sc. Ch 1, turn.
Row 15: sc in the ch space. scBLO 17. Ch 1, turn.
Row 16: Skip 1 st. scBLO 18. Ch 1. Skip 1 st. sc. Ch 1, turn.
Row 17: sc in the ch space. scBLO 15. Ch 1, turn.
Row 18: Skip 1 st. scBLO 16. Skip 1 st. sc 3. scBLO 12. Ch 5, turn.
Row 19: Skip 2 sts. sc 3. scBLO 5. Ch 1. Skip 1 st. sc. Ch 1, turn.
Row 20: sc in the ch space. scBLO 9. Ch 5, turn.
Row 21: Skip 2 sts. sc 3. scBLO 11. Ch 1. Skip 1 st. sc. Ch 1, turn.
Row 22: sc in the ch space. scBLO 15. Ch 4, turn.
Row 23: Skip 2 sts. sc 2. scBLO 16. Ch 1. Skip 1 st. sc. Ch 1, turn.
Row 24: sc in the ch space. scBLO 17. Ch 1, turn.
Row 25: Skip 1 st. scBLO 18. Ch 1. Skip 1 st. sc. Ch 1, turn.
Row 26: sc in the ch space. scBLO 15. Ch 1, turn.
Row 27: Skip 1 st. scBLO 15. Ch 1. Skip 1 st. sc. Slst.
Fasten off, cut off the yarn leaving a long piece for sewing later.
Finishing
- Fold the pumpkin’s main panel (the orange piece) in half lengthwise. Single crochet the two short sides together to form a tube. Cut the yarn, but leave a long tail for joining the remaining sides.
- Using a tapestry needle, pull the long yarn tail through all the rows around one open end of the tube.
- Pull the yarn tightly to gather and close the opening. Secure by tying firmly. You can repeat pulling the yarn through and tightening to ensure the hole is completely closed.
- Now your pumpkin shape should look a bit like a beanie hat.
- Stuff the pumpkin firmly with fiberfill, ensuring it’s packed enough to hold its shape.
- Using the remaining long yarn tail on the other open end, pull the yarn through all the rows around to close the pumpkin.
- Tie it a few times to secure the opening.
Assembly
- Stuff the Stem: Put some stuffing inside the brown stem piece. Use the starting tail you left from the magic ring. Pull this thread through a hole in the middle of the stem’s height to bend it slightly. Tie it to secure the bend. Add more stuffing if needed.
- Attach the Leaf: Position the green leaf on one half of your pumpkin. Starting from the middle of the leaf, sew the edge of the leaf onto the pumpkin using the long yarn tail. Make a tie under the leaf to secure it, then hide the tail and cut off any excess.
- Attach the Stem: Place the stuffed stem in the center of the top of the pumpkin. Using the long tail from the stem, sew the edge of the stem around to attach it securely to the pumpkin. Make a tie, hide the tail, and cut off any excess yarn.
Emma’s Tips
Creating these pumpkins is such a joy, and here are a few tips I’ve picked up along the way:
- Yarn Choice: While the pattern specifies fine and medium weight yarns, don’t be afraid to experiment! Using a chunky yarn with a larger hook will give you a much bigger, squishier pumpkin, perfect for a cozy fall display. Conversely, a thinner yarn and smaller hook will make adorable mini pumpkins for a table setting.
- Stuffing Firmness: Don’t be shy with the stuffing! A firmly stuffed pumpkin will hold its shape much better and look more appealing. Gently massage the stuffing to ensure an even distribution.
- Color Palette: While classic orange is always a hit, consider other autumnal shades like deep reds, earthy browns, sage greens, or even cream for a modern farmhouse look. Pastels can also create a whimsical touch!
- Hiding Tails: After you fasten off and cut your yarn, always take the time to weave in your ends neatly with a tapestry needle. This prevents your project from unraveling and gives it a professional, finished look.
2 thoughts on “Crochet a Beginner-Friendly Pumpkin for Fall”