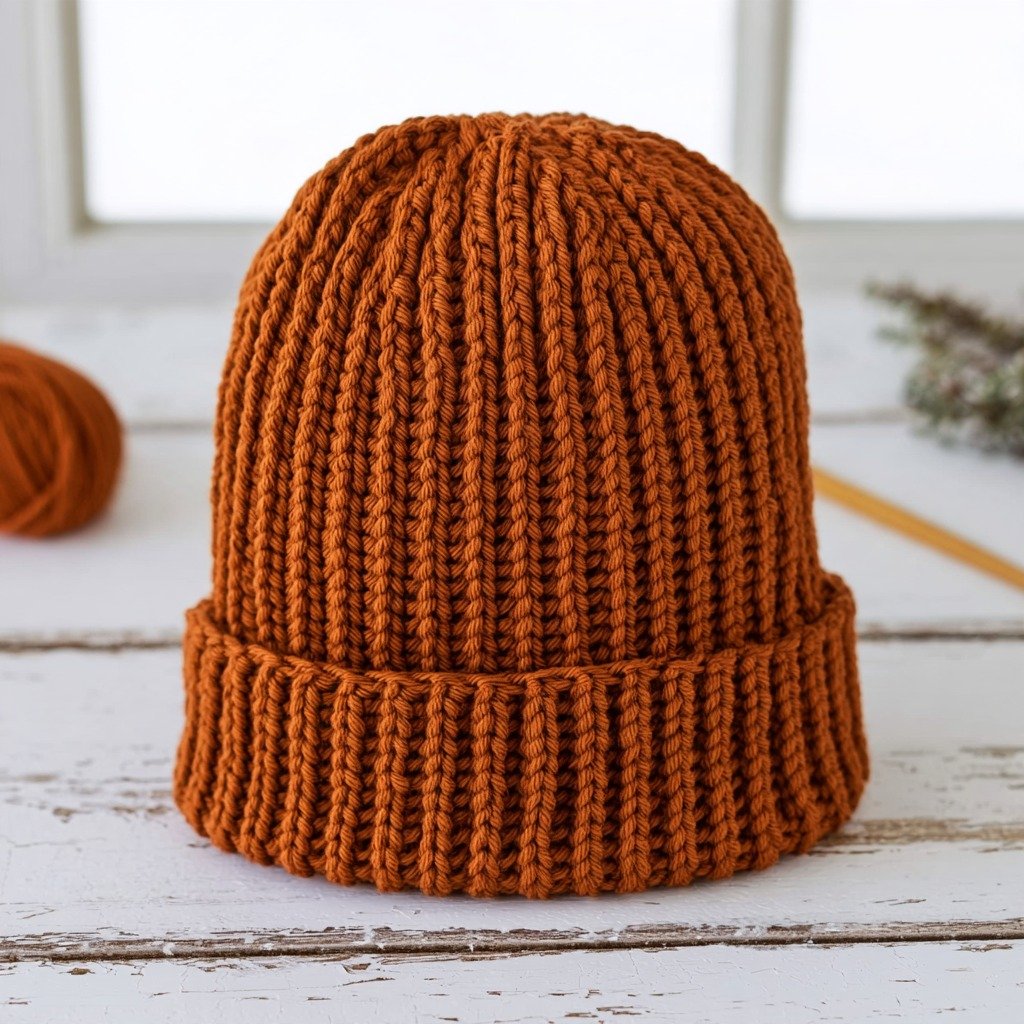
Hello, fellow crochet enthusiasts! Today, I’m so excited to share a pattern that I truly believe will become a staple in your crafting repertoire: the Ribbed Wonder Hat. This project is incredibly satisfying because it’s not only quick to make but also yields a beautifully textured, warm, and stylish hat that’s perfect for gifting or keeping yourself cozy.
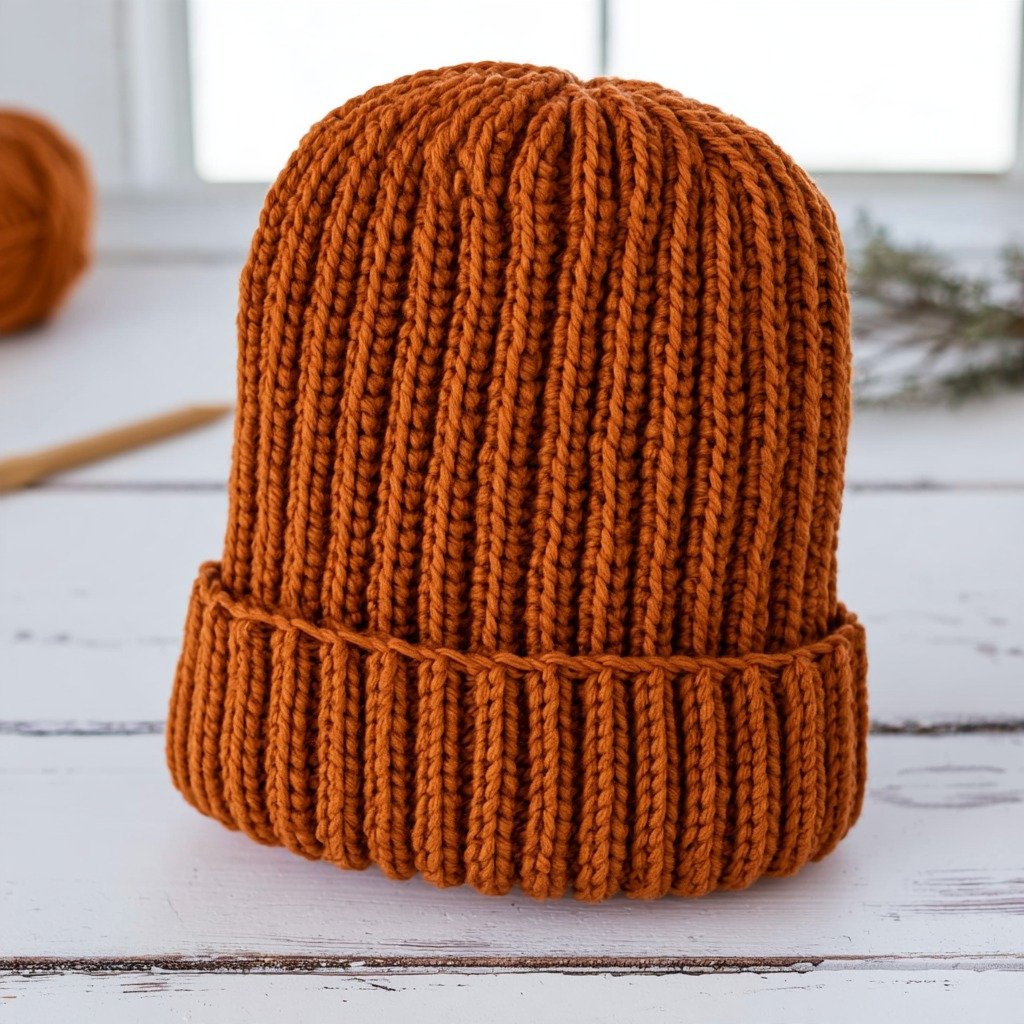
What I love most about this hat is how accessible it is for beginners. If you know how to chain, slip stitch, and make a half double crochet, you’re already well on your way to creating this fantastic accessory! The magic happens with working in the back loop, which creates that lovely knit-look ribbing we all adore. It’s a technique that adds so much character without adding complexity, making this a truly rewarding project for anyone starting their crochet journey or looking for a relaxing make.
This pattern is worked flat in rows to create a ribbed rectangle, which is then seamed into a tube and cinched at the top. The construction is straightforward, and the result is a wonderfully stretchy hat that fits a variety of adult head sizes. Plus, I’ve included notes on how to adjust the size for toddlers and children, so you can make a Ribbed Wonder for everyone in your life!
Ribbed Wonder Crochet Hat Pattern
Materials
- US L/11 (8 mm) crochet hook
- 4.25 oz (approx. 120g) #5 Bulky weight yarn (sample used Lion Brand Color Made Easy in Kombucha)
- Tapestry needle
- Scissors
Finished Size
Fits an adult head size 21″ – 23″ around. Finished hat is approximately 20″ around by 13″ tall before folding the cuffed edge.
Yarn Information
This pattern uses #5 Bulky weight yarn. The sample used Lion Brand Color Made Easy. While Color Made Easy is a chunky yarn, if you can’t find it, you might try another chunky weight yarn that works up similarly. Lion Brand Hue + Me (a chunky wool blend) and Scheepjes Chunky Monkey (an Aran weight yarn that crochets up well with the same hook size) are suggested alternatives. Note that Scheepjes Chunky Monkey is slightly less thick but has more body. If using Chunky Monkey, you may use nearly a whole skein, so consider an extra skein or starting with one less chain if concerned about running out.
Hook and Tools
US L/11 (8 mm) crochet hook, tapestry needle, and scissors.
Abbreviations (US Terms)
- ch — chain
- st(s) — stitch(es)
- hdc — half double crochet
- sl st — slip stitch
- blo — back loop only
Pattern Notes
- This hat is worked flat in rows to create a rectangle, then seamed into a tube.
- The chain 2 at the beginning of rows does not count as a stitch.
- Starting from Row 2, all hdc stitches are worked in the back loop only (blo). When working in rows, the back loop is the loop furthest from you as the work is facing you. This creates the ribbed texture.
- Work your slip stitches for seaming loosely to maintain the hat’s stretchiness.
Instructions
To Begin: Chain 37
Row 1: Hdc in 3rd chain from hook and in each chain across row. (35 sts)
Rows 2–30: Ch 2 (does not count as a stitch), hdc in the back loop across row. (35 sts)
At the end of Row 30, you will have a ribbed crochet rectangle that measures approximately 13″ wide by 20″ tall.
Finishing
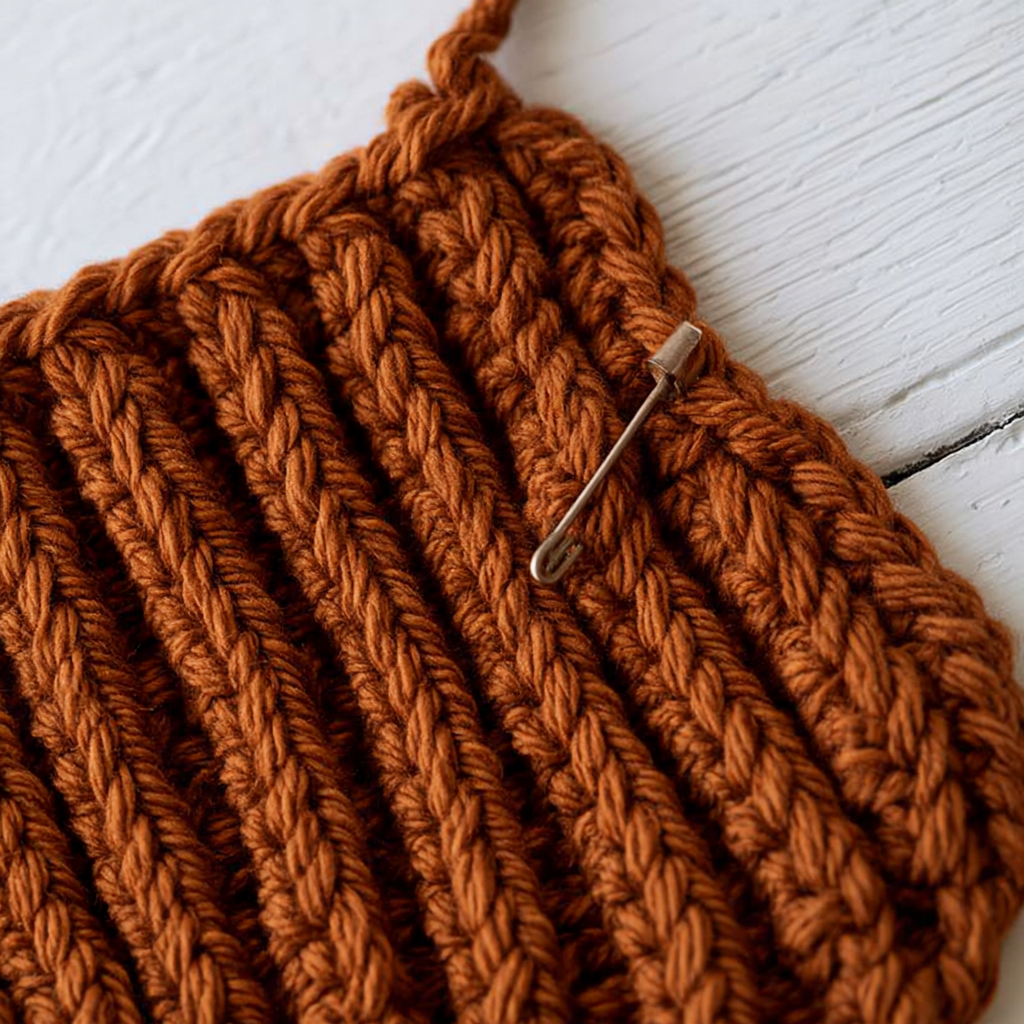
Seaming the Hat:
- Chain 1 and turn your work.
- Fold the rectangle so that the starting edge is on top of the last row you just worked, aligning the two short ends.
- Insert your crochet hook into the starting chain and then into the back loop of the next stitch to be worked on the last row. Sl st together.
- Continue to sl st both ends together across the row, making sure to work the slip stitches loosely to ensure the hat remains stretchy. This seaming is done on the wrong side of the work.
- At the end of the row, cut yarn, leaving a long strand (approximately 12-18 inches) for cinching the top, and fasten off.
Cinching the Top:
- Your work is now a tube with the wrong side facing out.
- Thread the fastened off yarn end onto a tapestry needle.
- Work a running stitch with the yarn around the open end of the tube (the top edge of the rectangle) to gather it.
- Pull the yarn tight and tie a knot to secure it. The yarn end from the beginning of the project should also be at this end; you can tie these two ends together for extra security.
- There may still be a small hole at the top. Continue to use the threaded tapestry needle to make small stitches to close up any remaining hole. When done, knot the yarn again.
- Weave in all remaining ends securely.
Assembly
Turn the hat right side out. You can fold up the brim for a cuffed beanie look, or leave it unfolded for a slouchier style. Your cozy Ribbed Wonder Hat is now complete!
Size Adjustments
This hat is very stretchy and accommodates a variety of adult head sizes. The height can also be adjusted by how you fold the brim.
- Toddler Ribbed Wonder (Head size 18-20″):
- Start with a chain of 28.
- Each row will have 26 stitches.
- Work 26 rows.
- The finished rectangle will be approximately 10″ wide by 17.25″ long.
- Proceed to the seaming and finishing instructions.
- Child Ribbed Wonder (Head size 19-21″):
- Start with a chain of 32.
- Each row will have 30 stitches.
- Work 28 rows.
- The finished rectangle will be approximately 11″ wide by 18″ long.
- Proceed to the seaming and finishing instructions.
Emma’s Tips
One of the keys to success with this pattern, especially for beginners, is understanding the back loop only (blo) technique. It’s what gives this hat its beautiful, stretchy ribbing. When you turn your work, the loop that was the “front loop” from the previous row now faces you as the “back loop” for the current row. Always aim for the loop furthest from you. If your ribbing isn’t forming clear ridges, double-check your hook placement! Also, remember to keep your slip stitches loose when seaming; this ensures the hat retains its wonderful stretch. This simple hat makes a fantastic gift, and once you make one, you’ll want to make many more!
FAQ
Here are some common questions about making this ribbed crochet hat:
How Do You Attach A Pom Pom?
Attaching a pom pom is a fun addition! For yarn pom poms, use the leftover ends to sew it securely to the top of the hat, knotting tightly on the inside. For faux fur pom poms, you can sew them on with a sewing needle and thread.
Can This Beanie Pattern Be Made Using 4 Weight Yarn Instead of a 5?
Yes, this pattern can be adapted for other yarn weights. The key is to crochet a rectangle that matches the desired finished dimensions. For a smaller weight yarn, you’ll need more stitches per row and more rows. To determine the correct starting chain, make a small gauge swatch with your chosen yarn and hook, then measure your stitches per inch and calculate your starting chain length to match the rectangle width for your chosen size.
Is There a Right and Wrong Side For This Hat?
Technically, the simple rectangle is reversible. However, once you slip stitch the ends together, the side where the seam is worked becomes the wrong side. Be mindful of this when cinching the top for the neatest finish.
Can You Adjust the Hat to be Smaller?
Yes, this crochet hat pattern is very forgiving and stretchy. You can use a smaller hook size with the same instructions for a slightly smaller hat. Additionally, specific instructions are provided above to make a smaller rectangle for toddler or child sizes.
1 thought on “Crochet This Easy Ribbed Hat”