
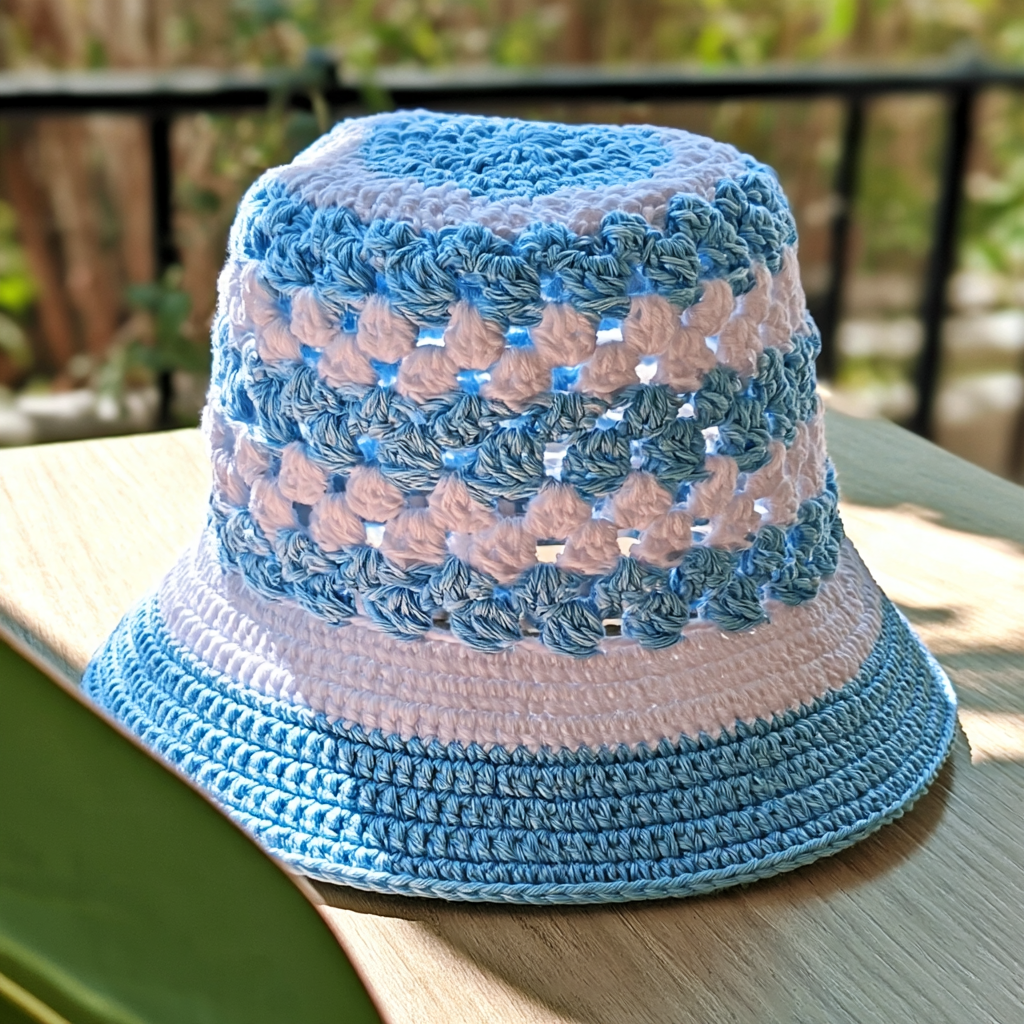
Hi everyone! As the days get longer and the sun shines brighter, my thoughts always turn to light and airy crochet projects. There’s nothing quite like a handmade accessory that’s both stylish and practical, and this crochet summer hat is exactly that. It’s designed to be lightweight and breathable, making it perfect for those warm days when you still want a bit of shade without feeling weighed down.
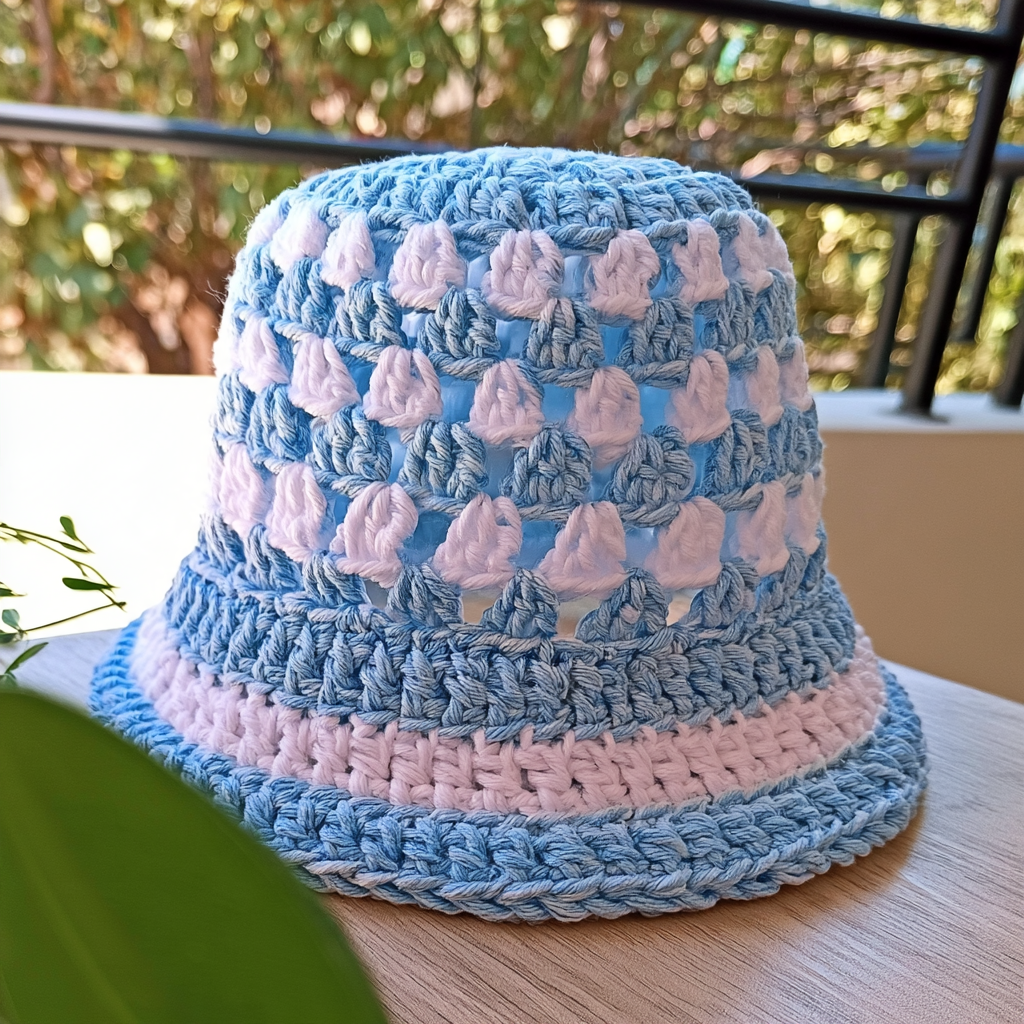
What I love most about this hat is its openwork structure, which keeps your head cool, and the brim offers just enough protection from the sun. Plus, you can really make it your own with vibrant colors and unique textures. It has that wonderful handmade feel that makes each hat special. Whether you’re heading to the farmers market, enjoying a quiet afternoon in the garden, or just out and about, this hat will quickly become a favorite. And the best part? It’s completely beginner-friendly, so if you’re new to crochet, this is a fantastic project to try!
Crochet Summer Hat Pattern
Materials
- 2.5 mm crochet hook
- Shiny plastic yarn (such as Thai polypropylene rope or milk cotton yarn) in two summery shades (e.g., sky blue and white)
- Sharp scissors
- Yarn needle (for weaving in ends)
- Stitch markers (optional)
Hook and Tools
- 2.5 mm crochet hook
- Scissors
- Yarn needle
- Stitch markers (optional)
Abbreviations
- ch – chain
- dc – double crochet
- sc – single crochet
- sl st – slip stitch
- st(s) – stitch(es)
- ch-sp – chain space
Pattern Notes
- This hat is worked in the round from the top down.
- The crown uses classic granny stitch clusters (groups of three double crochets).
- The body of the hat continues in granny stitch without increases.
- The brim is worked with gradual increases, switching to single crochet for stiffness.
- The starting chain-3 counts as the first double crochet in each round where specified.
Instructions
To Begin (Crown): Start with a magic ring.
Round 1: Ch 3 (counts as first dc), 2 dc into ring, ch 1, (3 dc into ring, ch 1) repeat 3 more times, sl st to join. (4 clusters, 4 ch-1 spaces)
Round 2: Into each ch-1 space, add (3 dc, ch 1). Sl st to join. (8 clusters, 8 ch-1 spaces)
Continuing Crown: Continue adding rounds and increasing cluster groups until the crown gently domes. This typically takes 6–8 rounds, depending on your tension and desired head size. Each round will typically add more clusters and ch-1 spaces, expanding the crown evenly.
Body of Hat: Once the crown reaches the desired width, continue working in granny stitch without increasing. This will create the straight section that drapes over the sides of your head. Alternate between your two yarn colors every couple of rounds for a vibrant design. Continue until the body reaches the desired length for your hat (it will start to resemble a bucket hat shape).
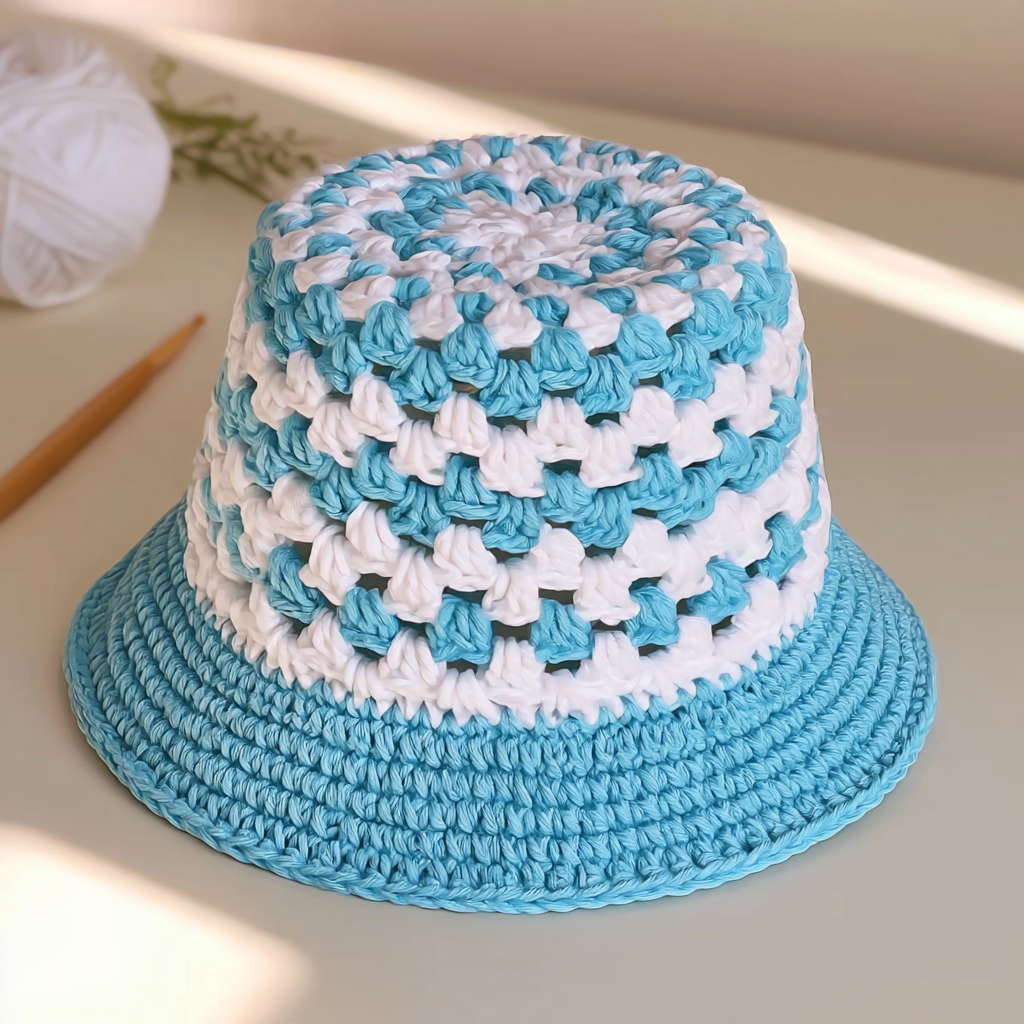
Brim: Switch to tighter single crochet stitches for the brim to stiffen the edge.
Round 1: (1 sc in next 2 stitches, 2 sc in next stitch) repeat around. Sl st to join. (Increases evenly)
Rounds 2–4: Continue increasing evenly around, adjusting for your desired flare. You can make the brim shallow or wide and wavy.
Optional Final Row: Work a reverse single crochet (crab stitch) for a decorative, rope-like edging.
Finishing
- Fasten off and cut the yarn, leaving a long tail.
- Weave in all loose ends securely using your yarn needle.
Emma’s Tips
One of my favorite things about this pattern is how versatile it is! Don’t be afraid to experiment with different color combinations. You could use three colors instead of two, or even a variegated yarn for a unique look. Choosing a yarn that holds its shape well is key for the brim, so make sure to pick something suitable. If you want a stiffer brim, you can also try adding a thin wire into the last few rounds of the brim, but be careful to secure the ends well! This hat also makes a wonderful gift, and you can personalize it further by adding a ribbon through the base or a crocheted flower. For more fun projects, you might enjoy learning to crochet a Sacred Sun and Cloud Granny Square, or perhaps a Basic Crocheted Hat for cooler weather.
Care and Storage
- Gently hand wash your hat in lukewarm water with mild soap.
- Reshape the hat while damp and lay it flat to air dry.
- To help preserve the dome shape of the crown, stuff it with soft tissue paper when storing.
- Avoid folding the brim sharply; instead, roll it softly if you need to pack it in a suitcase. These simple steps will help ensure your beautiful handmade hat lasts for many summers!
Frequently Asked Questions
Q: What kind of yarn is best for a summer hat?
A: For a summer hat, it’s best to use a yarn that is lightweight, breathable, and holds its shape well. Shiny plastic yarn, Thai polypropylene rope, or milk cotton yarn are good choices as they ensure the hat retains its structure without feeling heavy.
Q: Can I make the brim wider or narrower?
A: Yes, you can adjust the brim’s width by continuing or stopping the increase rounds earlier or later. The pattern suggests Rounds 2-4 for increasing, but you can add more rounds for a wider brim or fewer for a narrower one.
Q: Is this pattern suitable for beginners?
A: Absolutely! This pattern is designed to be beginner-friendly. It primarily uses basic stitches like double crochet and single crochet, and the instructions are clear and easy to follow.
Q: How do I choose the right size?
A: The crown size is adjusted by continuing rounds until it reaches your desired width (typically 6-8 rounds). You can measure the crown against your head or a hat that fits well to ensure a good fit before moving on to the body of the hat.
1 thought on “Crochet Summer Hat: Style Meets Sun Protection”