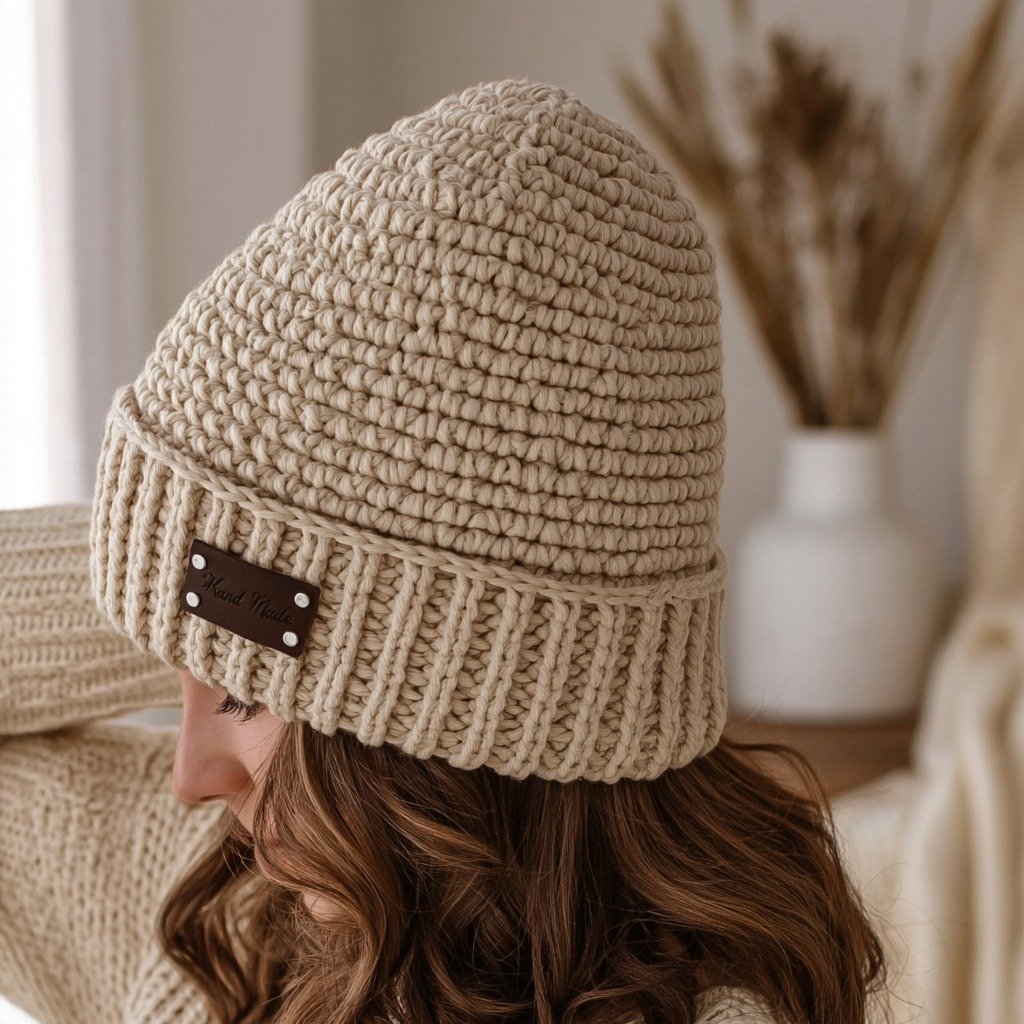
There’s something truly special about a handmade beanie, especially one that feels like it was made just for you. The Crochet Ribbed Beanie is exactly that kind of project! It’s a wonderful pattern for anyone looking to create a hat that’s both stylish and incredibly comfortable. I love how the deep vertical ridges give it such a handsome, sculptural quality that works for everyone.
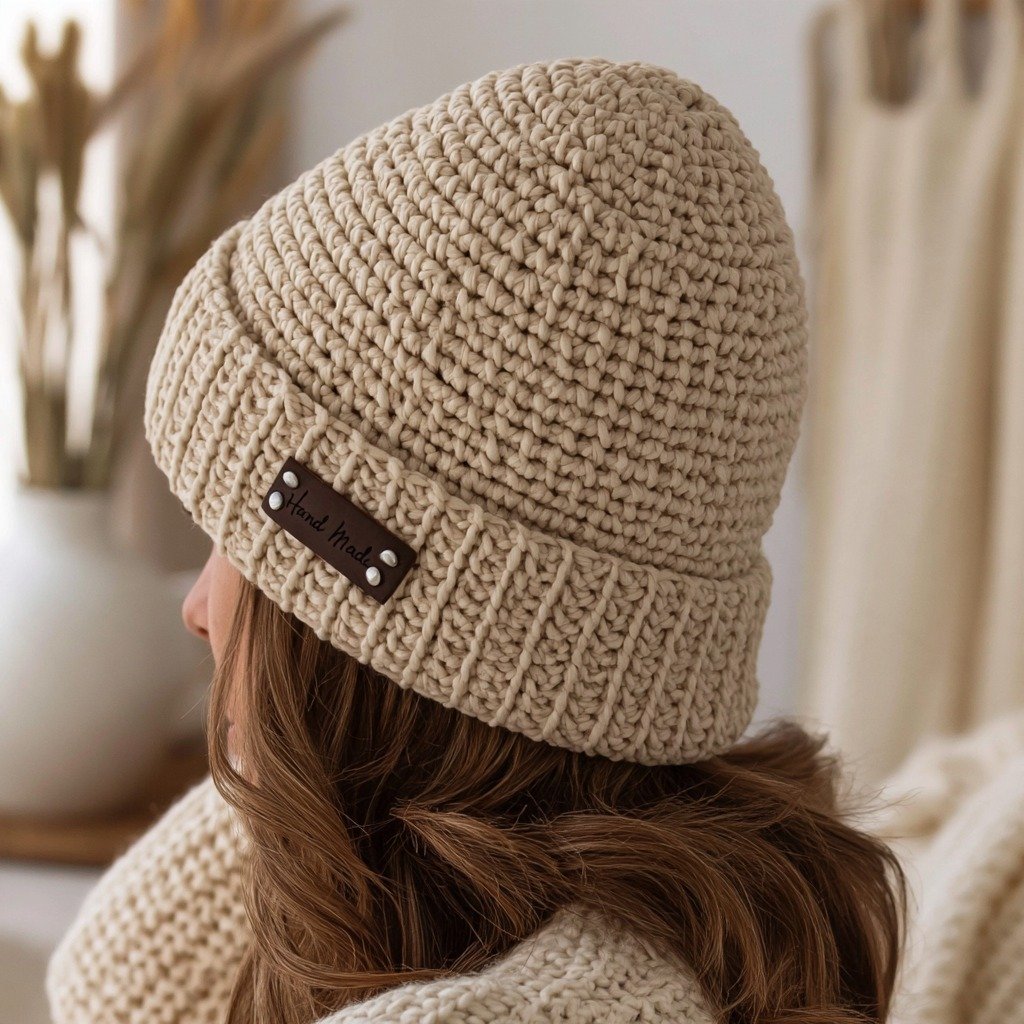
This beanie has a quiet confidence to it – airy yet structured. Whether you choose a creamy oat for a sophisticated look or a charcoal for everyday wear, it’s an accessory that feels effortlessly chic. It’s also a fantastic project for gifting; imagine the delight of a friend or family member receiving a hat clearly crafted with care!
The construction is simple and satisfying. You’ll start by working the brim in rows of single crochet into the back loop only, which creates that beautiful, stretchy ribbing. Then, you’ll transition to double crochet rounds for the body of the hat, building height quickly. The top is shaped with gradual decreases, giving it a neat, radiating finish. It’s worked in the round, making it a seamless and enjoyable project. Plus, if you love a slouchier fit, it’s super easy to add a few extra rounds to the body before starting the decreases. This pattern is truly for everyone, from beginners looking to expand their skills to experienced crocheters wanting a relaxing, rhythmic make.
Crochet Ribbed Beanie Crochet Pattern
Materials
- Worsted weight yarn (a wool-acrylic blend is recommended for warmth and easy care)
- 5mm crochet hook
- Yarn needle
Finished Size
The source material does not specify a finished size, but it is designed to be a standard adult beanie with options for a slouchier fit.
Yarn Information
The pattern recommends a worsted weight yarn, ideally a wool-acrylic blend, for its warmth, easy care, and good stitch definition, which helps the ribs stand out. The specific brand, name, color, yardage, or skein count are not provided, allowing you to choose your favorite worsted weight yarn.
Hook and Tools
- 5mm crochet hook
- Yarn needle (for weaving in ends)
Abbreviations
- SC — Single Crochet
- BLO — Back Loop Only
- DC — Double Crochet
- slip st — Slip Stitch
Pattern Notes
- The beanie is worked in the round, starting with the brim.
- The ribbed brim is created by working SC in the back loop only (BLO).
- The body of the hat uses DC stitches.
- The top of the hat is closed with gradual decreases.
- For a deeper or slouchier beanie, add extra rounds to the body before beginning the decreases.
Special Stitches
BLO (Back Loop Only): Insert your hook into the back loop of the stitch from the previous row/round, then complete the stitch as usual. This creates a raised, ribbed effect.
Instructions
To Begin:
The pattern begins with the brim, worked in rows, which is then joined to form a circle. The source material does not provide specific stitch counts or row numbers for the brim, but describes it as SC worked in BLO to create a stretchy, pronounced ribbing.
Once the brim reaches the desired depth (typically enough to comfortably fit around your head), join the ends of the brim with a slip stitch to form a circle.
Body of the Hat:
Transition into working DC rounds for the body of the hat, building upward. The source material does not provide specific round counts for the body, but states that it builds with “satisfying speed.”
Continue working DC rounds until the hat reaches your desired height. If you want a deeper beanie with more slouch, add a few extra rounds to the body before proceeding to the decreases.
Decreases (Crown Shaping):
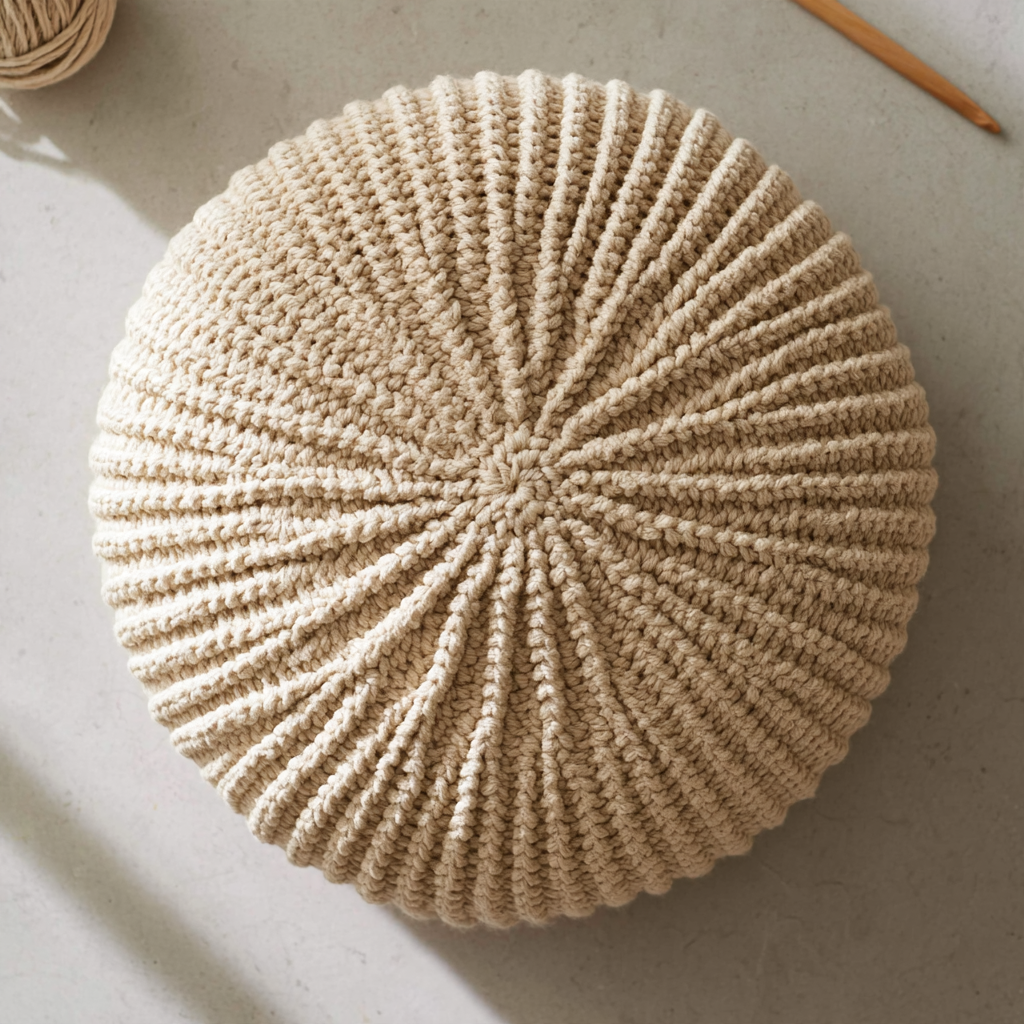
The top is closed with gradual decreases that pull the crown into a neat, radiating finish. The source material does not provide specific decrease rounds or stitch counts, but indicates that the decreases are gradual to create a smooth shape.
Continue decreasing evenly across rounds until the opening at the top is small enough to close securely.
Finishing
- Fasten off, leaving a long tail.
- Thread the tail onto your yarn needle.
- Weave the yarn needle through the remaining stitches at the top opening.
- Pull tight to close the hole.
- Secure the yarn and weave in all loose ends.
Emma’s Tips
Choosing the right yarn really makes a difference for this beanie. A wool-acrylic blend provides the best of both worlds: the warmth and feel of wool with the durability and easy care of acrylic. This means your beanie will stand up to regular wear and washing, which is so important for a practical item like a hat!
Don’t be afraid to try this pattern even if you’re a beginner. The combination of single crochet in the back loop for the brim and double crochet for the body is very approachable. Once you get into the rhythm of working in the back loop only, it becomes almost meditative. If you want to make it extra special, you could even try adding a crochet slouchy hat for another cozy project!
When you’re weaving in your ends, take your time. A good yarn needle will glide through your stitches without splitting the yarn, which helps keep your finished piece looking neat and professional. Proper finishing really elevates a handmade item!
Finally, remember that blocking can work wonders for shaping and defining your stitches. Even a light block can help those beautiful ribs really pop and ensure your beanie holds its shape beautifully.