
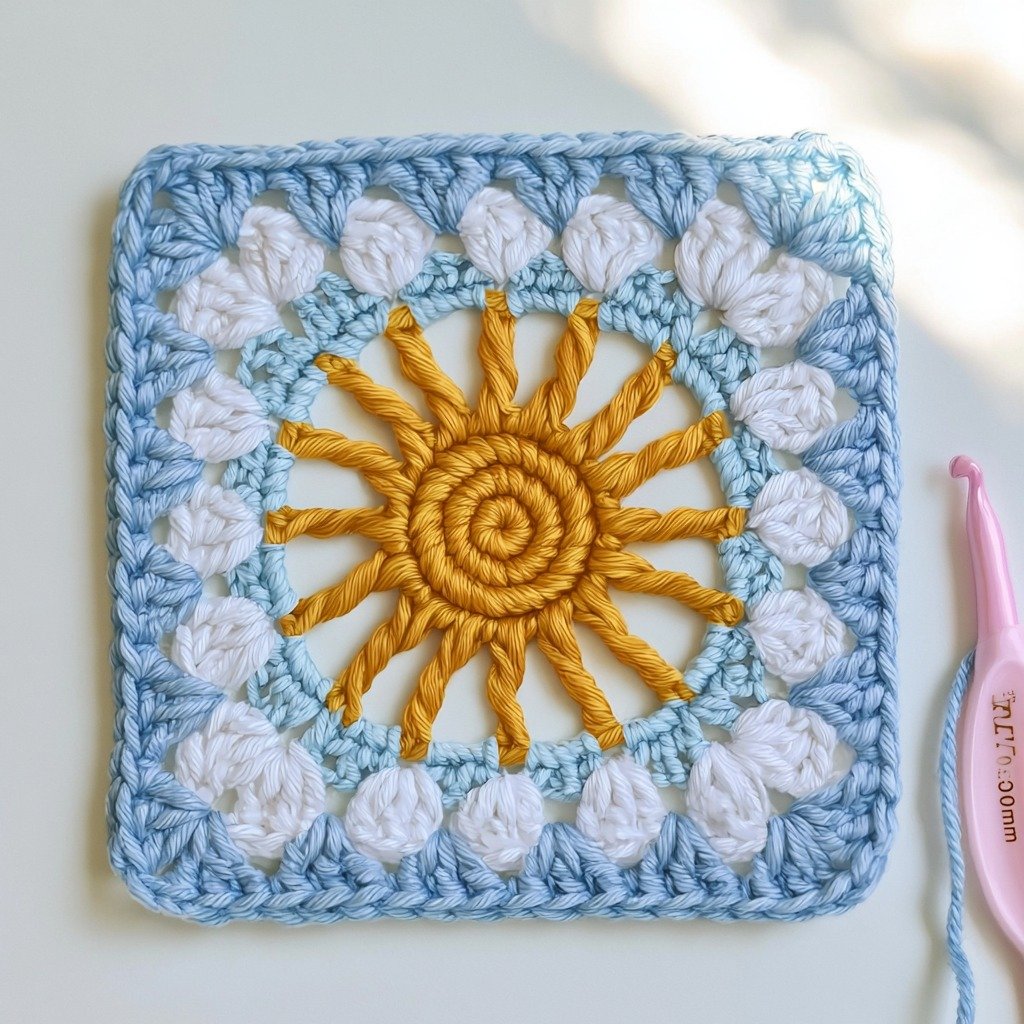
Hello, fellow crocheters! Today, I’m thrilled to share a delightful project that brings a little sunshine and charm into your crafting. We’re going to make a Sun and Cloud Granny Square! I love how this pattern captures the essence of a bright, cheerful day in a single square. It’s a fantastic way to add a pop of color and a touch of whimsy to any project, whether you’re making a blanket, a cushion, or even a unique bag.
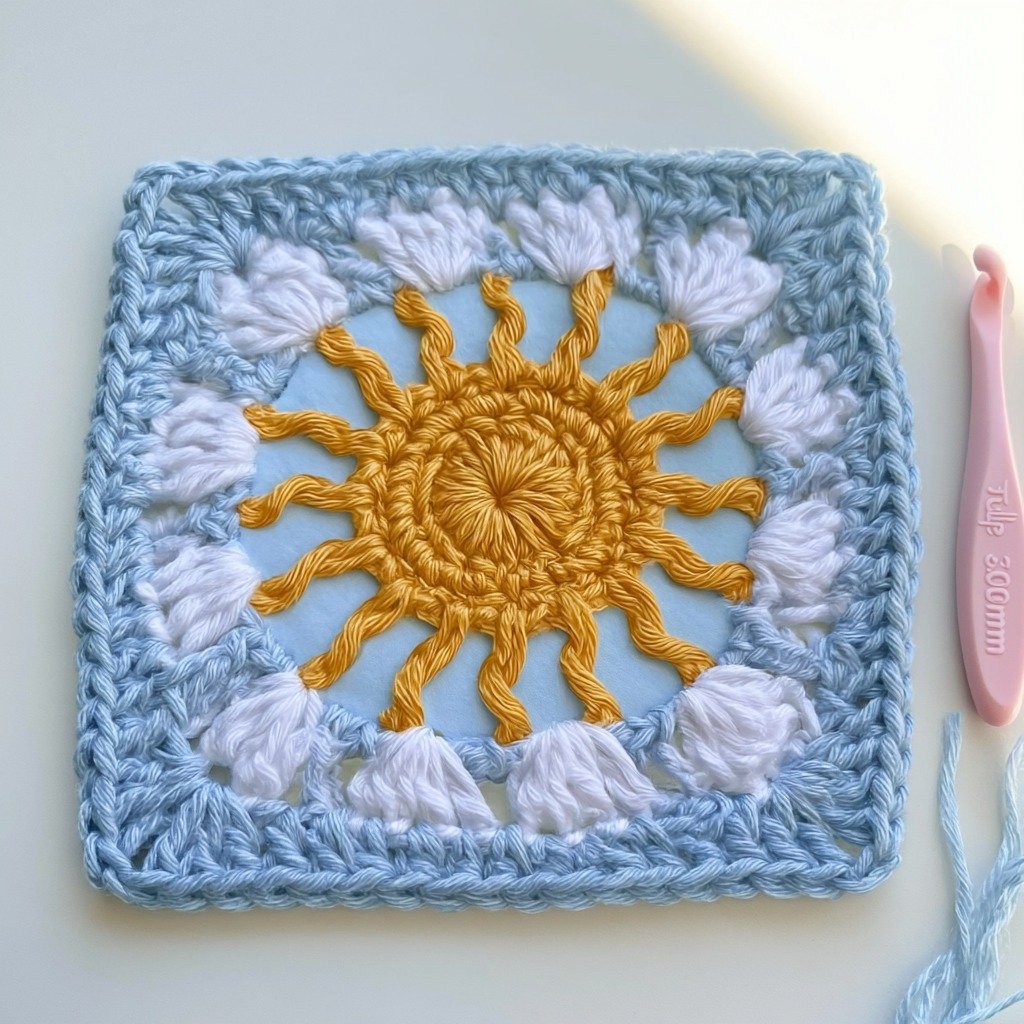
What I particularly enjoy about this design is its versatility. While the original inspiration was a classic radiant sun with fluffy clouds, you can truly make it your own by playing with color combinations. Imagine a sunset version with warm oranges and pinks, or a stormy sky with grays and silvers! The possibilities are endless, and it’s a wonderful opportunity to let your creativity shine. This square is worked in rounds and uses a variety of common stitches, making it a satisfying project for crocheters looking for clear, step-by-step instructions.
Sun and Cloud Granny Square Crochet Pattern
Materials
- Yarn of your choice – 5 colors (the sample uses DK sports weight yarn)
- Crochet hook – 3.00 mm
- Darning Needle
- Scissors
Finished Size
The completed granny square measures approximately 6.5 × 6.5 inches.
Hook and Tools
- 3.00 mm crochet hook
- Darning needle
- Scissors
Abbreviations (US Term)
- ch — chain stitch
- dc — double crochet
- hdc — half double crochet
- sc — single crochet
- sl st — slip stitch for joining to different round
- ch-sp — chain space
- st — stitch
- FPdc — front post double crochet
- inc — increase
Pattern Notes
- The initial ch3 at the beginning of some rounds counts as a double crochet stitch.
- New yarn is added at the beginning of several rounds to introduce new colors.
- Round 6 stitches are crocheted into stitches from Round 4 and encase the chain space from Round 5.
Instructions
Round 1: Start with a magic loop. Ch3 (counts as dc), 15 dc in the loop. Sl st to the top of the first ch3. (16 dc)
Round 2: Ch3 (counts as dc), dc in the same st. Dc inc in each of the remaining sts. Sl st to the top of the first ch3. (32 dc)
Round 3: Ch3 (counts as dc), then ch3. Sk1, dc+ch3 in the next st. [Dc+ch3 in the next st] repeat 14 times. Sl st to the top of the first ch3, fasten off. (16 dc, 16 ch-3 sps)
Round 4: Add new yarn in any ch-sp. Ch3 (counts as dc). 2dc in the same ch-sp, 4dc in the next ch-sp. [3dc in the next ch-sp, 4dc in the next ch-sp] repeat 7 times. Sl st to the top of the first ch3, fasten off. (56 dc)
Round 5: Add new yarn around any dc post from Round 3. Ch3 (counts as FPdc), ch8. Sk the next dc post, FPdc around the next dc post, ch8. [Sk1, FPdc, ch8] repeat 6 times. Sl st to the top of the first ch3, fasten off. (8 FPdc, 8 ch-8 sps)
Round 6: Join new yarn into the right-most dc of any 3-dc group from Round 4. Note: In this round, the stitches are crocheted into the stitches from Round 4 and should encase the ch-sp from Round 5. Ch1 (counts as sc). Sc in the same st to encase the ch-sp from Round 5. 2sc, sc inc, 3sc, ch1. [3sc, sc inc, 3sc, ch1] repeat 7 times. Sl st to the first sc, fasten off. (64 sc, 8 ch-1 sps)
Round 7: Add new yarn in any ch-1 sp. Ch3 (counts as dc). 6dc in this ch-sp. Sk2, sl st in the next st, 3hdc in the next st, sl st to the next st, ch8, sk7, sl st to the next st, 3hdc in the next st, sl st to the next st. [Sk2, 7dc in the next ch-1 sp, sk2, sl st, 3hdc in the next st, sl st to the next st, ch8, sk7, sl st to the next st, 3hdc in the next st, sl st to the next st] repeat 3 times. Sl st to the top of the first ch3, fasten off. (28 dc, 24 hdc, 8 sl st, 4 ch-8 sps)
Round 8: Add new yarn in the 5th dc of any 7-dc group. Ch3 (counts as dc), then ch3. Dc in the same st, ch6, 7dc+ch6 in the next ch-sp. [Dc+ch3+dc in the 5th dc of the next 7-dc group, ch6, 7dc+ch6 in the next ch-sp] repeat 3 times. Sl st to the top of the first ch3. (32 dc, 8 ch-3 sps, 8 ch-6 sps)
Round 9: Ch3 (counts as dc). 2dc+ch3+2dc in the next ch-sp, dc in the next st, 6hdc in the next ch-sp, sc in each of the next 7 sts, 6hdc in the next ch-sp. [Dc in the next st, 2dc+ch3+2dc in the next ch-sp, dc in the next st, 6hdc in the next ch-sp, sc in each of the next 7 sts, 6hdc in the next ch-sp] repeat 3 times. Sl st to the top of the first ch3. (48 dc, 48 hdc, 28 sc, 4 ch-3 sps)
Round 10: Ch1 (counts as sc). Sc in the same st. 2sc, sc+ch2+sc in the next corner space, 22sc. [3sc, sc+ch2+sc in the next corner space, 22sc] repeat 3 times. Sl st to the first sc, fasten off. (100 sc, 4 ch-2 sps)
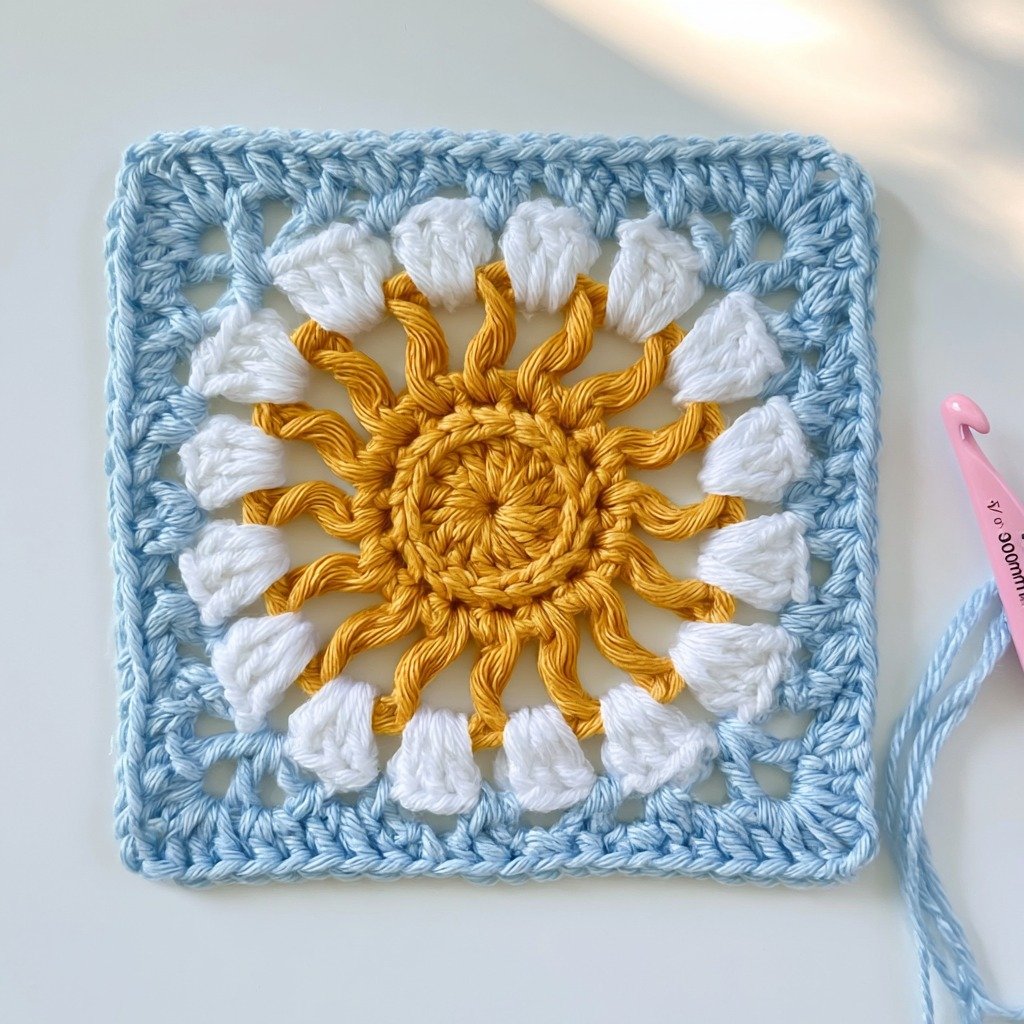
Round 11: Add new yarn in any corner space. Ch1 (counts as sc). Sc in this corner space. Ch1, *sk1, sc+ch1 in the next st* repeat 13 times, sc+ch2 in the next corner space. [Sc+ch1 in the same corner space, *sk1, sc+ch1 in the next st* repeat 13 times, sc+ch2 in the next corner space] repeat 3 times. Sl st to the first sc, fasten off. (56 sc, 56 ch-1 sps, 4 ch-2 sps)
Round 12: Add new yarn in any corner space. Ch1 (counts as sc). Sc in this corner space. Ch1, *sk1, sc+ch1 in the next st* repeat 14 times, sc+ch2 in the next corner space. [Sc+ch1 in the same corner space, *sk1, sc+ch1 in the next st* repeat 14 times, sc+ch2 in the next corner space] repeat 3 times. Sl st to the first sc, fasten off. (60 sc, 60 ch-1 sps, 4 ch-2 sps)
Round 13: Add new yarn in any corner space. Ch1 (counts as sc). Sc in this corner space. Ch1, *sk1, sc+ch1 in the next st* repeat 15 times, sc+ch2 in the next corner space. [Sc+ch1 in the same corner space, *sk1, sc+ch1 in the next st* repeat 15 times, sc+ch2 in the next corner space] repeat 3 times. Sl st to the first sc, fasten off. (64 sc, 64 ch-1 sps, 4 ch-2 sps)
Finishing
Fasten off and weave in all loose ends securely with your darning needle. Blocking your square can help it achieve its full size and a crisp, even shape.
Emma’s Tips
Don’t be afraid to experiment with your color choices! While the pattern suggests a sky-blue background for the clouds, changing the last few rounds to bright, contrasting colors can completely transform the look of your square, giving it a vibrant, almost sacred feel. Think about the mood you want to create: warm and inviting, cool and serene, or bold and playful. Each square is a little piece of art, and your unique touch will make it truly special. Also, remember to keep your tension consistent throughout the project for a beautiful, even fabric.
1 thought on “Crochet a Sacred Sun and Cloud Granny Square”