
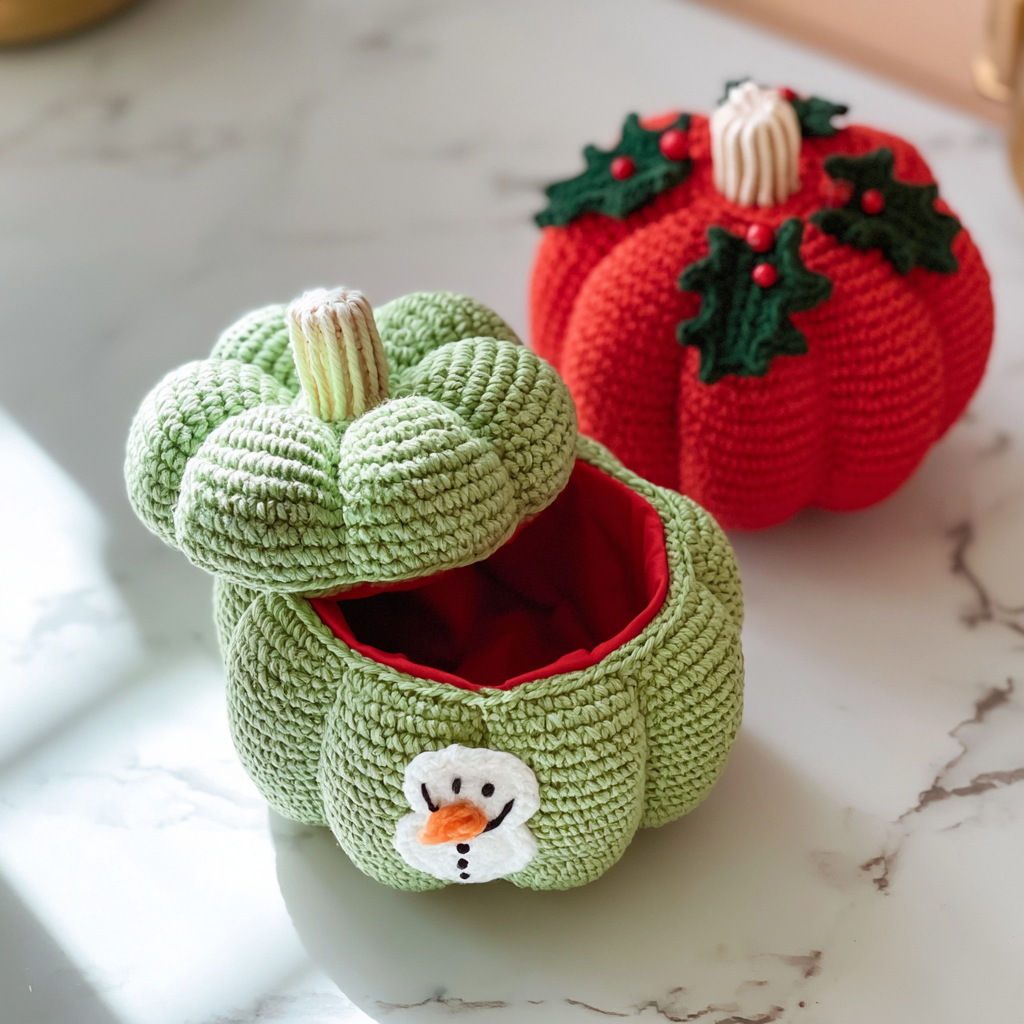
The holiday season is truly magical, and there’s nothing quite like adding handmade touches to your festive decor. This year, I’m so excited to share a project that brings together the charm of autumn with the joy of Christmas: our Christmas Crochet Pumpkin Pots! These delightful little creations are not only whimsical accents for your home but can also be incredibly functional, serving as adorable pot holders or unique gift containers.
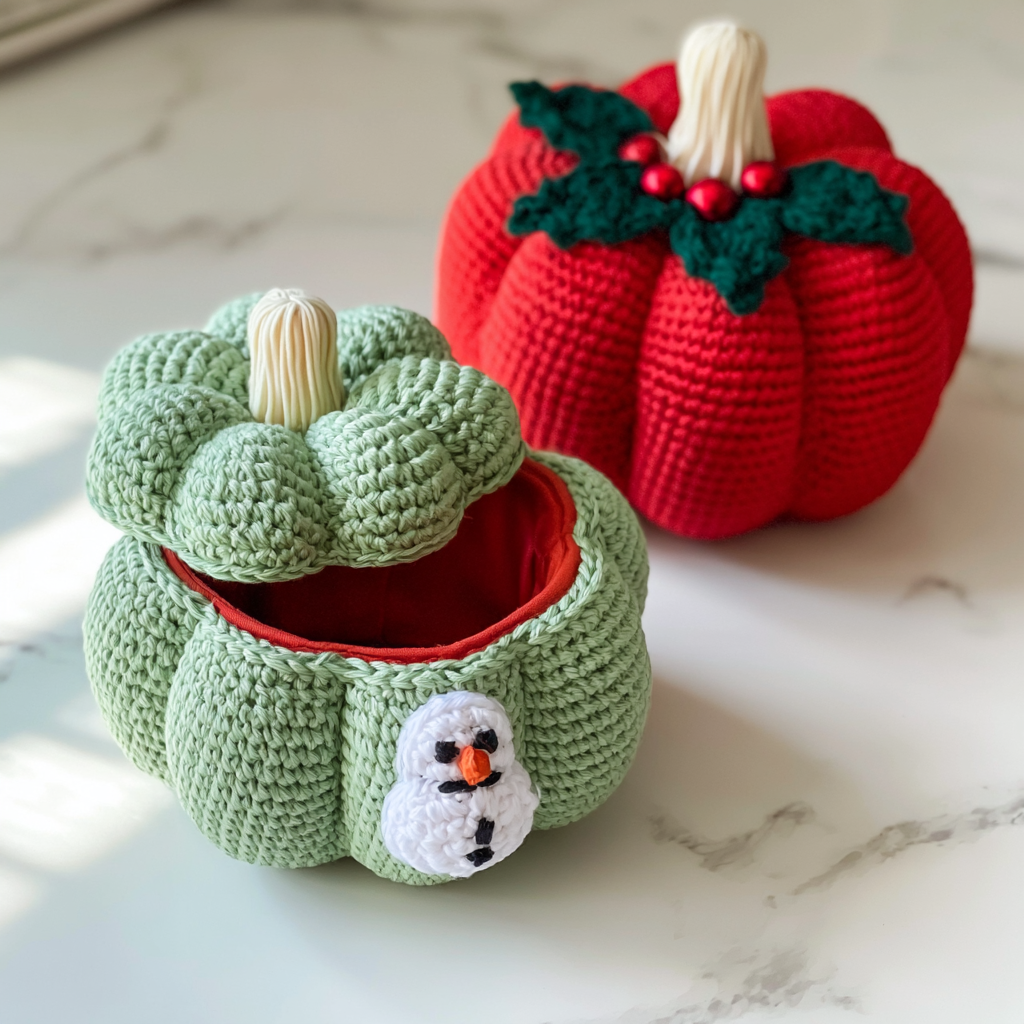
I absolutely love how versatile these pots are. Whether you’re looking for a quick and fun project to brighten up your own space or searching for a heartfelt, handmade gift, these pumpkin pots fit the bill perfectly. They’re designed to be beginner-friendly, making them a wonderful way to dive into holiday crafting without feeling overwhelmed. Imagine the smiles when friends and family see these unique, festive pieces!
This pattern will guide you through creating these charming pots, perfect for holding treats, small plants, or even utensils on your holiday table. We’ll work them in rounds, starting with a base and building up the body, then adding a cute lid and stem. So, grab your favorite festive yarn and let’s create some beautiful Christmas memories, stitch by stitch!
Christmas Crochet Pumpkin Pots Crochet Pattern
Materials
- Red yarn for the main body of the pumpkin
- Green yarn for the stem
- White yarn (optional) for embellishments or accents
- Yarn type: Medium-weight (worsted) yarn
- Crochet Hook: Size 4.0 mm (G-6)
- Stuffing Material: Polyfill (or fabric scraps/cotton for an eco-friendly option)
- Tapestry Needle
- Scissors
- Stitch Marker (optional)
Yarn Information
Medium-weight (worsted) yarn is recommended for this project due to its good structure and ease of handling. Budget-friendly tip: consider using recycled yarn from previous projects or eco-friendly options like cotton or bamboo.
Hook and Tools
- Crochet Hook: Size 4.0 mm (G-6)
- Tapestry Needle
- Scissors
- Stitch Marker (optional)
Abbreviations
- ch — chain
- sc — single crochet
- sl st — slip stitch
- sc2tog — single crochet two together
- BLO — back loop only
Pattern Notes
- This pattern is worked in continuous rounds. Using a stitch marker to mark the beginning of each round can be very helpful, especially for beginners.
- The base and lid patterns are similar, but the lid is worked to a smaller diameter.
- Stitch counts are provided at the end of each round in parentheses.
Instructions
To Begin: Create the Base of the Pot (Red Yarn)
Round 1: Create a magic ring. Work 6 sc into the ring. Pull the ring tight and close with a sl st to form the first round. (6 sc)
Round 2: Work 2 sc in each stitch around. (12 sc)
Round 3: *Work 1 sc in the first stitch, 2 sc in the next stitch.* Repeat from * to * around. (18 sc)
Subsequent Rounds: Continue increasing by adding one additional sc between increases in each round until your base reaches the desired width. For example:
- Round 4: *Work 1 sc in next 2 stitches, 2 sc in next stitch.* Repeat from * to * around. (24 sc)
- Round 5: *Work 1 sc in next 3 stitches, 2 sc in next stitch.* Repeat from * to * around. (30 sc)
Build the Body of the Pot
Body Rounds: Work 1 sc in each stitch around without increasing. Continue this for 15–20 rounds to create the body of the pot, or until desired height is reached.
Optional Texture: For a ribbed effect, work in the back loop only (BLO) for a few rounds during the body section to give your pot a more pumpkin-like texture.
Shape the Top of the Pot
Decreasing Rounds: Start decreasing by using the sc2tog technique every few stitches. This will narrow the pot opening to create the rim. Continue decreasing until the top is slightly smaller than the body but still wide enough to hold items.
For example, you might start with:
- *Work 1 sc in next 3 stitches, sc2tog.* Repeat from * to * around.
- Then, *Work 1 sc in next 2 stitches, sc2tog.* Repeat from * to * around.
Continue decreasing in this manner until the desired opening size is achieved.
Make the Lid (Red Yarn)
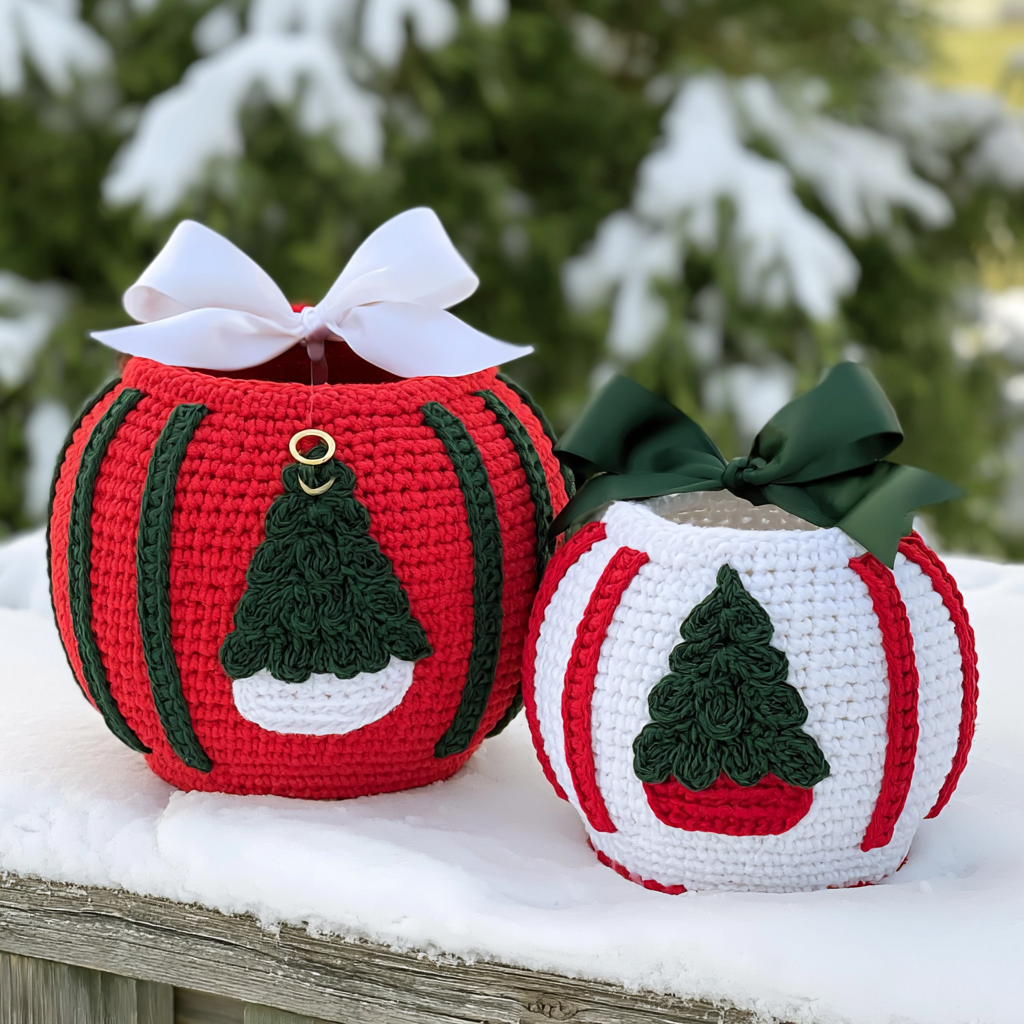
Base of Lid: Create a new magic ring and follow the same steps as the base of the pot (Rounds 1, 2, 3, etc.), but stop at a smaller diameter that will fit snugly on top of the pot you just made.
Stem (Green Yarn): Attach green yarn to the center of the lid. Crochet a small tube using sc for about 4-5 rounds. This will form the stem. Fasten off and weave in the ends.
Optional Stuffing: Lightly stuff the lid with polyfill before finishing to create a puffier look.
Finishing
Fasten off all yarn and weave in any loose ends with your tapestry needle.
Assembly
The lid should sit snugly on top of the pot. No sewing is typically required to attach the lid to the pot body unless desired for a permanent fixture.
Emma’s Tips
These Christmas Crochet Pumpkin Pots are so much fun to customize! Don’t be afraid to experiment with different color schemes beyond traditional red – white, cream, royal blue, or even gold can create a beautiful modern holiday look. Playing with yarn textures like tweed or velvet can also add a unique, cozy feel. If you’re short on time, remember that using bulky yarn and a larger hook can significantly speed up the process while still yielding a sturdy and charming pot. And for an extra special touch when gifting, consider filling them with homemade cookies or small trinkets!