
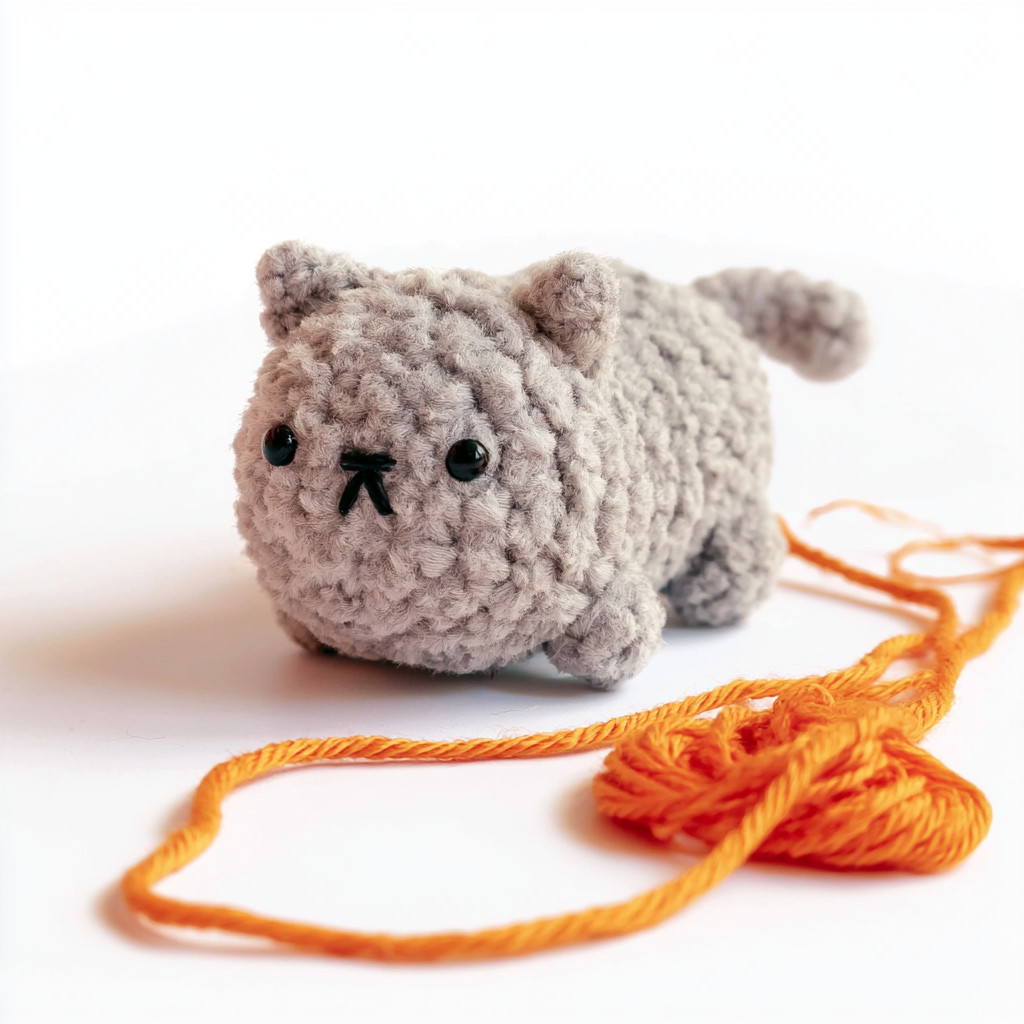
Hello, fellow crochet lovers! Today, I’m so excited to share a truly delightful project that’s perfect for anyone who loves quick, satisfying makes: a no-sew crochet cat. As a definite cat person myself, I can tell you this pattern ticks all the boxes – it’s fast, incredibly cute, and best of all, there’s no sewing involved! We’ll be working this little fella in one continuous spiral, even the ears and feet are crocheted as you go, making it a wonderfully relaxing project.
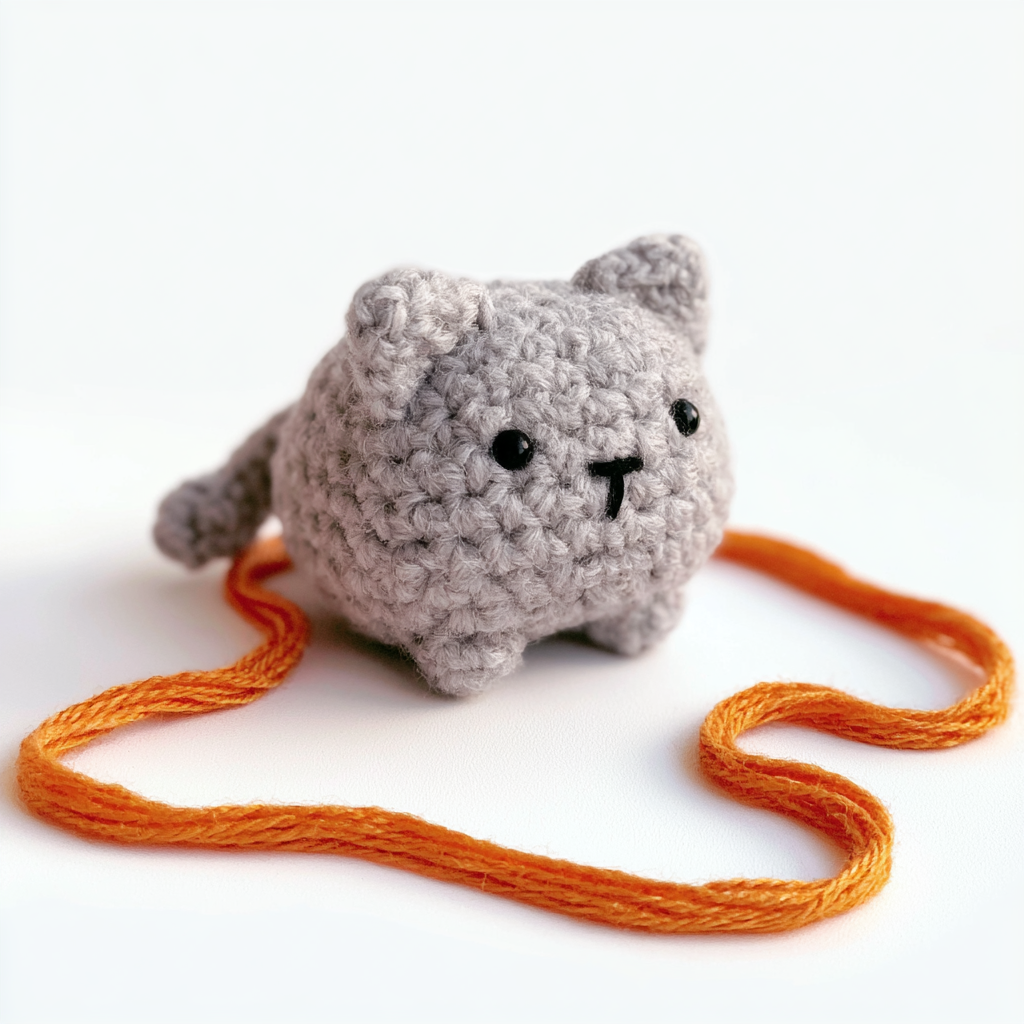
This pattern is a fantastic choice for using up your yarn scraps (hello, stash busting!), preparing for craft markets, or whipping up a last-minute gift. The finished cat is small but full of character, and the no-sew construction means you’ll have a finished toy in no time. It’s an ideal project for beginners looking to try amigurumi without the fuss of attaching multiple pieces, and seasoned crocheters will appreciate the speedy make. Let’s get started on bringing these adorable felines to life!
No-Sew Crochet Cat Pattern
Materials
- DK weight chenille yarn in grey (Emma used DMC Happy Chenille in Hefalump)
- 3mm crochet hook
- 4 ply yarn in black or black embroidery floss
- 6mm safety eyes
- Polyester fiberfill
- Stitch marker
- Yarn needle
- Scissors
Finished Size
The finished cat measures approximately 2.5 inches (6.5 cm) long. Size may vary depending on tension and materials used.
Hook and Tools
- 3mm crochet hook
- Stitch marker
- Yarn needle
- Scissors
- 6mm safety eyes
Abbreviations (US Terms)
- ch – chain
- dc – double crochet
- FLO – front loop only
- hdc – half double crochet
- inc – increase
- invdec – invisible decrease
- pc – popcorn stitch
- sc – single crochet
- sl st – slip stitch
- st/s – stitch/es
- tr – treble crochet
Pattern Notes
- Pieces are worked in a continuous spiral starting with a chain 2 unless otherwise specified.
- Mark the first stitch of each round with a removable stitch marker.
- This is a no-sew pattern. The ears and feet are crocheted as you go and the tail is added at the end.
- A chain 2 start is used, but feel free to use a magic ring if you prefer.
- Popcorn stitches are used for the feet. When working the next round, place a single crochet in the top of each popcorn.
- Because this is a no-sew pattern and we’re working in the round without joining, you may need to adjust the placement of the popcorn stitches to ensure that the feet line up properly.
Gauge
Gauge is not important in this pattern. Use a hook size to match your chosen yarn. Make sure that your stitches are tight enough to prevent stuffing from showing through and adjust hook size if necessary.
Special Stitches
Popcorn Stitch (pc):
- Work 4 dc stitches in the same stitch.
- Remove your hook from the last dc and insert it under both loops of the first dc.
- Grab the dropped loop with your hook and pull it through the stitch.
- Ch 1 to close.
Instructions
To Begin:
Round 1: Ch 2, 6 sc in first ch. (6 sts)
Round 2: [Inc] x6. (12 sts)
Round 3: [Sc, inc] x6. (18 sts)
Round 4: Sc, inc, [2 sc, inc] x5, sc. (24 sts)
Round 5: [3 sc, inc] x6. (30 sts)
Round 6: [Sc] x30. (30 sts)
Note: In this next round we will be creating the ears by working some stitches in the front loop only.
Round 7: 10 sc, FLO hdc, [dc, tr, dc] in FLO of next st, FLO hdc, 4 sc, FLO hdc, [dc, tr, dc] in FLO of next st, FLO hdc, 10 sc.
Note: In Round 8 you will sc into the leftover back loops behind the ears. We will also be adding the front feet over the next 2 rounds. You may need to shift the position of the popcorn sts by a st or 2 depending on your tension and the yarn used. They should be in line with the ears.
Round 8: 28 sc, pc, sc. (29 sc + 1 pc)
Pause here to add the face.
Using 4 ply black yarn or black embroidery floss, sew a nose and mouth using horizontal and vertical stitches. The nose sits across the top of Round 1. Insert the safety eyes between Round 3 and Round 4, approximately 1 stitch up from the nose. The most important part here is to make sure that they’re level with each other.
Round 9: 4 sc, pc, 25 sc. (29 sc + 1 pc)
Round 10-14: [Sc] x30. (30 sts) (5 rounds)
Note: In this next round we will be adding the back feet. You may need to adjust the placement of the popcorn stitches; they should be in line with the front feet.
Round 15: Pc, 5 sc, pc, 23 sc. (28 sc + 2 pc)
Round 16: [Sc] x30. (30 sts)
Round 17: [3 sc, invdec] x6. (24 sts)
Start stuffing and continue to stuff as you go.
Round 18: Sc, invdec, [2 sc, invdec] x5, sc. (18 sts)
Round 19: [Sc, invdec] x6. (12 sts)
Round 20: [Invdec] x6. (6 sts)
Finishing
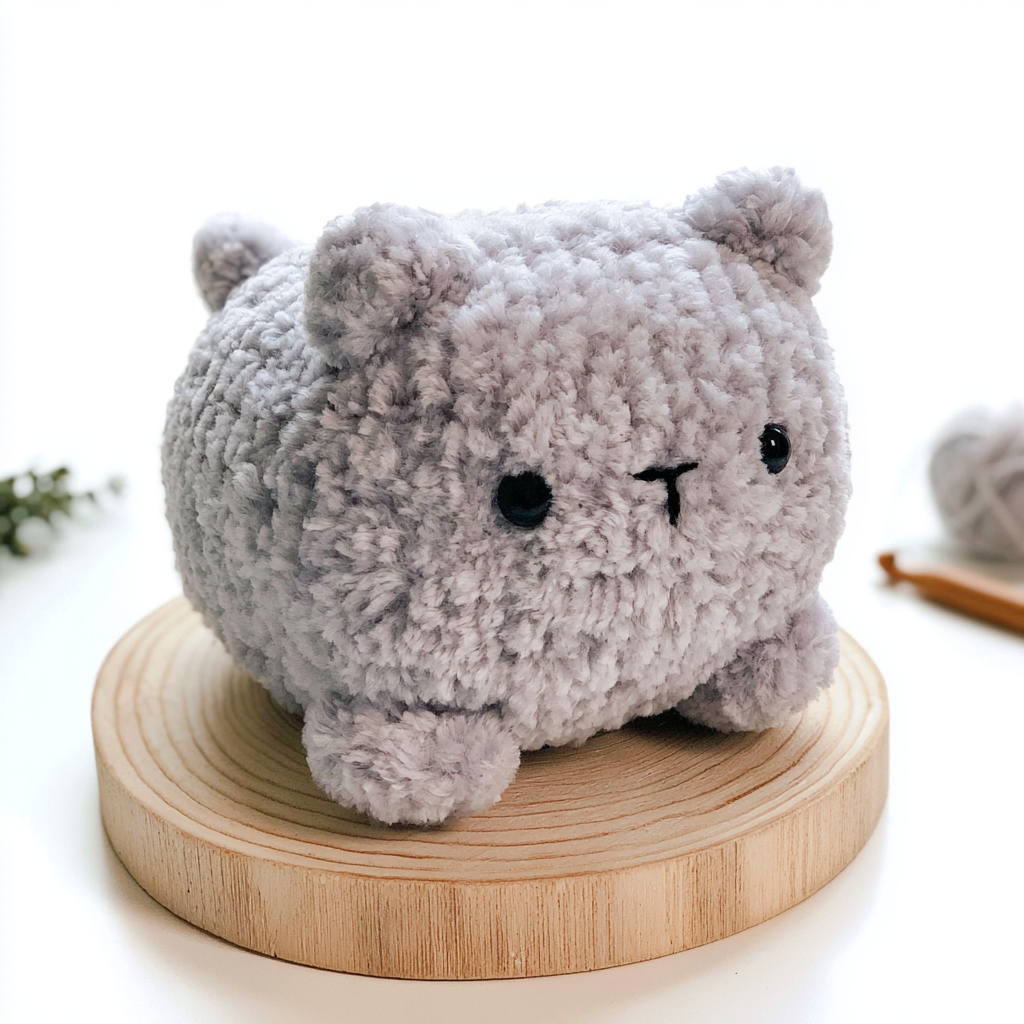
Cut the yarn leaving a tail and pull through the last stitch. Weave the yarn tail through the front loop only of the final round and pull to close. Hide the end inside the cat.
Attaching the Tail
You want to center the tail with the ears. Start by marking the center stitch between Round 17 and Round 18 with a stitch marker. Join yarn in the stitch directly next to the stitch marker.
Ch 7, sc in second ch from hook and in each ch across. (6 sts)
Cut the yarn leaving a tail and pull through the last stitch. Using a yarn needle, bring the tail down in the next stitch over. Weave in ends.
A Few Tips From Emma
Making amigurumi like this no-sew cat is incredibly rewarding! Here are a few tips to help you along the way:
- Stuffing Smart: Stuff your cat firmly but gently. You want it to be squishy and hold its shape without distorting the stitches or having stuffing poke through. Add small bits at a time and work it into all the little corners.
- Stitch Marker is Your Best Friend: Since we’re working in a continuous spiral, that stitch marker is crucial for keeping track of your rounds. Don’t skip it!
- Tension Matters: Consistent tension is key in amigurumi to prevent gaps where stuffing can show. If your stitches feel too loose, try going down a hook size.
- Safety Eye Placement: Take your time with the safety eyes. Play around with their exact position before securing them. Even a small shift can change your cat’s expression!
- Yarn Choices: While the pattern uses chenille, don’t be afraid to experiment with other yarns. Just remember to adjust your hook size accordingly to maintain tight stitches. A worsted weight cotton would give it a different, but equally charming, look.
FAQ
How long does it take to crochet this cat?
This will depend entirely on your own crochet speed, but because this pattern is on the small side, I would estimate it taking between 2-4 hours.
Can I use a different type of yarn?
Yes, you can. However, this pattern has not been tested using a different yarn so the result may not be the same. You may also need to adjust your hook size and the size of the safety eyes.
Do I have to use safety eyes?
No, you don’t. It would look sweet with simple embroidered eyes if that’s your preference.
Is this pattern suitable for children?
No. Aside from the safety eyes which are not suitable for children under the age of 3, this type of yarn does have a tendency to shed.
1 thought on “Crochet a No-Sew Cat: The Purrfect Quick Project”