
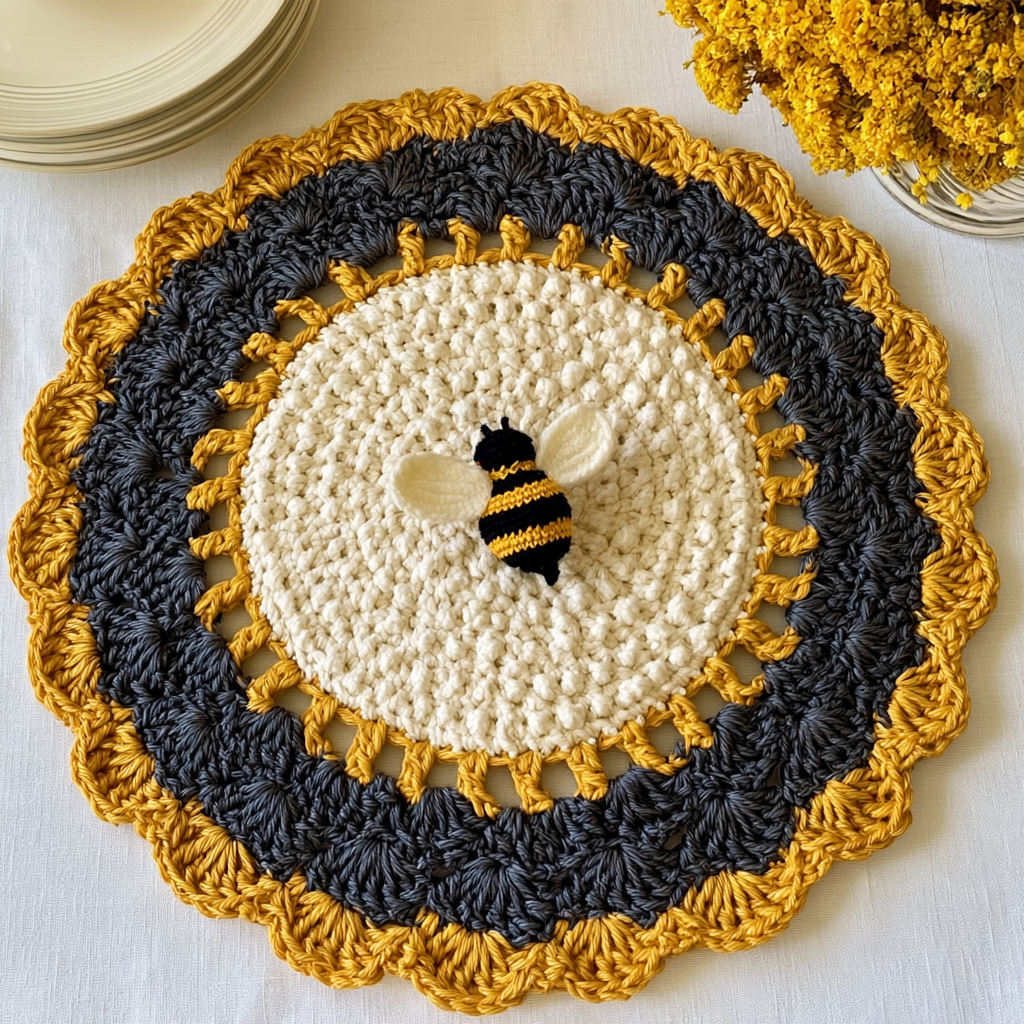
Hello, fellow makers! Today, I’m so excited to share a project that truly looks far more intricate than it is: my Honeycomb Bee Placemat. This design is perfect for those moments when you want to create something truly special for your home or as a thoughtful gift, without spending weeks on it. It hits that sweet spot between engaging and relaxing, making it a joy to crochet.
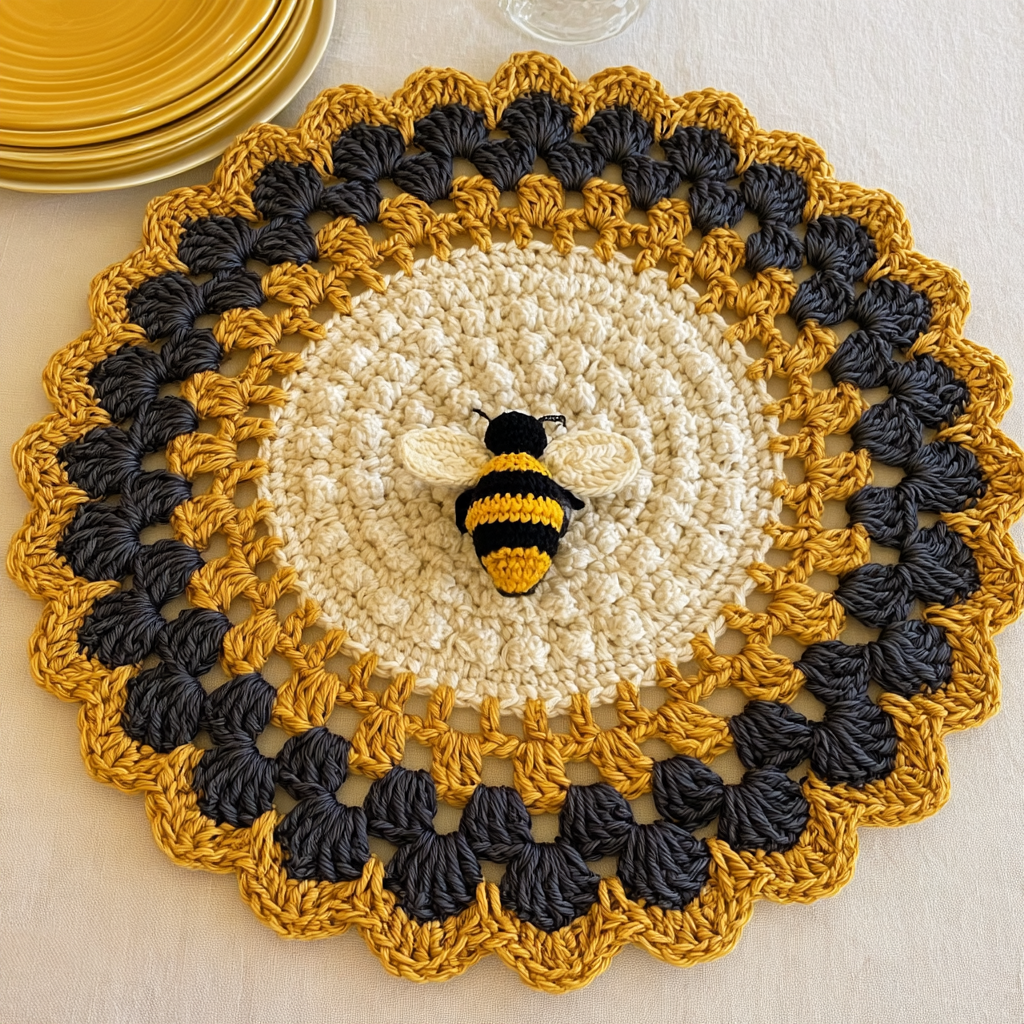
I absolutely adore the unique combination of textures and details in this placemat. From the cozy ivory honeycomb center to the adorable little bee motif, the mustard eyelet band, and the elegant charcoal scalloped border with golden picots, every element comes together beautifully. It’s a fantastic way to introduce new techniques like front post and back post stitches, which create that lovely raised texture, without feeling overwhelmed. Once you get the rhythm, it practically works itself!
This round placemat finishes at approximately 15 inches (38 cm) in diameter, making it the perfect size for a standard dinner plate. Its modern farmhouse style ensures it’s versatile enough for both everyday use and special occasions. While it’s an intermediate-level pattern, I’ve broken down all the steps, especially for those new to post stitches, so you’ll feel confident creating your own.
Honeycomb Bee Placemat Crochet Pattern
Materials
- Worsted weight cotton yarn in the following colors:
- Ivory yarn for the honeycomb center
- Mustard yellow yarn for the eyelet ring
- Charcoal gray yarn for the scalloped border
- Black yarn for the bee body
- Golden yellow yarn for the bee stripes
- Cream yarn for the bee wings
- Small amount of green yarn (optional for decoration)
Hook and Tools
- 4 mm crochet hook
- Yarn needle
- Scissors
- Stitch markers
Finished Size
Approximately 15 inches (38 cm) in diameter.
Yarn Information
Worsted weight cotton yarn. Cotton yarn is recommended for its durability, washability, and ability to lie flat, making it ideal for placemats.
Abbreviations
- ch — chain
- sl st — slip stitch
- sc — single crochet
- hdc — half double crochet
- dc — double crochet
- tr — treble crochet
- st — stitch
- sp — space
- sk — skip
Pattern Notes
- The starting chain-3 in rounds often counts as the first double crochet.
- Gauge is not critical for this project; slight variations in size are acceptable.
- Maintain firm stitches to ensure the placemat lies flat. Adjust hook size if your work ruffles (go down a size) or cups (go up a size).
Gauge
Approximately 18 double crochet stitches and 10 rows = 4 inches.
Special Stitches
- Front post stitches: Insert your hook from front to back around the post (the vertical part) of the stitch below, then back to front. Yarn over and complete the stitch as usual. This pushes the stitch forward, creating texture.
- Back post stitches: Insert your hook from back to front around the post of the stitch below, then front to back. Yarn over and complete the stitch as usual. This pushes the stitch backward.
Instructions
Center Honeycomb Circle (Ivory Yarn)
Round 1: Make a magic ring. Ch 3 (counts as first dc). Work 11 dc into the ring. Join with sl st to the top of the beginning ch 3. (12 dc)
Quick tip: If you’re not comfortable with magic rings, you can ch 4 and sl st to form a ring instead.
Round 2: Ch 3. Work 1 dc in the same st. Work 2 dc in each st around. Join with sl st. (24 dc)
Round 3: Ch 3. Work 1 dc in the next st. Work 2 dc in the next st. Repeat this pattern around. Join with sl st. (36 dc)
Round 4: Ch 3. Work dc stitches evenly around, increasing every third stitch. Join with sl st. (48 dc)
Round 5 (Creating the Honeycomb Texture): Ch 2. Work alternating front post and back post stitches around the circle to create the raised woven texture. Join with sl st.
Rounds 6 through 10: Continue the honeycomb texture while increasing evenly every round. Keep working until your circle measures approximately 10 inches across. Maintain the alternating post stitch pattern while adding stitches to keep your work flat. If your circle ruffles, you are increasing too often. If it cups, you need more increases.
Bee Motif
The bee sits right in the center of your placemat, adding the perfect finishing touch.
Body: Using black yarn, make a small oval:
- Ch 5.
- Work sc stitches around both sides of the chain, creating an oval shape.
- Add golden yellow stripes using surface crochet or embroidered lines. For surface crochet, insert your hook through the work, pull up a loop of golden yellow yarn, and chain across where you want your stripe. Alternatively, use a yarn needle to embroider straight lines.
Wings: Using cream yarn, make two small oval loops with chain stitches and attach them beside the bee body. A simple method is to ch 8, sl st to form a loop, and attach. Make two wings.
Antennae: Using black yarn and your yarn needle, stitch two small curved lines above the bee head. These are simple embroidered curves.
Attach your completed bee to the center of the ivory honeycomb section.
Mustard Eyelet Band
Round 1: Attach mustard yarn to any stitch. Ch 3. Work dc evenly around the entire piece. Join with sl st.
Round 2: Ch 3, sk one st, dc in the next st, ch 1. Repeat this pattern around to create the eyelet holes.
Round 3: Work dc into each st and into each ch sp. This fills in the round and prepares you for the border.
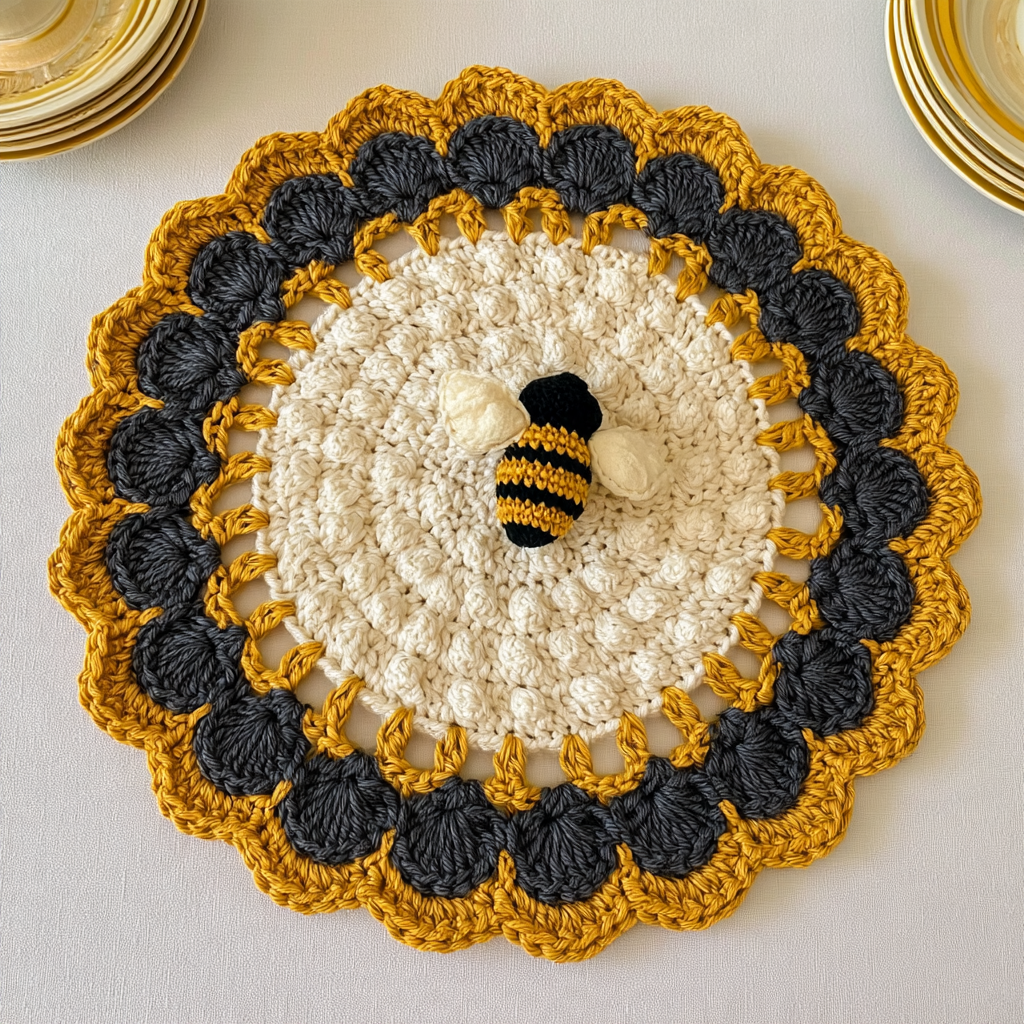
Charcoal Scalloped Border
Round 1: Attach charcoal yarn to any stitch. Work sc evenly around the entire piece. Join with sl st.
Round 2: Ch 3. Work 4 dc into the same st. Sk 2 sts. Work sc into the next st. Repeat this pattern around to create the scalloped edge. Count your stitches before starting to make sure your scallops will end evenly. You may need to adjust slightly.
Round 3 (Picot Edge): Work sc into each scallop. Add small golden picots by changing to gold yarn and making: sc, ch 3, sl st into the first ch, sc.
Finishing
Once all your crochet work is complete, it’s time for the finishing touches.
- Weave in all ends using your yarn needle. Cotton yarn can sometimes work loose, so weave each end through at least 2 inches of stitches and in different directions.
- Block the placemat lightly using steam or a damp blocking method. Lay your placemat flat on a blocking mat or clean towel. Spray it lightly with water or hold a steam iron a few inches above the surface. Shape the scallops evenly with your fingers.
- Allow the piece to dry completely before using. This usually takes several hours, depending on humidity.
Emma’s Tips
- For the honeycomb texture: If you’re new to front post and back post stitches, practice them on a small swatch first. Once you get the hang of the motion, you’ll find these rounds fly by!
- For the bee: Don’t strive for absolute perfection. A slightly quirky bee adds character! The stripes and wings will ensure it’s recognizable no matter what.
- For blocking: Cotton projects truly benefit from blocking. It helps relax the stitches, defines the shape, and ensures your placemat lies perfectly flat on your table. It’s a step worth taking!
- Making a set: If you’re creating multiple placemats, consider an assembly-line approach. Complete all the ivory centers first, then add all the bees, followed by all the mustard bands, and finally all the borders. This method can be quite efficient!
- Care Instructions: To keep your placemat looking its best, hand wash gently in cool water and lay flat to dry. Avoid harsh detergents to preserve the cotton texture and vibrant colors.
FAQ
Here are some common questions about this pattern:
Q: What if my placemat is curling or ruffling?
A: If your work is ruffling, you might be increasing too often or your tension is too loose; try going down a hook size. If it’s cupping or curling, you might need more increases or your tension is too tight; try going up a hook size.
Q: Can I use a different type of yarn?
A: While you can substitute yarns, the pattern recommends worsted weight cotton for its durability, washability, and ability to lie flat, which are important qualities for a placemat. Using a different fiber or weight may alter the finished size and drape.
Q: How do I make the bee’s stripes?
A: You can use surface crochet by inserting your hook through the finished bee body, pulling up a loop of golden yellow yarn, and chaining across for a stripe. Alternatively, you can use a yarn needle to embroider simple straight lines for the stripes.
Q: Why is blocking important for this project?
A: Blocking helps to even out your stitches, flatten the placemat so it lies nicely on a table, and define the scalloped edge. Cotton yarn responds very well to blocking, making the finished item look more polished and professional.
1 thought on “Crochet a Honeycomb Bee Placemat”