
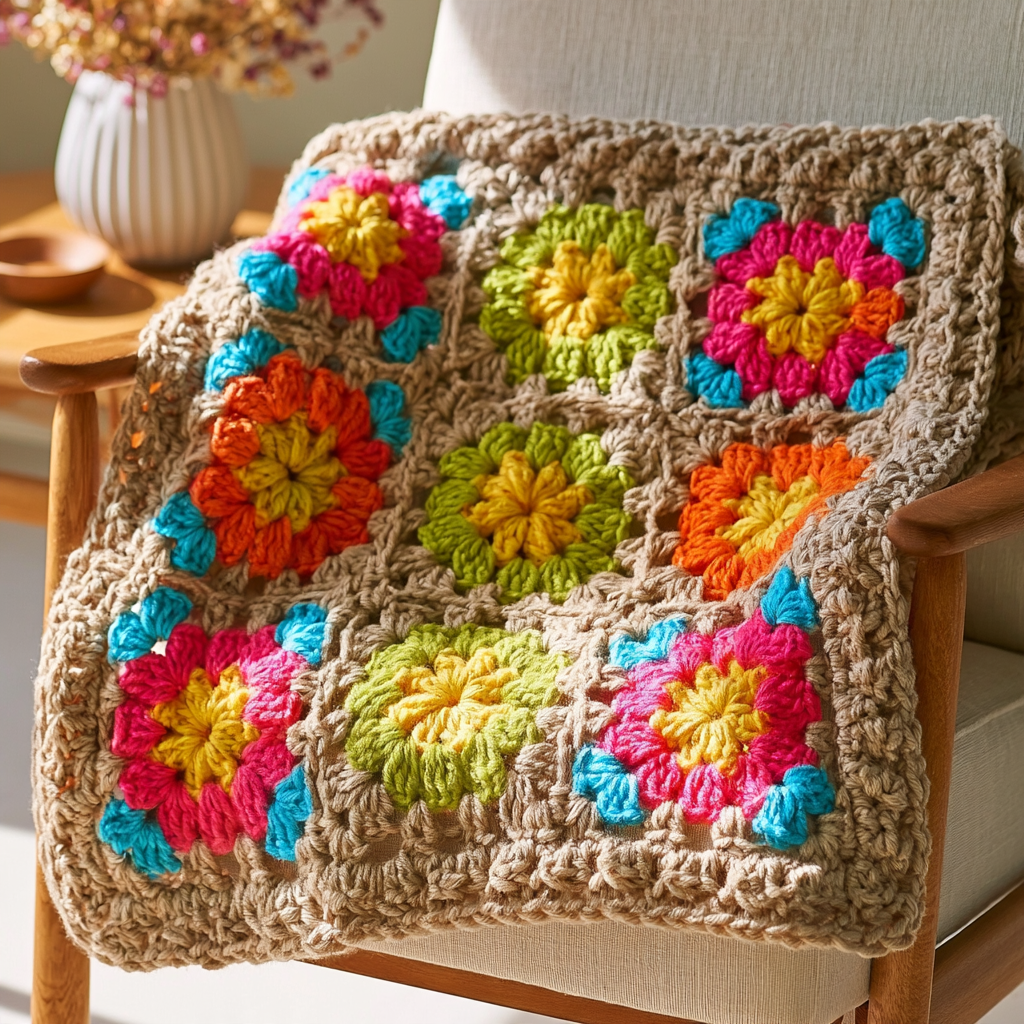
There’s something truly special about crochet granny squares. They carry that rare quality of feeling both nostalgic and completely fresh at the same time. Each square is airy yet structured, with a beautiful floral center that radiates outward in rounds of double crochet clusters separated by chain spaces. This creates a lovely, lace-like openness that still holds its shape beautifully. I especially love how a neutral border can frame each square, bringing a sense of calm cohesion to even the boldest color combinations. This project is perfect for beginners looking for something forgiving and repetitive, and also for intermediate crocheters ready to explore color theory and clever joining techniques.
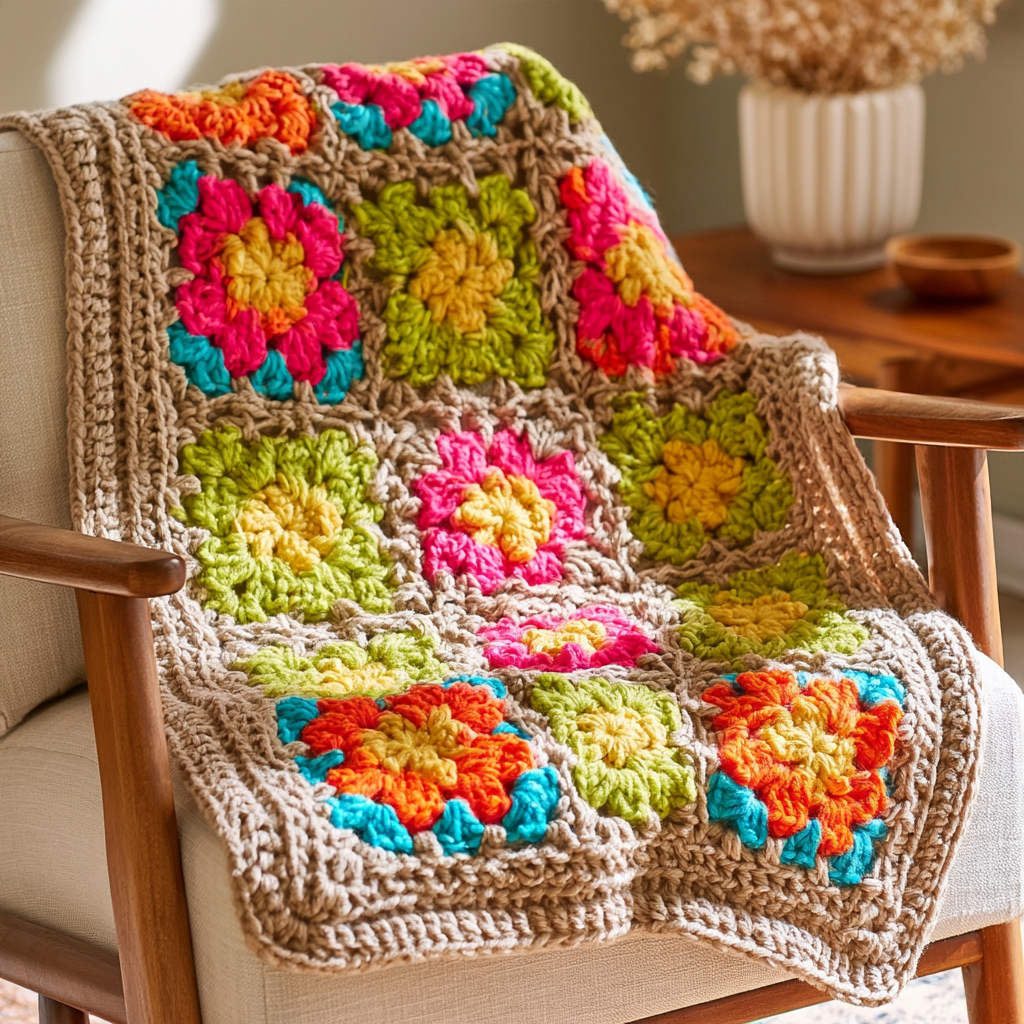
The beauty of these crochet granny squares lies in their versatility. While the tutorial uses a vibrant palette of hot pink, sunshine yellow, lime green, turquoise, and orange, you could easily swap those saturated hues for softer shades like dusty rose, sage, and cream for a vintage feel. Or, create a cool coastal vibe with a monochromatic scheme of blues and teals. The color palette is entirely yours to imagine!
Crochet Granny Squares Pattern
Materials
- Worsted weight yarn (cotton-acrylic blend recommended)
- 5mm crochet hook
- Yarn needle (for weaving in ends)
Finished Size
Each granny square can be worked to your desired size by adding more rounds. The finished blanket or throw size will depend on the number of squares created and joined.
Yarn Information
A worsted weight yarn is recommended, offering enough body for the double crochet clusters to pop without becoming stiff or heavy. A cotton-acrylic blend is a wonderful fiber choice, as it holds color vibrancy wash after wash and gives the squares a gentle structure that blocks smoothly.
Hook and Tools
- 5mm crochet hook
- Yarn needle
Abbreviations
- CH — Chain
- SC — Single Crochet
- DC — Double Crochet
- SL ST — Slip Stitch
Pattern Notes
- Each granny square is worked in the round from a central magic ring.
- The pattern uses clusters of three double crochet stitches.
- Weaving in ends as you go will save time during the finishing stage.
Instructions
Each granny square is worked in the round, building outward in rounds of DC clusters and CH-2 corner spaces until the square reaches your desired size.
To Begin: Create a magic ring.
Round 1: Ch 3 (counts as 1 DC), work 2 DC into the magic ring, ch 2, *3 DC into the magic ring, ch 2*. Repeat from * to * 2 more times. Join with a sl st to the top of the initial Ch 3. (4 clusters of 3 DC, 4 ch-2 spaces)
Round 2: Sl st into the first ch-2 space. Ch 3 (counts as 1 DC), work 2 DC into the same ch-2 space, ch 2, 3 DC into the same ch-2 space (first corner made). *Ch 1, (3 DC, ch 2, 3 DC) into the next ch-2 space (corner made)*. Repeat from * to * 2 more times. Ch 1. Join with a sl st to the top of the initial Ch 3. (8 clusters of 3 DC, 4 ch-2 spaces, 4 ch-1 spaces)
Round 3: Sl st into the first ch-2 space. Ch 3 (counts as 1 DC), work 2 DC into the same ch-2 space, ch 2, 3 DC into the same ch-2 space (first corner made). *Ch 1, 3 DC into the next ch-1 space. Ch 1, (3 DC, ch 2, 3 DC) into the next ch-2 space (corner made)*. Repeat from * to * 2 more times. Ch 1, 3 DC into the next ch-1 space. Ch 1. Join with a sl st to the top of the initial Ch 3. (12 clusters of 3 DC, 4 ch-2 spaces, 8 ch-1 spaces)
Continue this pattern, working (3 DC, ch 2, 3 DC) into each corner ch-2 space, and 3 DC into each ch-1 space along the sides, separating each 3 DC cluster with a ch 1. Each round will add two 3-DC clusters to each side of the square.
Finishing
- Fasten off and weave in all loose ends carefully using your yarn needle. Weaving in ends as you go, especially when changing colors, will make the final finishing much quicker.
Assembly
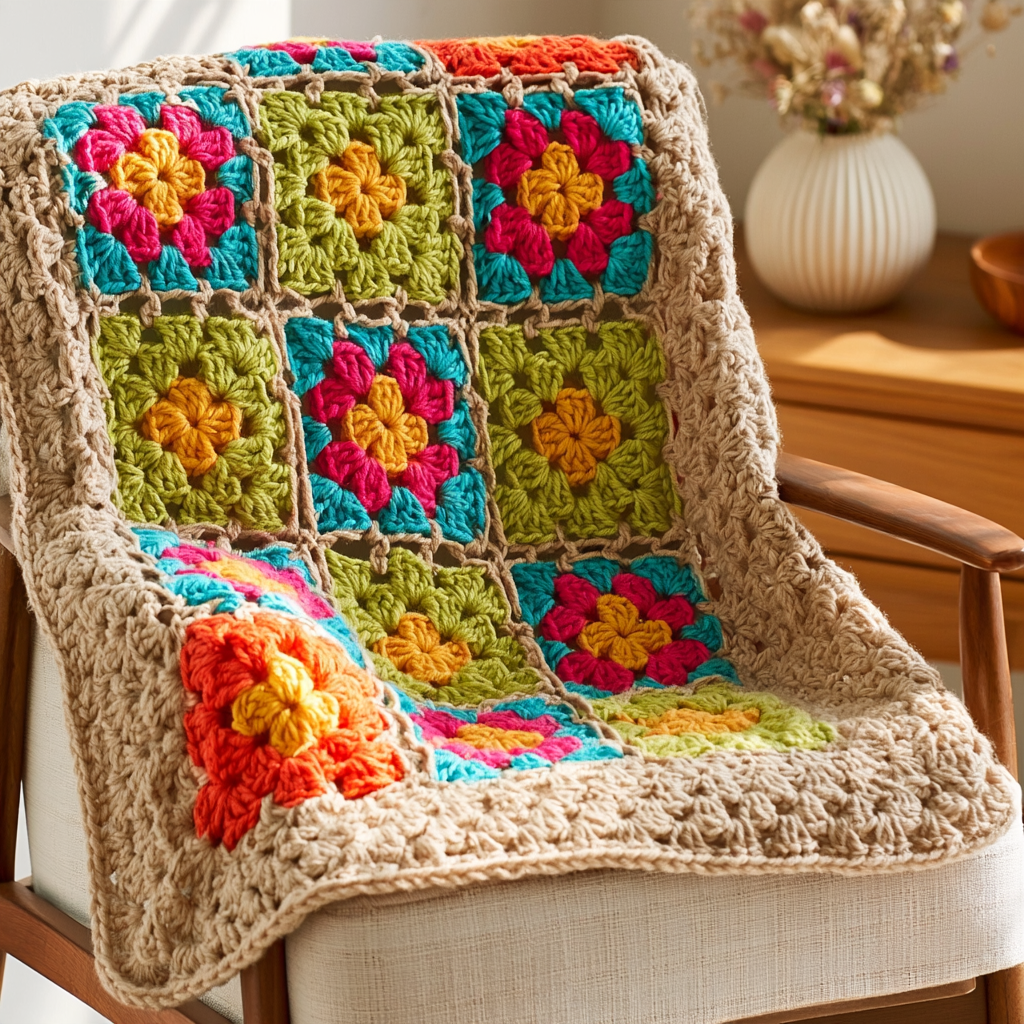
Each granny square is a separate piece. For a blanket or throw, you will need to make multiple squares and join them together. The tutorial suggests a join-as-you-go method that creates an elegant chain-linked seam. This method is beginner-friendly as it eliminates the need to sew squares together at the end.
Emma’s Tips
One of the things I love most about granny squares is how meditative the process can be once you get into the rhythm of the stitches. Don’t be afraid to experiment with color! That’s where the real fun comes in. Even a small change in color palette can completely transform the look and feel of your finished project. And remember, a yarn needle is your best friend for weaving in those ends. Taking a few moments to weave in tails as you finish each color will save you a lot of time and hassle at the end!